
Every defect your production line ships cost an average of 10× more to fix than if it had been caught at the operation that created it. In-process inspection — IPQC — is the discipline that catches dimensional drift, process deviations, and material failures while the part is still on the machine, not after it has traveled through five more operations and a packaging line. This checklist gives U.S. production quality teams a structured, operation-by-operation framework for real-time in-process quality control: from first-piece sign-off through mid-run sampling, SPC checks, operator self-inspection, and final gate before the lot moves to the next stage.
First-Piece Inspection — Before the Run Starts
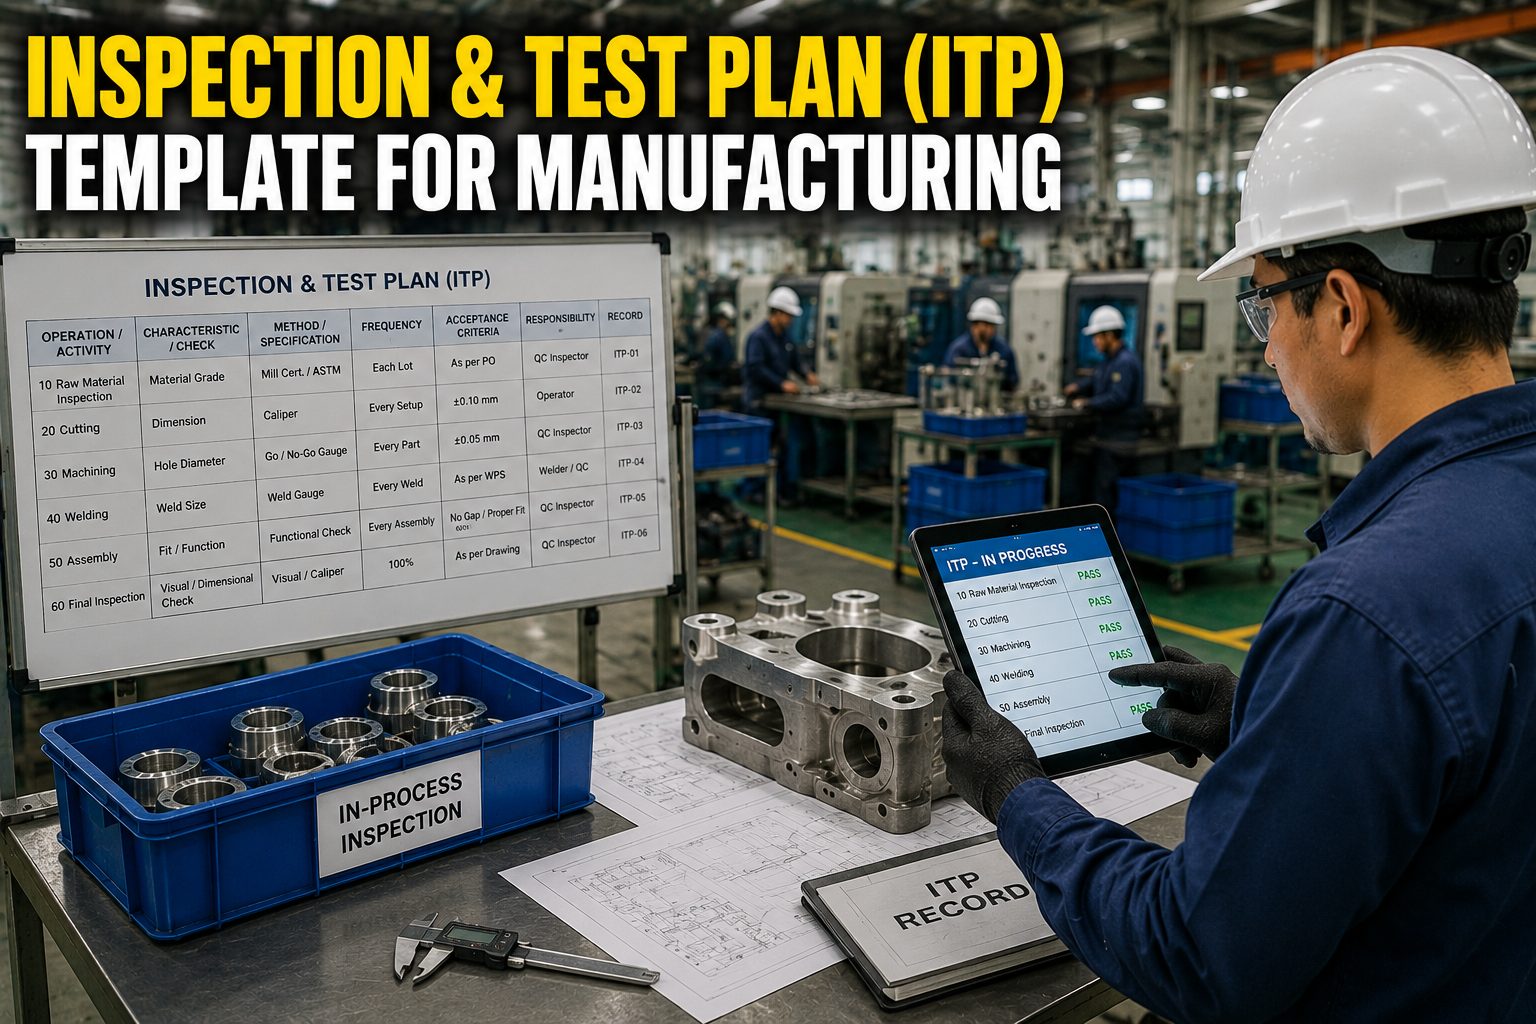
First-piece inspection (FPI) is the mandatory quality gate that must pass before a production run is authorized to proceed. Its purpose is to confirm that machine setup, tooling, fixturing, and process parameters are producing parts that conform to the drawing before you produce hundreds or thousands. One approved first piece does not guarantee the run — but a failed one guarantees the run will produce scrap. Record every first-piece result as an actual numeric value. Pass/fail notation is not first-piece documentation.
Confirm the correct drawing revision and operation setup sheet are at the machine. Verify all critical dimensions, tolerances, and surface finish callouts are understood by the operator before setup begins.
Verify correct tool numbers, insert grades, tool offsets, and fixture ID against the setup sheet. Confirm locators are clean and undamaged. Check clamp forces where torque is specified.
Record actual spindle speed, feed rate, coolant pressure, temperature setpoints, or press tonnage — whichever apply to the operation — against the approved process window on the setup sheet.
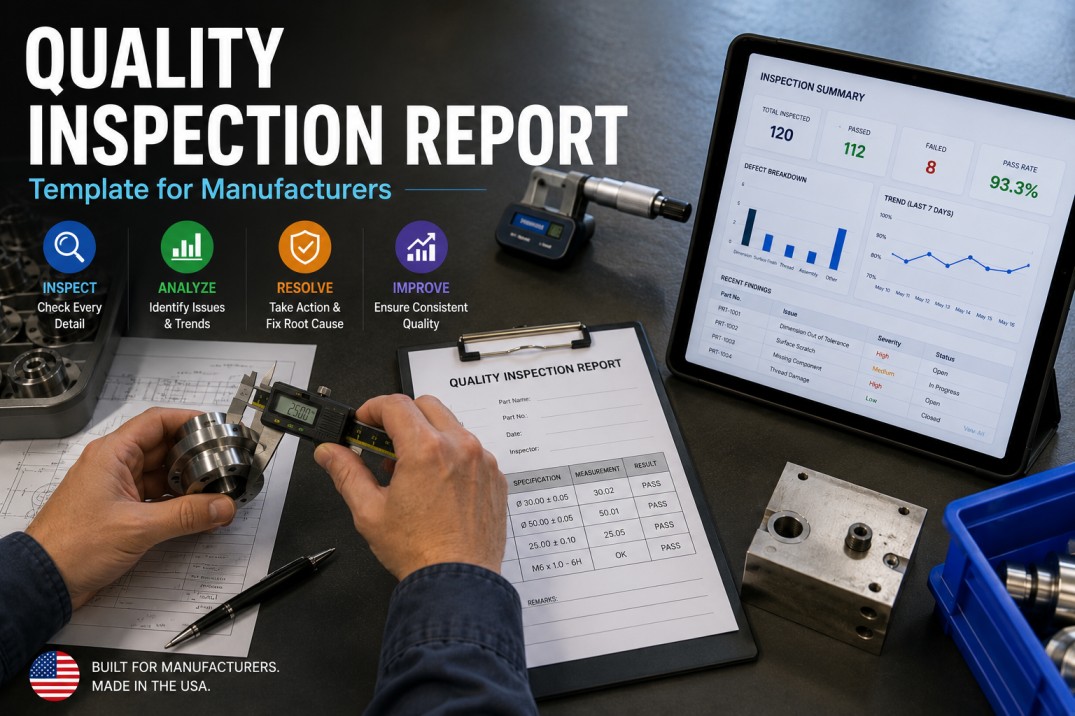
Measure all characteristics on the IPQC plan for this operation. Record actual values. Any characteristic outside tolerance requires an immediate process correction before a second piece is produced.
Quality technician signs and dates the first-piece record. Approved first piece is physically tagged, retained at the machine as a reference standard, and logged in the IPQC system with timestamp.
Production run is authorized only after the signed first-piece record exists. Any setup change during the run — tool change, insert index, fixture adjustment — requires a new first-piece verification.
In-Process Sampling & Frequency Plan
After the first piece is approved, in-process inspection continues at defined intervals throughout the run. Sampling frequency is not guesswork — it is determined by the process capability of the operation, the criticality of the characteristics being monitored, and the history of defects at that station. High-capability stable processes can run at wider intervals; marginal or historically problematic operations need tighter surveillance. The table below is a working frequency guide — actual intervals must be validated against your Cp/Cpk data.
| Process Cpk | Characteristic Type | Recommended Frequency | Sample Size | Action on Out-of-Trend |
|---|---|---|---|---|
| Cpk ≥ 1.67 | Non-critical dimensional | Every 2–4 hours or 500 pcs | 3–5 pcs | Log, monitor next sample |
| 1.33 ≤ Cpk < 1.67 | Non-critical dimensional | Every 1–2 hours or 200 pcs | 5 pcs | Notify supervisor, increase frequency |
| 1.00 ≤ Cpk < 1.33 | Any | Every 30–60 min or 100 pcs | 5 pcs | 100% inspection, process review |
| Cpk < 1.00 | Any | Every piece or continuous | 100% | Stop and correct — do not run |
| Any | Safety-critical / Key Characteristic | Every piece minimum | 100% | Immediate hold, engineering review |
| Any | After tool change / process adjustment | Immediate first-piece re-verification | 1 pc minimum | Stop run until approved |
IPQC Checklist — Operation-by-Operation Checks
Each production operation has its own set of characteristics to monitor. The following checklist items apply across the most common manufacturing operations. Your IPQC plan should list the specific characteristics, nominal values, tolerances, measurement tools, and frequencies applicable to each operation in your routing — this framework gives you the universal structure to build from.
Catch Defects at the Machine, Not in the Return Box
iFactory digitizes every in-process check — first-piece sign-off, live SPC, and automatic NCR generation — so quality issues are caught at the machine, not at the customer. Book a demo to see it live.
SPC & Control Chart Monitoring
Statistical Process Control transforms in-process inspection from a binary pass/fail exercise into a predictive tool. When actual measured values are plotted on a control chart in real time, your quality team can see when a process is trending toward its control limit — and intervene before any part goes out of tolerance. SPC without action rules is just data collection. The power is in the response protocol.
Track subgroup means and ranges for variable data. Most common for machined dimensions. Plot every sample — respond to any point outside 3σ control limits or 8 consecutive points on one side of centerline.
Track proportion of non-conforming units per subgroup for attribute data — visual defects, go/no-go results. Essential for visual inspection stations where variables measurement isn't practical.
Calculate and trend process capability indices every shift. A Cpk dropping from 1.5 toward 1.3 is a warning signal that requires immediate root-cause investigation — before it reaches 1.0 and produces rejects.
Every control chart must have a documented OCAP — specific actions for specific signals. Who is notified, what adjustment is made, who verifies the correction, and when the run resumes. No OCAP means no SPC.
Operator Self-Inspection & Mistake-Proofing
World-class IPQC programs don't rely solely on quality technicians for in-process surveillance. Operator self-inspection — where the person running the machine verifies their own output at defined intervals using calibrated gauges and documented criteria — is one of the highest-leverage quality investments available to a production operation. It requires training, the right gauges at the point of use, and a culture where stopping to check is valued over running blind.
Every operator self-inspection checkpoint must have the correct gauge physically present at the machine — not in the tool crib, not shared with three other stations. Shadow boards, foam inserts, and calibration due-date labels make compliance automatic.
For visual inspection characteristics, approved and rejected boundary samples mounted next to the station eliminate subjective judgment. The inspector doesn't decide what "marginal" looks like — the boundary sample defines it.
Where a mistake-proofing device exists — a fixture that won't close unless the part is correctly oriented, a press that won't cycle if a sensor detects a missing component — document it in the IPQC plan and verify it functions during first-piece inspection.
Operator self-inspection results must be recorded — time, part ID, measurement value, pass/fail, and operator ID. Undocumented self-inspection is an honor system, not a quality system. Digital entry at the machine eliminates transcription delay.
Non-Conformance Response & Lot Disposition
When in-process inspection reveals a non-conforming condition — a dimension out of tolerance, a process parameter outside its window, an SPC signal that hasn't been corrected — the response protocol determines whether one bad part becomes one NCR or becomes a thousand parts of scrap. Speed and discipline in the first 10 minutes of a non-conformance event are the variables that separate high-performing quality organizations from reactive ones.
Operator or inspector stops the machine immediately. No additional parts are produced until the non-conformance is contained and root cause is identified.
All suspect parts since the last known-good inspection point are tagged non-conforming and physically segregated. Open an NCR. Determine how far back the non-conformance potentially extends.
Use 5-Why or Ishikawa to identify the specific cause: tool wear, setup error, material variation, fixture shift, or process drift. Do not guess. Do not restart the machine until the cause is confirmed.
Make the identified correction. Verify the fix with a new first-piece check. Document the corrective action in the NCR. Get supervisor approval before restarting the run.
Run resumes with tightened inspection frequency for the next two hours or 200 pieces. NCR disposition of contained suspect parts is completed: sort-and-rework, scrap, or use-as-is with engineering deviation.
What Separates a Real IPQC Program from a Paper Exercise
After working with dozens of production operations, the patterns that separate high-performing in-process quality programs from ineffective ones are consistent. None of them require capital investment — they require discipline and the right systems.
Sampling every hour means nothing if the response to an out-of-control point is "note it and continue." Every control chart needs a documented action plan that specifies exactly what happens when a signal fires — who calls whom, what adjustment is made, and how long it takes. Without that, SPC is just a graph nobody acts on.
The most common source of mid-run defects is a resumed run after a tool change that wasn't verified with a new first-piece check. Operators feel production pressure. A digital IPQC system that requires a first-piece sign-off before the machine can be logged back into production is the only reliable enforcement mechanism.
When a customer returns parts and asks for your in-process inspection data from lot 2024-0882, a stack of handwritten forms that nobody can find is not a quality record — it's a liability. Digital, timestamped, operator-attributed IPQC records are the only evidence that stands up in a supplier corrective action response.
The most robust in-process inspection program on paper fails if operators treat it as a bureaucratic interruption. The programs that work best give operators real-time feedback — "your last five parts averaged 0.003mm high, here's the trend" — so self-inspection feels like useful information, not surveillance.
IPQC Interactive Inspection Checklist — 32 Items
Use this checklist across all production operations. Each row maps to a stage in the IPQC process with type, priority, and evidence requirements.
| # | Checklist Item | Type | Priority | Photo | Required | Critical |
|---|---|---|---|---|---|---|
| 1 | Correct drawing revision and setup sheet confirmed at machine before setup begins | Pass/Fail | High | — | ✓ | ✓ |
| 2 | Tooling, insert grades, offsets, and fixture ID verified against setup sheet | Pass/Fail | High | ✓ | ✓ | ✓ |
| 3 | Process parameters (speed, feed, coolant, tonnage) recorded against approved window | Numeric | High | — | ✓ | ✓ |
| 4 | All IPQC plan characteristics measured — actual numeric values recorded | Numeric | High | — | ✓ | ✓ |
| 5 | Quality technician signs and dates first-piece record — approved part tagged at machine | Signature | High | ✓ | ✓ | ✓ |
| 6 | Run authorization issued only after signed first-piece record exists | Pass/Fail | High | — | ✓ | ✓ |
| # | Checklist Item | Type | Priority | Photo | Required | Critical |
|---|---|---|---|---|---|---|
| 1 | Inspection frequency confirmed per IPQC plan — matches Cpk level and characteristic criticality | Pass/Fail | High | — | ✓ | ✓ |
| 2 | Sample size per plan — 3–5 pcs for stable processes, 100% for Cpk < 1.00 | Numeric | High | — | ✓ | ✓ |
| 3 | Mid-run sample at defined interval — actual values recorded, not pass/fail | Numeric | High | — | ✓ | ✓ |
| 4 | New first-piece re-verification after any tool change or setup adjustment | Pass/Fail | High | ✓ | ✓ | ✓ |
| 5 | Safety-critical and key characteristics inspected 100% regardless of Cpk | Pass/Fail | High | — | ✓ | ✓ |
| # | Checklist Item | Type | Priority | Photo | Required | Critical |
|---|---|---|---|---|---|---|
| 1 | Machining: critical dimensions vs. drawing nominal ± tolerance — actual numeric values | Numeric | High | — | ✓ | ✓ |
| 2 | Machining: surface finish Ra/Rz recorded at specified locations | Numeric | Med | — | ✓ | — |
| 3 | Machining: GD&T features (position, flatness, roundness) verified | Numeric | High | ✓ | ✓ | ✓ |
| 4 | Welding: bead width, height, profile vs. WPS — visual for porosity, undercut, cracks | Photo | High | ✓ | ✓ | ✓ |
| 5 | Welding: interpass temperature within spec window — recorded with timestamp | Numeric | High | — | ✓ | ✓ |
| 6 | Assembly: torque values recorded for all fasteners per work instruction | Numeric | High | — | ✓ | ✓ |
| 7 | Assembly: orientation and polarization of asymmetric parts verified | Pass/Fail | High | ✓ | ✓ | ✓ |
| 8 | Forming: dimensions (radii, angles, flanges) vs. drawing — springback checked | Numeric | Med | ✓ | ✓ | — |
| # | Checklist Item | Type | Priority | Photo | Required | Critical |
|---|---|---|---|---|---|---|
| 1 | X-bar & R chart updated — any point outside 3σ triggers OCAP immediately | Numeric | High | — | ✓ | ✓ |
| 2 | 8 consecutive points on one side of centerline — trend alert actioned per OCAP | Pass/Fail | High | — | ✓ | ✓ |
| 3 | Cpk calculated this shift — dropping toward 1.33 triggers investigation | Numeric | High | — | ✓ | ✓ |
| 4 | OCAP referenced and action documented for any out-of-control signal | Text | High | — | ✓ | ✓ |
| # | Checklist Item | Type | Priority | Photo | Required | Critical |
|---|---|---|---|---|---|---|
| 1 | Correct gauge physically present at machine — calibration due date current | Pass/Fail | High | — | ✓ | ✓ |
| 2 | Boundary samples (approved and rejected) posted at visual inspection station | Pass/Fail | Med | ✓ | ✓ | — |
| 3 | Poka-yoke devices verified functional during first-piece inspection | Pass/Fail | High | — | ✓ | ✓ |
| 4 | Operator self-inspection results recorded — time, part ID, measurement, operator ID | Text | High | — | ✓ | — |
| # | Checklist Item | Type | Priority | Photo | Required | Critical |
|---|---|---|---|---|---|---|
| 1 | STOP: machine stopped immediately — no additional parts produced | Pass/Fail | High | — | ✓ | ✓ |
| 2 | CONTAIN: all suspect parts tagged non-conforming and physically segregated | Pass/Fail | High | ✓ | ✓ | ✓ |
| 3 | IDENTIFY: root cause confirmed using 5-Why or Ishikawa before restart | Text | High | — | ✓ | ✓ |
| 4 | CORRECT: adjustment made, first-piece verified, corrective action in NCR | Pass/Fail | High | ✓ | ✓ | ✓ |
| 5 | RESUME: tightened inspection for next 2 hours — suspect lot disposition complete | Selection | High | — | ✓ | ✓ |
Paper IPQC vs. Digital IPQC — The Real Difference
In-Process Inspection Is Where Quality Is Made, Not Verified
Final inspection can only sort conforming parts from non-conforming ones. In-process inspection is the mechanism that prevents non-conforming parts from being created in the first place. The six-stage framework above — first-piece sign-off, sampling frequency planning, operation-specific checklists, SPC monitoring, operator self-inspection, and non-conformance response — represents the minimum structure for a defensible, effective IPQC program in any precision manufacturing environment.
The gap between a world-class in-process quality program and a reactive one is not instrumentation or sampling frequency. It is data flow. When your quality technician has to walk to a machine, write on a form, transcribe it later, and email it to a supervisor, the loop from detection to correction takes hours. When your IPQC data flows digitally from the gauge to the control chart to the supervisor dashboard in real time, the same loop takes minutes. That difference, multiplied across every production run and every shift, is the measurable ROI of digital in-process inspection. Book a demo to see how iFactory runs this across your specific operations.
Frequently Asked Questions
What is the difference between in-process inspection and final inspection?
In-process inspection (IPQC) checks parts at each production operation while they are being made — at the machine, in real time. Final inspection happens after the part is complete and before it ships. IPQC prevents defects from being created and propagated through downstream operations; final inspection only sorts them. The cost of a defect caught at the machine is a process adjustment; the cost caught at final inspection includes all subsequent operation value already added to the part.
How do you determine in-process inspection frequency?
Inspection frequency is




-checklist-for-manufacturers.jpg)