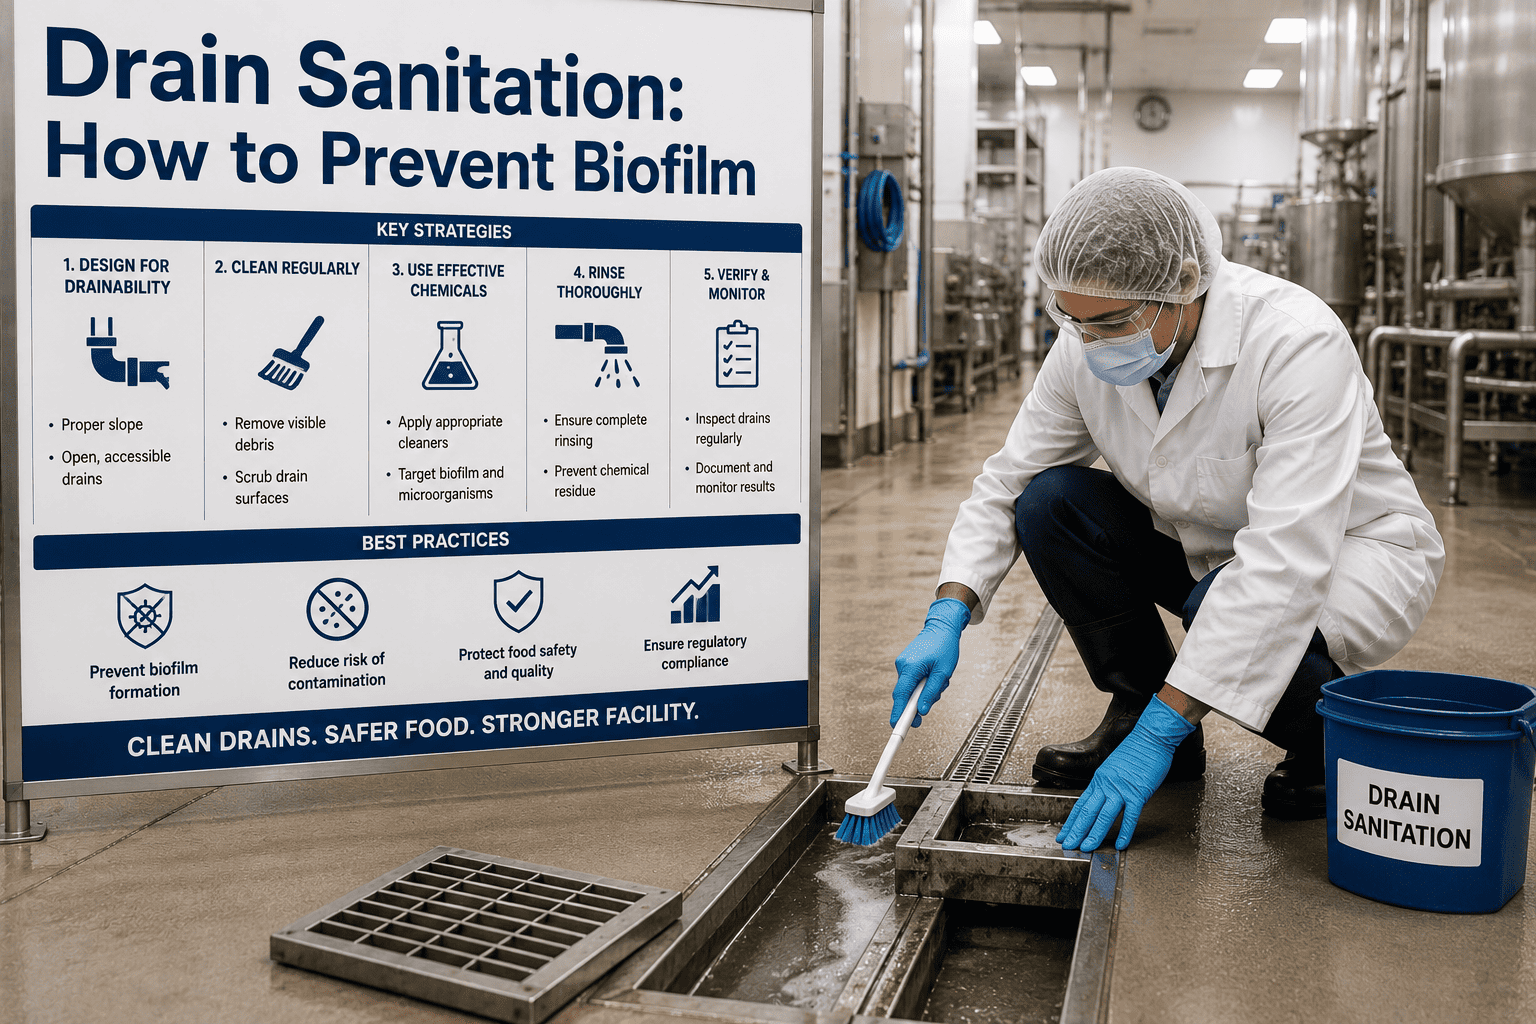
Drains are the most overlooked high-risk zone in a food plant, largely because they sit beneath the line of sight during normal operations and rarely appear on a walkthrough checklist beyond a quick visual scan. Underneath that visual scan, moisture, organic residue, and warm temperatures create the exact conditions biofilm needs to establish itself, and once a biofilm colony forms inside a drain it becomes dramatically harder to remove than surface contamination anywhere else in the plant. A drain that looks clean on the surface can still harbor a mature biofilm colony just below the waterline. This guide covers how biofilm actually forms inside drains, how to build a cleaning schedule that disrupts it before it matures, and how drain design choices prevent the problem from developing in the first place, with practical tooling covered on our support page.
Why Drains Become the Hardest Surface to Sanitize
Drains combine every condition that favors microbial colonization — constant moisture, organic nutrient load from washdown water, warm ambient temperature, and complex geometry with joints, cracks, and dead space that a standard cleaning routine physically cannot reach. Once bacteria attach to a wet surface, they begin secreting a protective extracellular matrix that shields the colony from sanitizers and physical scrubbing, a process that accelerates the longer a drain goes without disruptive cleaning. Standard daily sanitation, focused on visible surfaces, routinely misses this because the biofilm often forms below the waterline or inside sections of pipe that visual inspection cannot access.
Attachment
Free-floating bacteria make initial contact with a wet drain surface within hours of exposure.
Colonization
Attached cells multiply and begin secreting a protective matrix that resists standard sanitizer contact.
Maturation
The colony develops a complex structure, becoming dramatically more resistant to chemical and mechanical removal.
Dispersion
Fragments break free and spread to adjacent surfaces, seeding new colonization sites throughout the drain network.
Worried a mature biofilm colony may already be established in your drain network? Book a demo to see how digital tracking flags overdue drain cleaning before it becomes a risk.
Drain Cleaning Frequency by Risk Zone
Not every drain in the facility carries the same risk, and cleaning frequency should reflect proximity to exposed product rather than applying one blanket schedule across the whole plant.
| Drain Location | Risk Level | Recommended Frequency | Method |
|---|---|---|---|
| Under RTE production lines | Critical | Daily disruption, weekly deep clean | Foam, brush, biofilm-targeted chemical |
| General production floor | High | Daily rinse, bi-weekly deep clean | Foam and mechanical scrubbing |
| Raw material receiving | Moderate | Weekly deep clean | Standard sanitation chemical protocol |
| Non-production hallways | Low | Monthly inspection and clean | Routine cleaning as part of general sanitation |
Never Miss a Drain Cleaning Cycle Again
iFactory schedules drain-specific cleaning tasks by risk zone, tracks completion with digital sign-off, and flags overdue cycles before biofilm has time to establish. Book a demo to see the drain tracking module.
Drain Design Choices That Prevent Biofilm From Forming
The most effective biofilm prevention happens at the design stage, before a drain is ever installed. Retrofitting these principles into an existing facility is harder but often still worthwhile given the risk reduction involved.
Adequate Slope
A consistent slope toward the drain prevents standing water pools that create ideal biofilm conditions on the surrounding floor.
Smooth, Sealed Surfaces
Non-porous drain materials without cracks or rough joints eliminate the microscopic harborage points bacteria need to attach.
Accessible Design
Removable drain covers and trap access points allow full visual inspection and manual cleaning without disassembly tools.
Separated Drain Lines
Isolating RTE production drains from raw or lower-hygiene zone drains prevents cross-contamination through shared plumbing.
Building a Drain Inspection Checklist
Visual Inspection
Check for standing water, visible residue, discoloration, or odor at every drain point on a set schedule.
Swab Testing
Periodic ATP or pathogen swabbing below the waterline, not just on the visible drain cover surface.
Flow Verification
Confirm water drains freely without pooling, which can indicate a blockage that traps organic material.
Document and Escalate
Log every inspection result and route any concerning finding to the sanitation lead for immediate follow-up.
Ready to build a risk-weighted drain cleaning schedule for your facility? Schedule a demo or talk to support about your current drain map.
Frequently Asked Questions
Disrupt Biofilm Before It Ever Establishes
iFactory schedules risk-weighted drain cleaning, tracks swab results by location, and flags overdue cycles automatically — closing the gap that biofilm depends on.