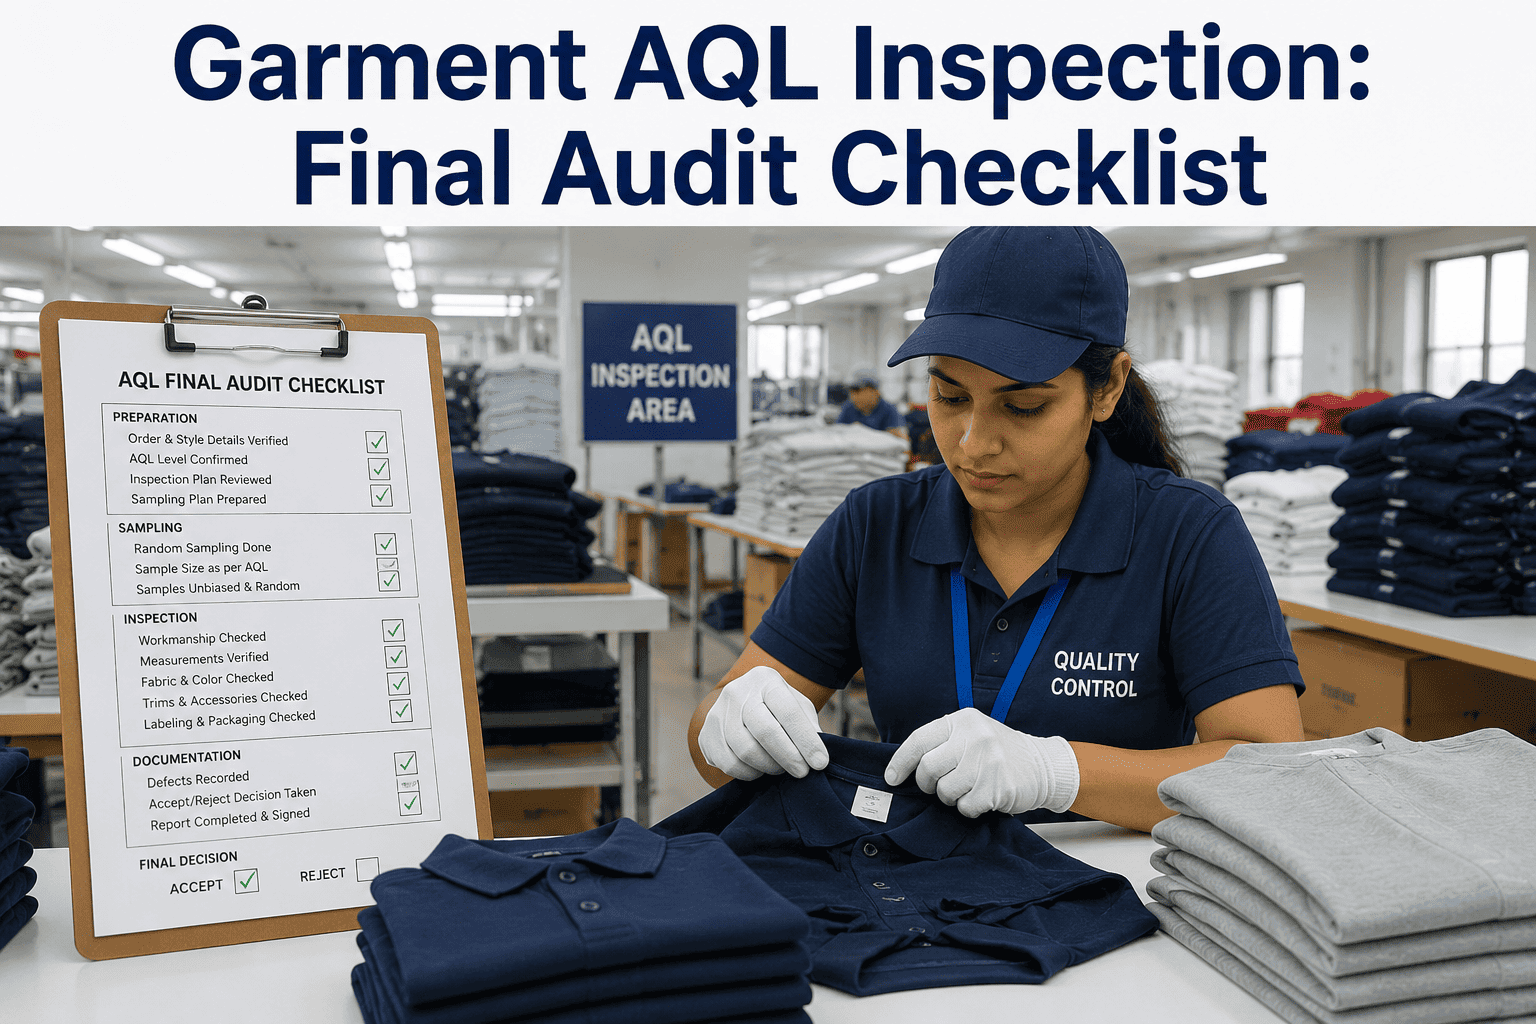
A shipment can pass every internal quality check on the production floor and still get rejected at final inspection, because a buyer's AQL audit doesn't ask whether the factory believes the goods are good — it asks whether a statistically drawn sample from the actual shipment clears a defined defect threshold. Factories that inspect loosely throughout production and never run a proper AQL sample against their own finished goods are consistently the ones surprised by what a real audit finds. The checklist below walks through every stage a buyer's inspector actually checks, in the order they check it, so a factory can run the same audit on itself before goods are ever booked for shipment. Run this exact checklist digitally against your next shipment with a Book a Demo.
The Complete Pre-Shipment AQL Inspection Checklist
Every category a buyer's final random inspection checks, converted into a step-by-step checklist a factory quality team can run before goods are booked — catching the same issues a third-party inspector would, on your own schedule.
Checklist: Confirm the AQL Level and Defect Classification Before You Sample
Before a single garment is checked, confirm which classification and tolerance applies — inspecting against the wrong AQL level invalidates the entire audit even if every measurement is correct.
Confirm zero tolerance is understood for safety hazards, regulatory violations, or anything that makes the garment unsellable, such as sharp objects or missing safety labels.
Confirm the accept/reject numbers for defects a consumer would notice and that affect usability, such as visible stains, broken stitches, or measurement deviation.
Confirm the higher tolerance threshold for defects unlikely to affect function, such as loose threads or slight color variation within approved range.
Checklist: Verify Sample Size Against Lot Quantity Before Inspecting
Sample size scales with total shipment quantity on a standardized table. Confirm the inspection level — General Inspection Level II is the common default — and pull the corresponding sample count before checking a single unit.
| Lot Size (Units) | Sample Size (Level II) | Major AQL 2.5 Accept/Reject |
|---|---|---|
| 151 – 280 | 32 | Accept 2 / Reject 3 |
| 281 – 500 | 50 | Accept 3 / Reject 4 |
| 501 – 1,200 | 80 | Accept 5 / Reject 6 |
| 1,201 – 3,200 | 125 | Accept 7 / Reject 8 |
| 3,201 – 10,000 | 200 | Accept 10 / Reject 11 |
Confirm the sample is drawn randomly across cartons spanning the full lot, not concentrated in cartons that are easiest to reach.
Run This Checklist as a Digital Audit, Not a Paper Form
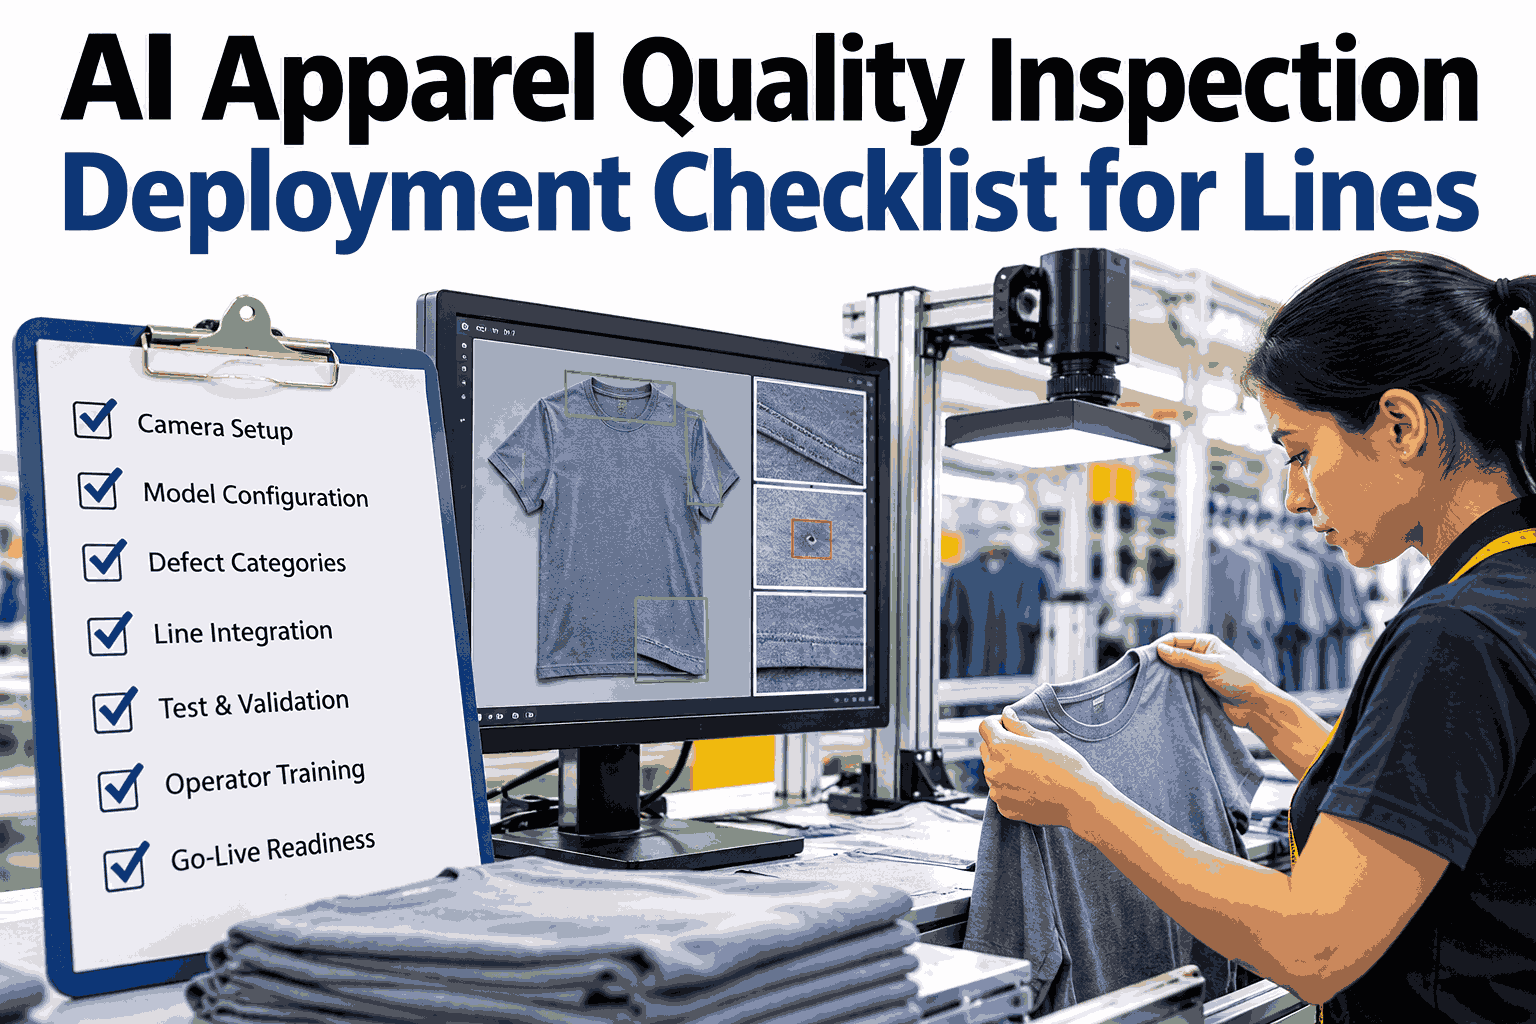
iFactory logs defects by severity classification during pre-shipment inspection and calculates pass or fail against the buyer's exact AQL level automatically.
Checklist: Six Categories Every Buyer Inspector Walks Through
A buyer's inspector follows a consistent sequence during final random inspection. Running the same sequence internally before booking a shipment catches far more issues than relying only on in-line checks during production.
Carton and packing verification — carton count, packing list accuracy, and shipping mark compliance checked against the purchase order.
Random sample draw — the statistically correct sample size pulled from randomly selected cartons across the full lot, not a convenient subset.
Measurement verification — every sampled unit checked against the buyer's spec sheet with size-by-size tolerance confirmed.
Workmanship and appearance — construction inspected for critical, major, and minor defects against the classification confirmed in Step 1.
Labeling and compliance — care labels, fiber content labels, and country of origin marking verified for the destination market's regulations.
Function and safety testing — on-site tests appropriate to the product category completed and documented before sign-off.
Checklist: The Four Reasons Most Shipments Actually Fail
Before marking the audit complete, verify none of these four recurring failure patterns are present in the sample — together they account for the large majority of failed final inspections.
Sizing drift across the run exceeding the buyer's tolerance table, often from inconsistent pattern grading or fabric shrinkage.
Color variation between garments or panels within the same style exceeding the approved shade tolerance.
Broken stitches, open seams, or skipped stitches concentrated enough in the sample to exceed the major defect threshold.
Missing or incorrect care labels, fiber content, or country of origin marking required for the destination market.
We used to treat pre-shipment inspection as a formality our own QC team ran leniently. Once we started applying the buyer's exact AQL level and sample size internally, using this same six-step sequence, we caught a labeling compliance issue two shipments in a row before it ever reached the port. Our failed-inspection rate with that account dropped to nearly zero within a quarter.
Frequently Asked Questions
Q: What happens if a shipment fails this checklist internally?
A failed internal audit should trigger the same hold a buyer's failed inspection would — sorting or reworking the flagged defects, then re-running the checklist against a fresh sample before booking the shipment. Treating a self-run failure with the same seriousness as an external one is what actually prevents a real inspection failure later, since the alternative is discovering the same issue only after the buyer's inspector has already documented it.
Q: Why does the checklist treat even one critical defect as an automatic fail?
Critical defects represent safety or regulatory risk rather than an appearance or usability issue, which is why the statistical tolerance that applies to major and minor defects doesn't apply here. A single sharp object left in a garment is a real hazard regardless of how well the rest of the sample performed, which is why most AQL agreements set the critical defect acceptance number at zero.
Q: Does the sample size table change if our buyer uses a different inspection level?
Yes — sample size is determined by referencing the standardized table against both total lot size and the specific inspection level agreed with the buyer, and General Inspection Level II is only the common default, not a universal rule. Always confirm the exact level and sample size table a specific buyer uses before running the checklist rather than assuming the generic reference applies. Support can help confirm the correct table for your account.
Q: Can this checklist be run digitally instead of on paper each time?
Yes — logging defects by severity classification digitally across every shipment builds a pattern over time, revealing which specific defect types recur most and which production stage they trace back to, so corrective action addresses the root cause instead of just the current shipment. Schedule a Book a Demo to see the checklist running as a digital audit tied to your production data.
Q: How often should this checklist be run per shipment?
The checklist should be run once per shipment lot immediately before booking, using a freshly drawn random sample rather than reusing units already checked earlier in production. Running it too early in the process — before final packing and labeling are complete — risks missing exactly the defects a buyer's inspector would catch at the very last stage.
Turn This Checklist Into Your Standard Pre-Shipment Process
Run every category above with the same rigor your buyer's inspector applies — before goods are ever booked for shipment.