A vision model can only learn from what the camera shows it. If a seal wrinkle, a label tear or a fill gap does not stand out in the image, no amount of training will find it. On fast FMCG lines, with glossy film, curved bottles and shiny cans, lighting decides success long before software does. This guide shows how to pick the right light and colour for each defect, and you can test it on your own packs in a vision lighting trial session.
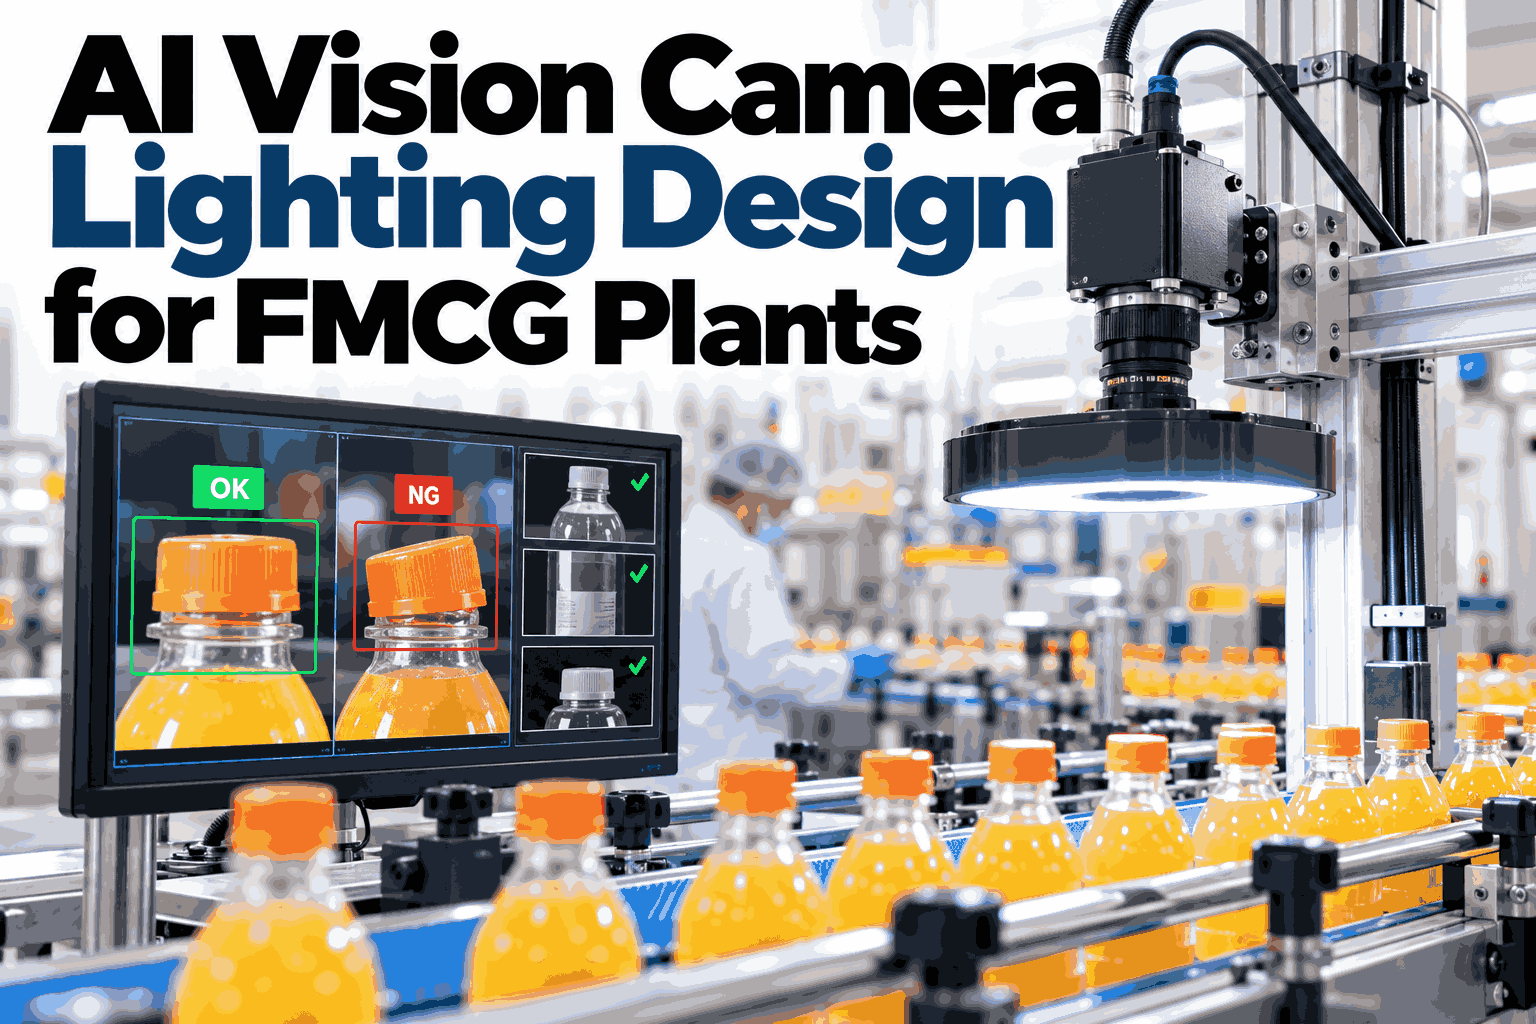
AI Vision Camera Lighting Design for FMCG Plants
Choose bar, dome or backlight, then match the wavelength, so that every defect becomes a clear feature the model can learn.
Why Lighting Comes Before the Model
Good light makes the defect easy. Bad light makes it impossible.
With poor lighting
- Glare hides seal faults
- Shadows look like defects
- Models need far more images
- Results change with the time of day
With designed lighting
- Defects show as clear contrast
- Every part looks the same each cycle
- Fewer training images are needed
- Results hold across shifts
If you cannot see the defect clearly in a still image, do not expect the model to. Fix the light first.
The Three Core Lights
Most FMCG inspection uses one of these.
LED bar
A directional strip that raises edges, scratches and surface texture by shining at an angle.
- Best for
- Cans, caps, embossing, edges
- Watch out
- Hot spots on glossy surfaces
Dome
Soft, even light from every side that removes glare and shows true surface and print.
- Best for
- Foil, film, curved and shiny packs
- Watch out
- Bulky and needs close mounting
Backlight
Light from behind turns the part into a clean silhouette, so shape and gaps stand out.
- Best for
- Fill level, holes, clear bottles
- Watch out
- Shows outline, not surface detail
Choosing a Wavelength
Colour is a contrast tool, not decoration.
A light of the same colour as an object makes it look brighter. The opposite colour makes it look darker. Use this to separate a defect from its background.
Match the Defect to the Light
Start from the fault, not from the fitting.
Bring Your Packs, Get Your Light
Send samples of good and faulty packs. We test lighting options and show which combination makes your defects clearest.
Lighting by Pack Type
Each format has a favourite setup.
Glass bottles
Backlight for fill and shape. Side bar for cracks and chips.
Plastic bottles
Backlight for level. Dome for label and cap checks.
Metal cans
Low-angle bar for dents. Dome for printed surface.
Pouches and sachets
Dome or coaxial to see through glare on the seal.
Cartons
Diffuse bar for print. Raking light for glue flaps.
Labels
Coaxial or dome for position, print and wrinkles.
Lighting at Line Speed
A fast pack blurs unless the light is fast too.
Know the speed
Packs per minute and pack size set the time you have.
Shorten the exposure
Brief exposure freezes motion and removes blur.
Add strobe power
Pulsed light gives enough brightness in a very short time.
Sync the trigger
Trigger from a sensor so every pack is captured at the same spot.
Mistakes That Hurt Detection
Most are easy to avoid.
Common mistakes
- Using ambient plant light
- One light for every defect
- Ignoring pack movement and tilt
- Skipping a dust and vibration check
Better habits
- Enclose or shield the inspection zone
- Test several lights on real samples
- Fix pack position with guides
- Clean and recheck lights on a schedule
A Simple Bench Test
Prove the light before you buy.
Collect samples
Good packs and every defect type.
Try each light
Photograph with bar, dome and backlight.
Compare images
Pick the one where the defect stands out most.
Test at speed
Repeat on the moving line before locking the design.
How iFactory AI Handles Lighting and Detection
From first image to live inspection in 6 to 12 weeks.
iFactory ships as a ready server with the vision software loaded. Our team helps choose lights, cameras and mounting, trains the model on your packs and connects it to line signals. Images and results stay inside your network, with training and 24x7 remote monitoring included. To scope your line, contact our vision specialists.
Install and test lights
Server in place, lighting bench tested.
Train and pilot
Model trained on your packs and checked.
Go live
Live inspection, training, remote watch.
Frequently Asked Questions
Which light is best for shiny packaging?
A dome or coaxial light is usually best, because it spreads light evenly and removes harsh glare. Bars can create hot spots on foil and film. The final choice should be proven on your own packs before purchase.
Does colour of light really matter?
Yes. A well chosen wavelength raises contrast between a defect and its background. Red cuts glare, blue shows fine detail, and infrared can pass through some dark plastics. Our team can test options with you.
Can one lighting setup find every defect?
Rarely. Different faults need different angles and colours. Many lines use two lights and cameras at one station, or add a second station. Start with your most costly defect and design around it first.
How do we stop plant light from changing results?
Shield the inspection zone with a simple enclosure and use strong, controlled lighting of your own. Strobe light also overpowers ambient changes. Regular cleaning keeps output steady as dust builds up on lenses and lights.
How can we test this on our line?
Send samples or run a short bench trial, then repeat on the moving line. A demo session shows how we compare lights and pick the clearest setup.
Make Every Defect Easy to See
In thirty minutes we review your packs, line speed and defect types, and show which lighting is likely to work best. You keep the notes either way.