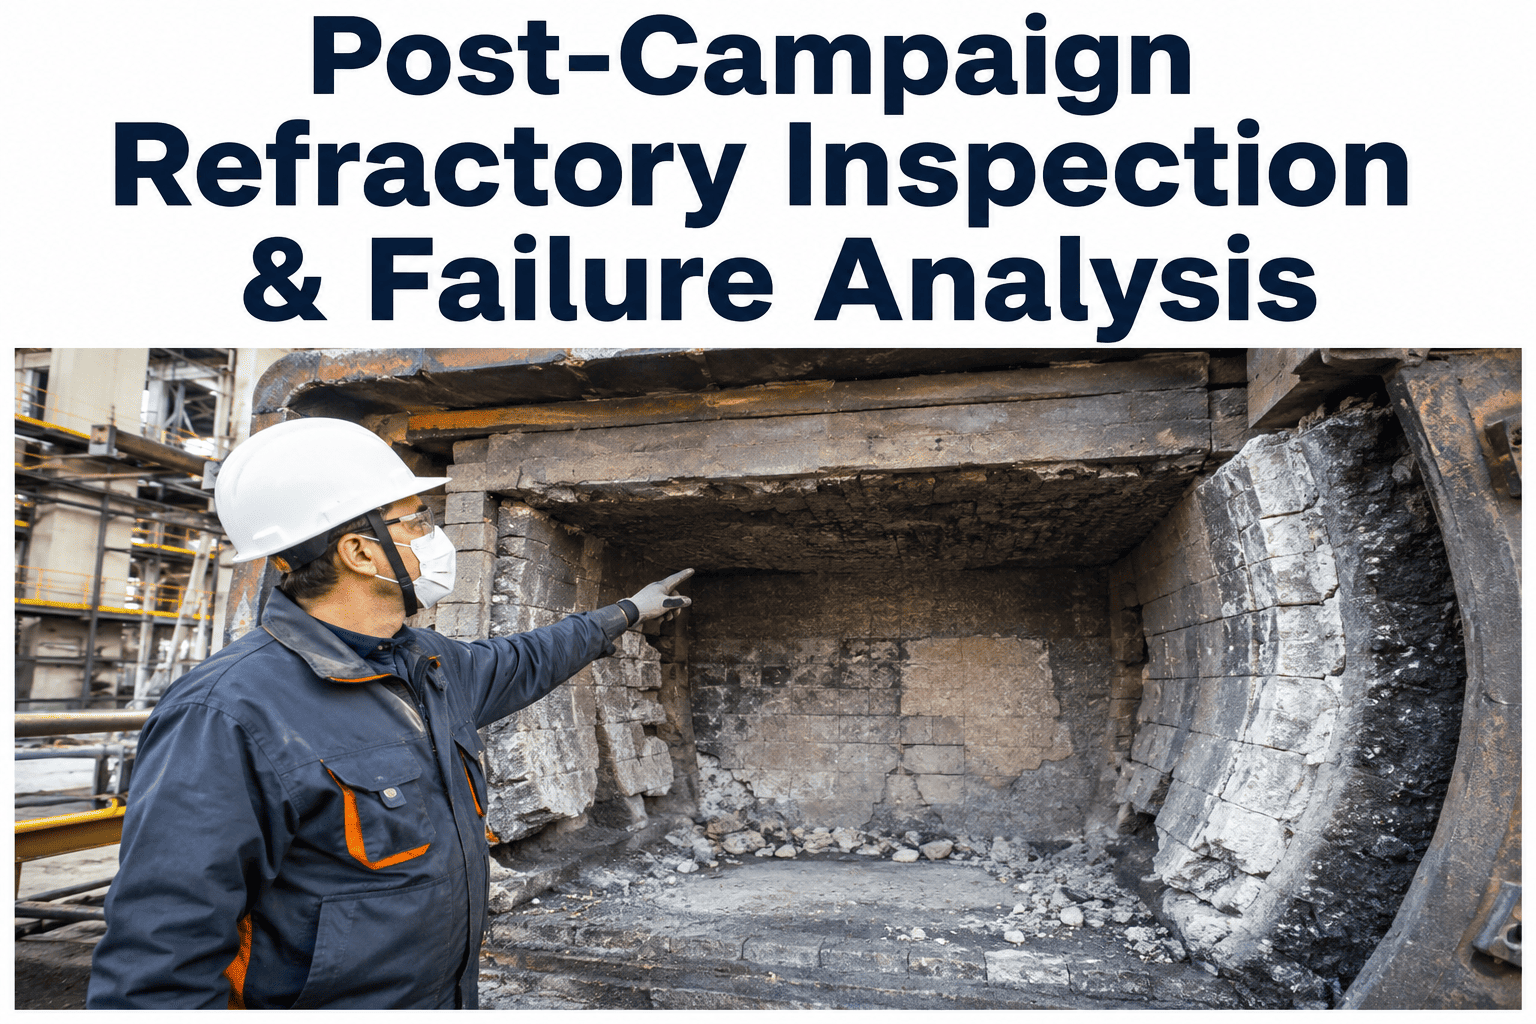
Refractory wear is invisible in real time — a vessel lining that looked fine on last week's visual check can end a campaign with the hot face worn to half its original thickness in one localized zone while the rest of the lining barely moved. A post-campaign inspection is the one point in a refractory's life where the full wear picture is actually visible: the vessel is empty, cooled, and accessible, and every mechanism that acted on that lining across the entire campaign has left a distinct, readable signature. Reading that signature correctly — mechanical erosion versus chemical corrosion versus thermal spalling versus structural failure — is what separates a genuinely useful post-mortem from a report that just says "the lining wore out" and moves on. This window closes fast once cleanup and demolition begin, which makes the inspection itself, not just the eventual reline, the highest-leverage moment in the entire campaign cycle. See how iFactory documents wear profiles and failure findings against your specific vessel history and campaign records.
Wear pattern analysis, failure mechanism identification, and documented lessons learned — reading the full wear signature a campaign leaves behind while the vessel is actually accessible.
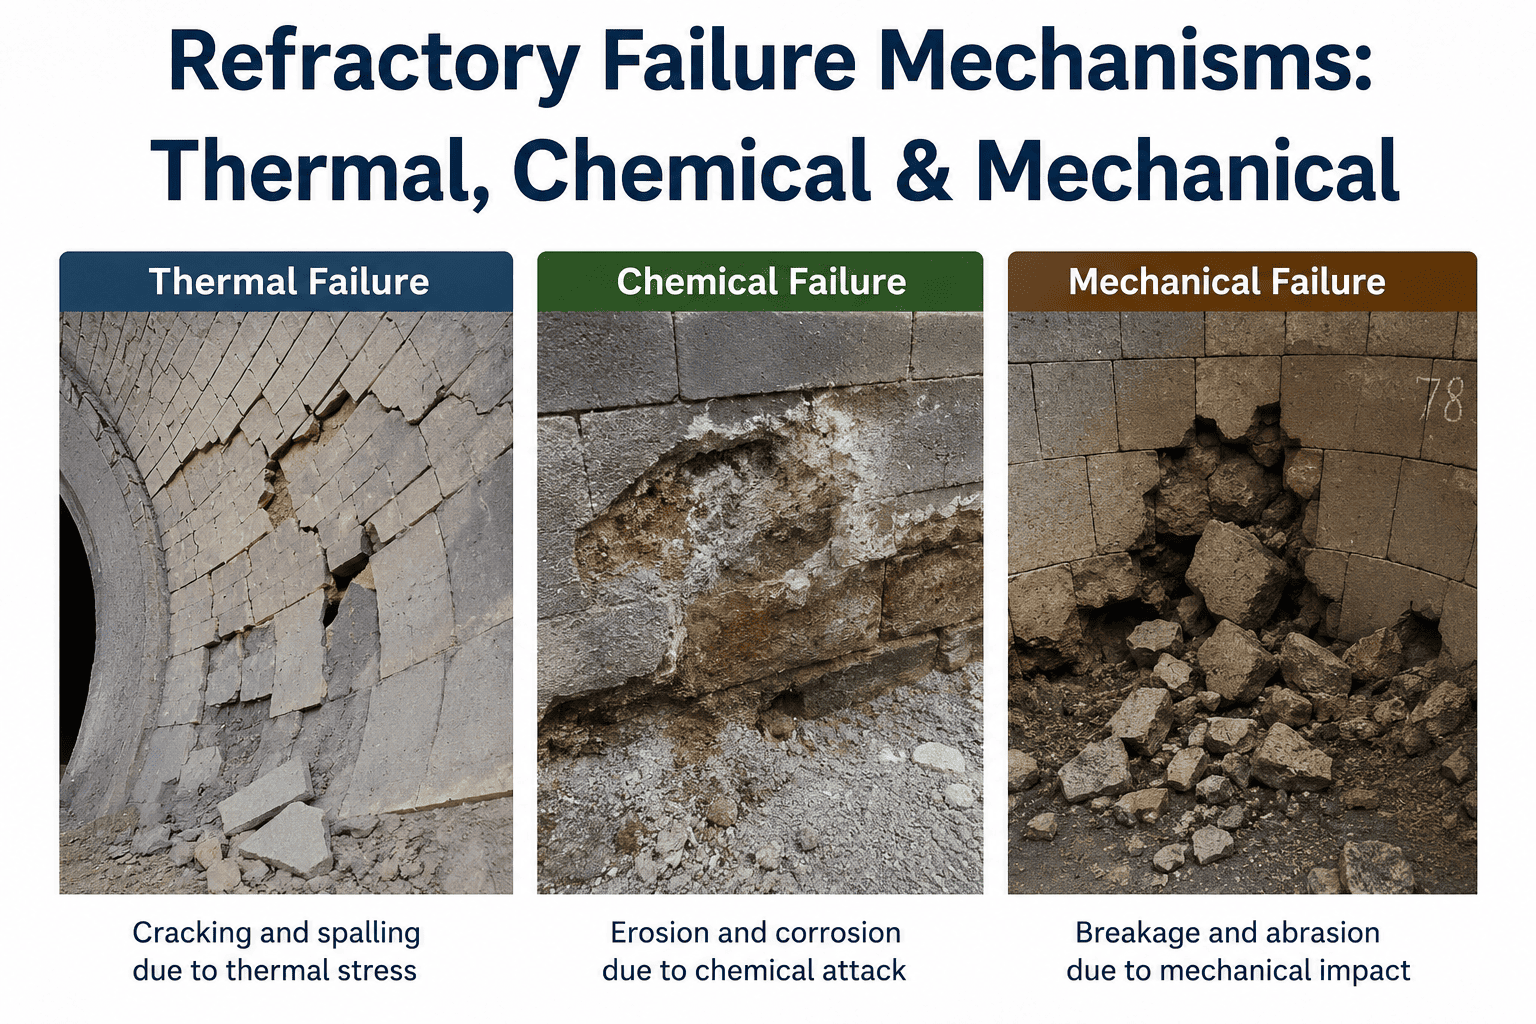
Refractory research consistently groups wear into distinct mechanism categories, and a real failure is almost always a combination rather than a single cause acting alone — but identifying which mechanisms dominated, and where, is what makes a post-campaign finding actionable rather than a vague summary. Each category leaves a somewhat different visible signature, which is part of what makes careful inspection genuinely diagnostic rather than just descriptive.
Mechanical Wear
Divides into erosion, driven directly by flow rate and shear stress from liquid or gas moving across the surface, and penetration, where liquid works into the refractory's pore structure and becomes an enabler for corrosion or spalling that follows rather than a wear mechanism entirely on its own.
Chemical Wear
Divides into oxidation-reduction reactions and dissolution/diffusion — the matrix and binder phase, typically the most porous and impure part of the refractory, is usually attacked first, since higher porosity means more surface area for the reaction to take hold and spread.
Thermal Wear
Thermal cycling and rapid temperature swings generate internal stress from differing expansion coefficients between layers, producing cracking and spalling — damage that's often compounded by, rather than separate from, chemical attack that follows the same crack pathways into the lining.
Structural / Installation Factors
Joint quality, drying procedure, and installation technique influence how quickly the other three mechanisms can act — a poorly dried or weakly jointed lining gives penetration and thermal stress an easier path in from day one of the campaign, well before any operational factor comes into play.
Reading the Wear Pattern
Grooves, Gradual Thinning, and Localized Spalls Tell Different Stories
Wear patterns in a lining are usually directional rather than random. The hot face gradually thins, sometimes forming well-defined grooves or worn paths rather than large-scale spalling — a pattern consistent with erosion-dominated wear from flow. Slag attack instead typically follows a penetration-then-reaction-then-wash-out sequence, producing a distinct corroded and weakened zone rather than a smooth, gradual thinning. Distinguishing between these visible signatures during inspection is what lets a finding point back to an actual mechanism rather than a vague "wear."
None of this is meant to suggest the signatures are always clean or unambiguous — mechanisms frequently compound at the same location, with a groove developing a corroded patch at its deepest point, or thermal cracking opening a pathway that chemical penetration then exploits. The goal of careful reading isn't perfect isolation of a single cause; it's identifying the dominant mechanism per zone with enough confidence to actually inform the next material or operating decision.
The callout box in this diagram is the honest caveat every experienced refractory engineer will add to a visual reading: appearance is a strong first indicator, not a certainty. A zone that looks like straightforward erosion can still have meaningful chemical contribution that only shows up under microscopy or chemical analysis. Treating visual pattern reading as a triage step — pointing toward the most likely dominant mechanism and flagging genuinely ambiguous zones for lab sampling — produces far more reliable findings than either skipping analysis entirely or sending every sample to a lab regardless of how clear the visual signature already is.
The Vessel Won't Look Like This Again
A Post-Campaign Inspection Is a One-Time Window Into the Full Wear Picture
iFactory documents zone-by-zone wear findings against your vessel's campaign history — so the pattern captured today informs the next reline specification, not just this one.
The window for a genuinely useful post-campaign inspection is short and closes the moment cleanup or demolition begins — these four steps are the sequence that captures the evidence while it's still there to capture.
01
Document Zone-by-Zone Before Any Cleanup or Demolition
The wear pattern, residual slag adhesion, and crack locations need to be recorded before any cleaning or demolition activity disturbs the surface — once cleanup starts, some of the most diagnostic evidence is gone.
02
Measure Residual Thickness at Multiple Points per Zone
A single spot measurement per zone can miss localized thin spots entirely — thickness measurement at multiple points captures the actual wear profile rather than an average that hides the worst location.
03
Photograph and Sample Where the Mechanism Is Ambiguous
When visual inspection can't clearly distinguish between mechanical, chemical, and thermal contribution at a specific location, targeted sampling for lab analysis is what resolves the ambiguity rather than guessing from appearance alone.
04
Correlate Findings Against Campaign Operating Data
Cross-referencing a wear finding against the campaign's actual heat count, slag chemistry variation, and any recorded process excursions is what turns an inspection finding into an explanation, not just an observation.
Documenting Lessons Learned
Making the Next Campaign Better, Not Just Recording This One
An inspection that ends with measurements and photos but no explicit lessons-learned step has captured data without converting it into anything the next campaign can actually use — these three practices close that gap.
01
Link Every Finding to a Specific Zone and Mechanism
A lessons-learned record that just says "wear was higher than expected" gives the next campaign nothing actionable — tying each finding to a specific zone and the mechanism believed responsible is what makes it useful for the next material or operating specification.
02
Compare Against the Prior Campaign's Wear Profile
A single campaign's findings are useful in isolation, but comparing this campaign's wear profile against the previous one is what actually reveals whether a material change, operating adjustment, or gunning practice made a measurable difference.
03
Flag Findings That Should Change the Reline Specification
If a specific zone consistently underperforms relative to the rest of the lining, that's a signal worth flagging explicitly for the next reline specification — a different material, a different thickness, or a different installation approach at that zone specifically.
Field Perspective
“
The inspections that actually improve the next campaign are the ones where someone resists the urge to write "normal wear" and move on. Normal wear is almost never uniform — there's always a zone that thinned faster, always a pattern with a story behind it, and that story is usually sitting right there in whether the wear looks like a smooth groove or a corroded, spalled patch. The plants that get real value out of post-campaign inspection are documenting mechanism, not just measuring thickness, and they're comparing this campaign's findings against the last one instead of treating each inspection as a standalone event. That comparison is where the actual improvement signal lives — a single inspection tells you what happened, but only the comparison tells you whether anything you changed actually mattered.
Ingrid Baptiste-Choi
Refractory Engineer · 17 years in steelmaking vessel refractory management and post-campaign failure analysis
Common Questions
Frequently Asked Questions
What's the difference between mechanical erosion and chemical corrosion in a refractory failure?
Mechanical erosion is driven by flow rate and shear stress physically wearing the surface, while chemical corrosion involves slag or metal dissolving and reacting with the refractory itself. Both often act together at the same location. Book a demo to see mechanism tracking applied to your vessel's wear history.
Why does refractory wear usually look like grooves or gradual thinning instead of large spalls?
Erosion-dominated wear from flow tends to produce directional, gradual thinning with well-defined grooves, while spalling more often signals thermal stress or chemical attack compounding at a specific point. Reading the shape of the wear is a genuine diagnostic clue. Book a demo to document wear-pattern findings zone by zone.
Why is the matrix and binder phase usually the first part of the refractory to fail?
The matrix and binder phase is typically the most porous and impure part of the refractory, giving corrosive slag more surface area and an easier path to react and penetrate. This makes it the structural weak link under sustained chemical attack. Book a demo to correlate matrix-phase wear against your slag chemistry data.
Should post-campaign inspection findings happen before or after cleanup and demolition begins?
Before — cleanup and demolition destroy the wear pattern, residual slag adhesion, and crack locations that carry the most diagnostic value. Documenting zone-by-zone condition ahead of any disturbance is what preserves the evidence a real failure analysis depends on. Book a demo to structure a pre-demolition inspection workflow.
How does comparing this campaign's wear profile against the previous one actually help?
A single campaign's findings show what happened once; comparing successive campaigns reveals whether a material change, gunning practice, or operating adjustment made a measurable difference. Without that comparison, it's difficult to know if a change actually helped. Book a demo to track wear profiles across campaigns per vessel.
Turn the Inspection Into an Actual Lesson
Wear Pattern, Mechanism, and Campaign Comparison — Documented Together
iFactory documents post-campaign wear findings zone by zone, links them to failure mechanism and campaign operating data, and compares them against your vessel's prior campaigns — so every inspection actually informs the next reline.