A continuous dye range can push 8,000 to 15,000 meters of fabric through padding, drying, and curing in a single hour, which means a single miscalibrated mangle roller or a five-degree stenter temperature drift does not spoil one batch, it spoils an entire shift's output before anyone notices on the inspection table. Continuous dyeing trades the batch flexibility of exhaust dyeing for enormous throughput, but that throughput only pays off when pad pickup, drying uniformity, and curing temperature stay locked within a narrow band for hours at a stretch. Book a demo to see how iFactory keeps continuous dye ranges within tolerance around the clock.
Continuous Dyeing Control
One Roller Out of Calibration Can Cost You a Full Shift of Fabric
Real-time monitoring of pad pickup, stenter zone temperature, and thermosol curing so continuous dye ranges deliver the shade consistency high-volume production demands.
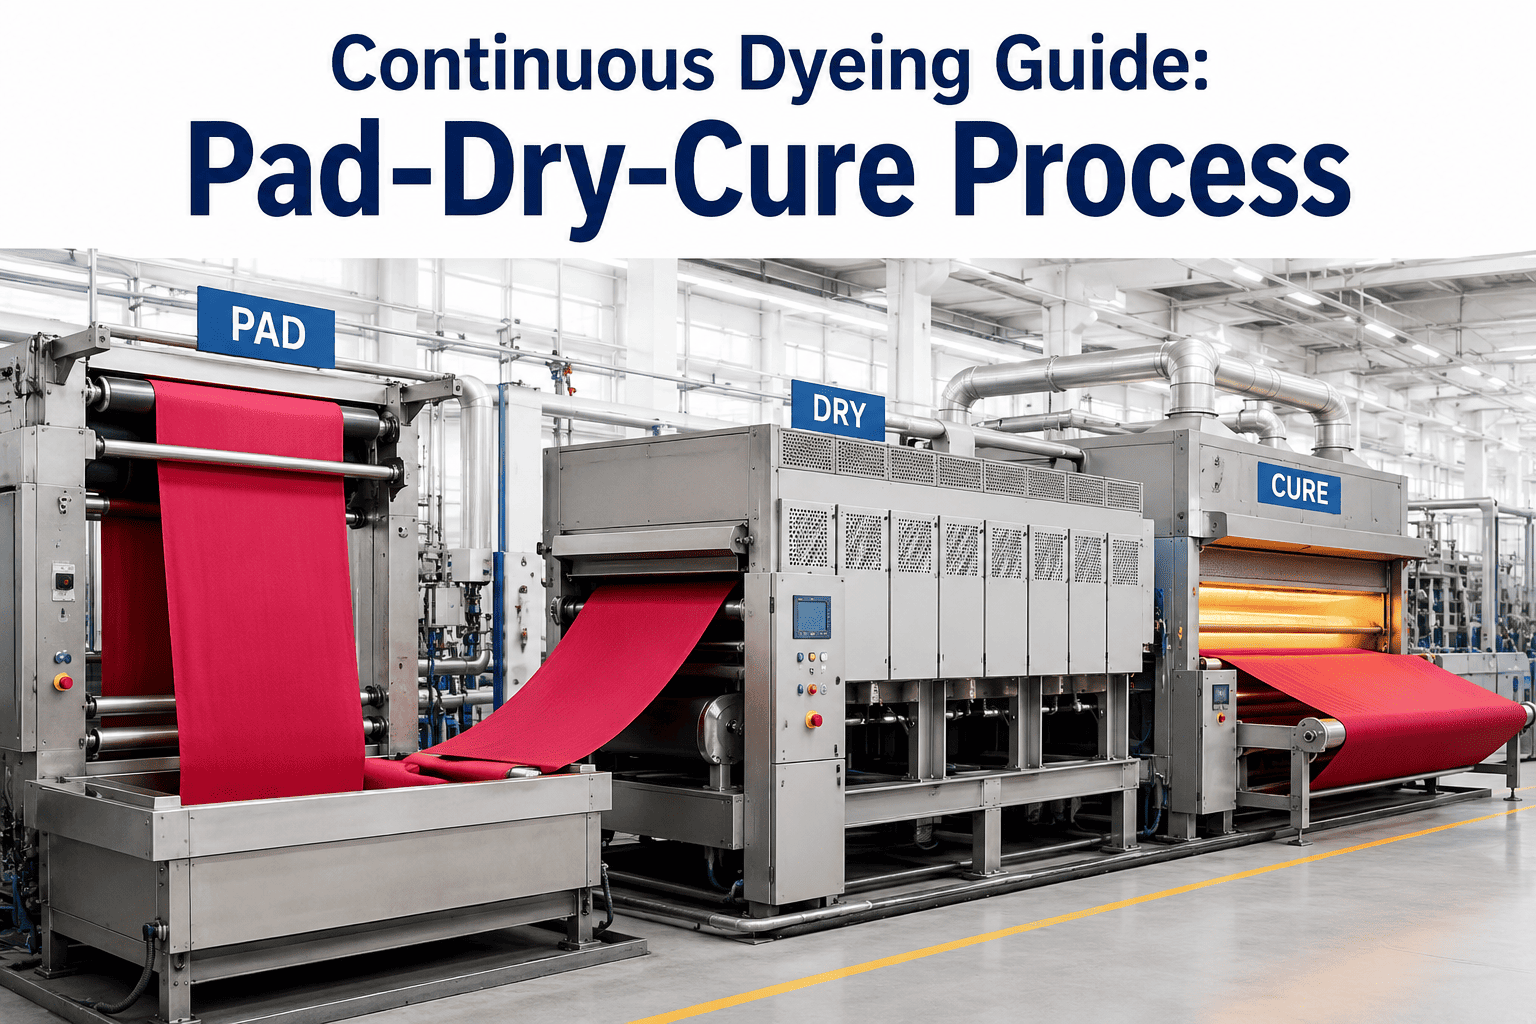
Padding60-100% pickup
Drying100-150C predry
Curing180-220C thermosol
Wash-OffRinse and finish
Three Continuous Dyeing Routes and When Mills Use Each
Not every continuous process uses the same fixation mechanism, and choosing the right route depends on dye class, fabric construction, and the fastness requirements of the finished order. Understanding the tradeoffs between pad-dry-cure, thermosol, and cold pad batch prevents mills from forcing a fabric through the wrong process and paying for it in fastness failures downstream.
Pad-Dry-Cure
Reactive dyes on cotton and cotton blends
Fabric is padded with dye and fixing agent, dried, then cured at 140-160C. Widely used for high-volume reactive dyeing where batch-to-batch consistency matters more than deep shade depth.
Thermosol Process
Disperse dyes on polyester and polyester blends
Fabric is padded with disperse dye, dried, then heat-set at 190-220C so dye sublimes into the polyester fiber directly, without needing a pressurized bath.
Cold Pad Batch (CPB)
Reactive dyes needing lower energy input
Fabric is padded with dye and alkali, then batched on a roll and rotated slowly at room temperature for 4-24 hours to allow fixation without any thermal energy input.
Pad Pickup: The Number That Decides Every Downstream Result
Pad pickup, the percentage of liquor a fabric retains after passing through the padding mangle, is the single most influential variable in continuous dyeing because every downstream calculation - dye concentration, drying time, curing exposure - assumes a specific pickup percentage. A pickup that drifts even 5-8% from target throws off the entire recipe math for the length of fabric affected.
60-70%
Low pickup - lightweight fabrics, faster drying
70-85%
Standard pickup - most woven cotton and blends
85-100%
High pickup - heavier or open-weave constructions
What Throws Pickup Off Target
Uneven roller pressure across the mangle width due to wear or improper setting
Fabric tension variance changing the effective nip contact time
Liquor temperature drift changing viscosity and absorption rate
Roller surface wear reducing squeeze efficiency over thousands of meters
How Many Meters Ran Off-Target Before You Noticed?
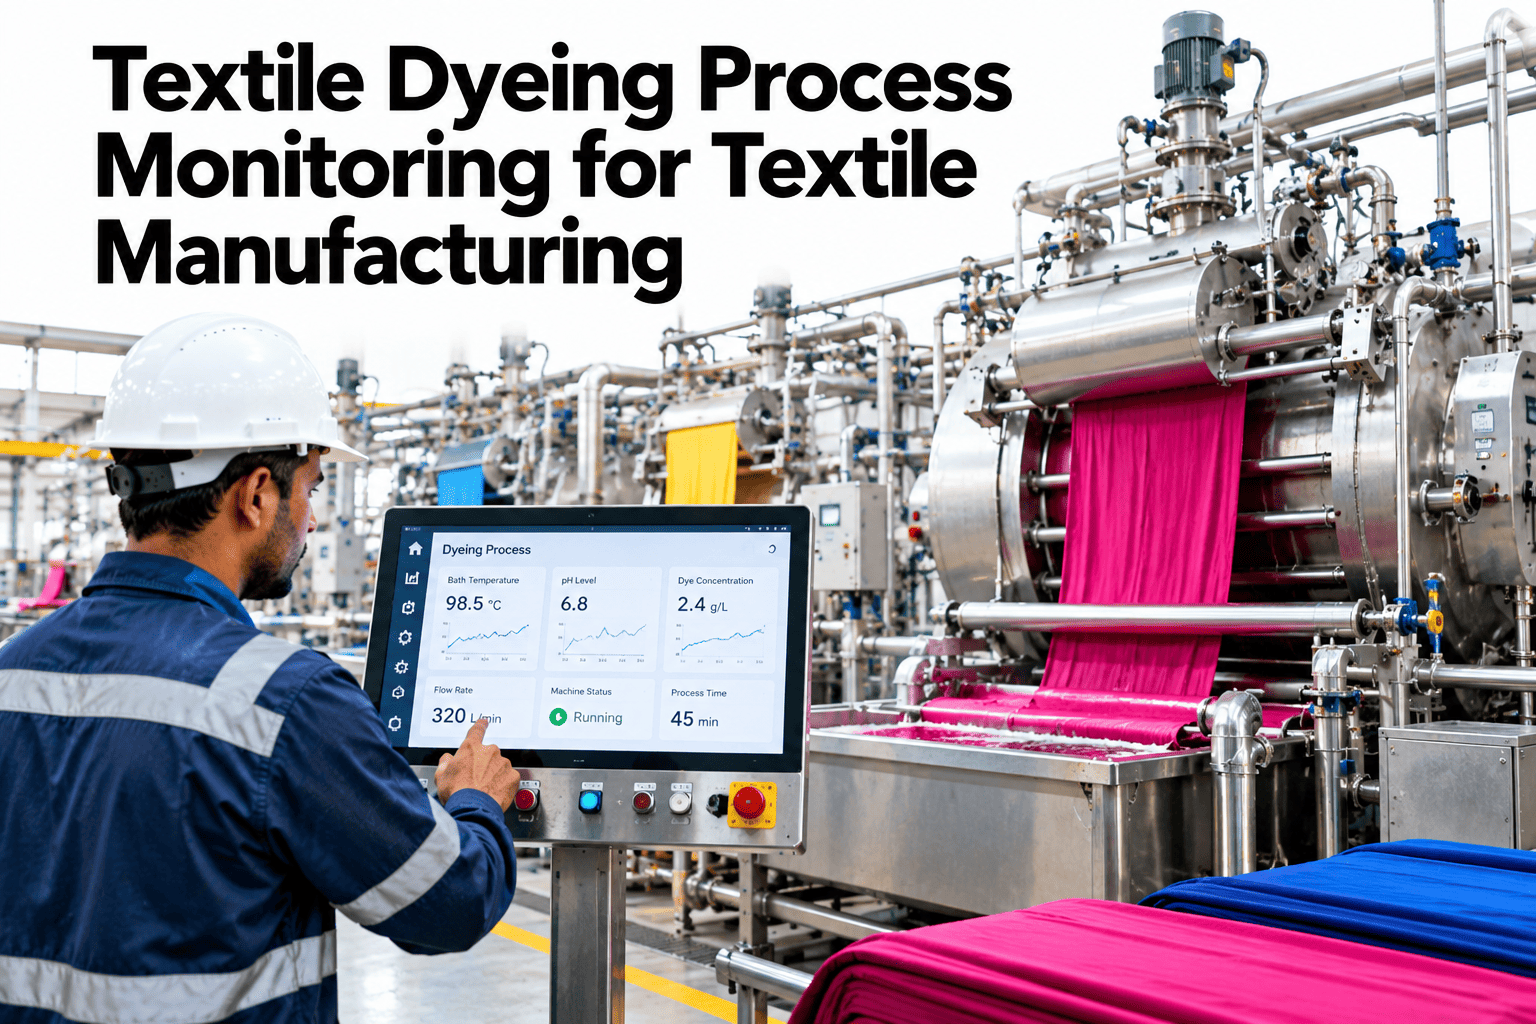
iFactory monitors pad pickup, roller pressure, and dye concentration continuously, alerting your team the moment the range drifts outside tolerance instead of after inspection.
Stenter Zone Temperature: Where Drying and Curing Live or Die
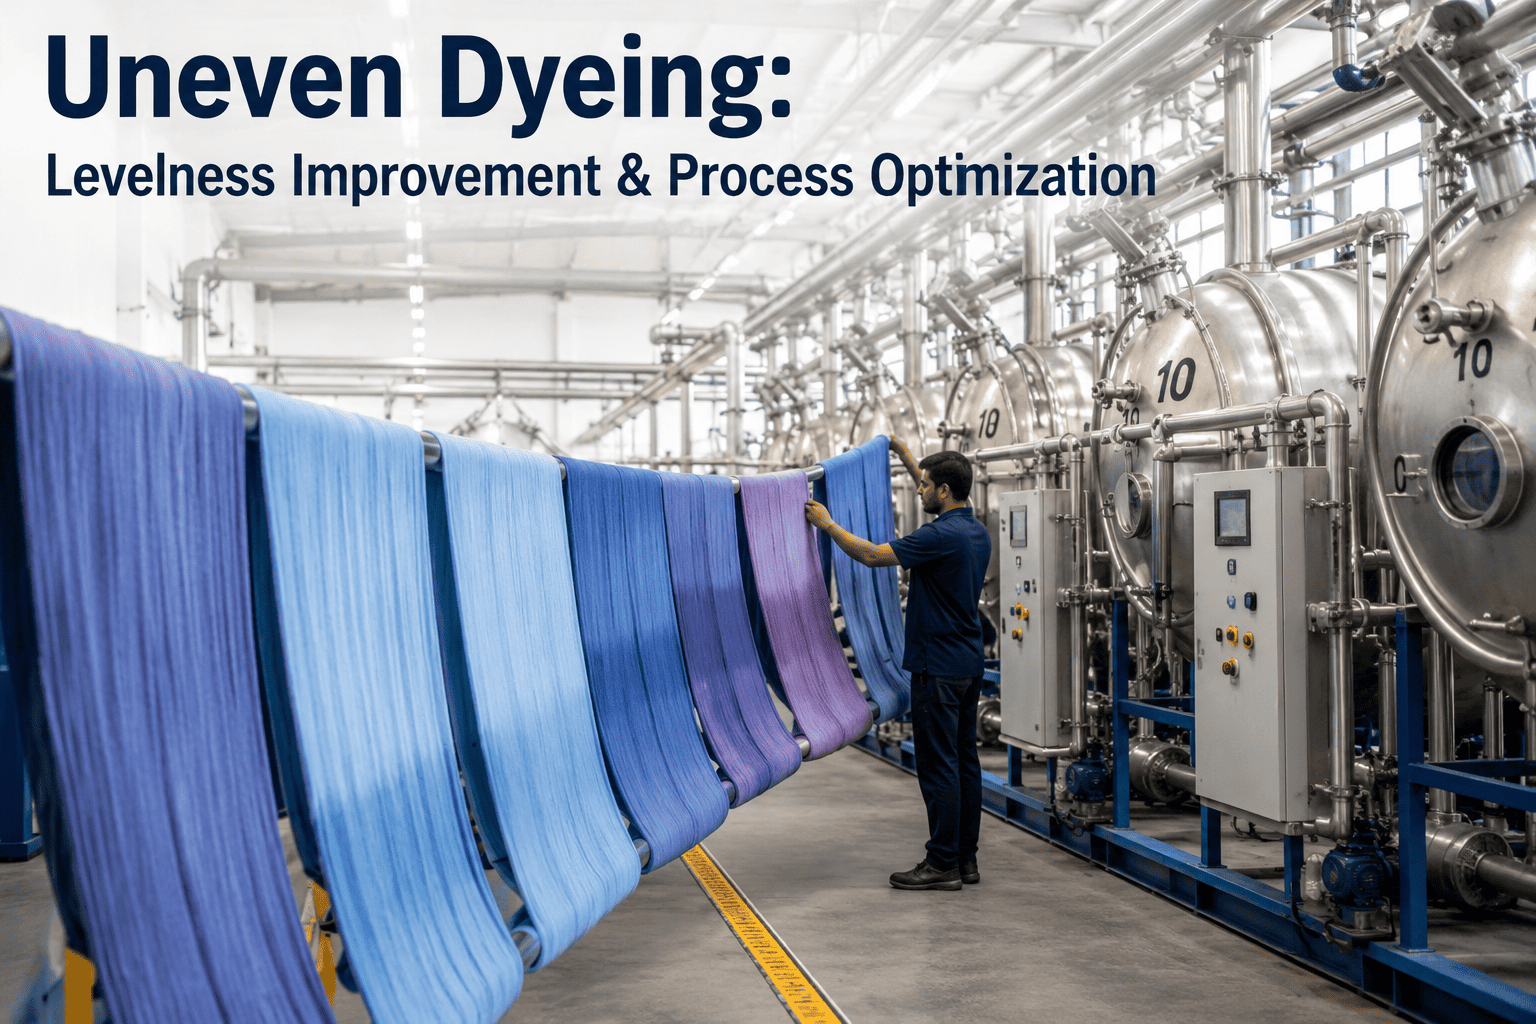
A continuous range's stenter typically runs 6 to 10 independently controlled temperature zones, and uneven zone performance is one of the most common causes of side-to-center and edge-to-edge shade variation on the finished roll. Zones that run hot dry the fabric too fast and can cause dye migration to the surface before fixation; zones that run cool leave moisture that under-cures the dye.
Zone 1-2
Pre-dry, moisture removal
100-130C
Zone 3-4
Controlled drying, migration risk zone
130-150C
Zone 5-7
Curing or thermosol fixation
150-220C
Zone 8-10
Cool-down before exit
80-100C
Dye migration during Zone 3-4 drying is the leading cause of tone-on-tone unevenness on continuously dyed fabric, and it is directly controlled by drying rate rather than curing temperature.
Continuous vs Batch Dyeing: When the Volume Math Actually Works
Continuous dyeing is not automatically the cheaper option - it depends heavily on order volume and shade change frequency. The comparison below reflects typical cost and time performance for a mid-size order across both methods, helping planners decide which route fits a given production run.
| Metric |
Continuous Dyeing |
Batch (Exhaust) Dyeing |
| Throughput per hour | 8,000-15,000 m | 800-1,500 m equivalent |
| Water use per meter | Low, 2-4 L/m | Higher, 8-15 L/m |
| Ideal minimum order size | 5,000+ meters per shade | Under 2,000 meters per shade |
| Shade change downtime | 30-60 min per change | Minimal, separate baths |
| Process sensitivity to drift | High, affects full run instantly | Contained to single batch |
Building a Stable Continuous Dye Range: The 4-Stage Approach
Mills running continuous dye ranges without live process monitoring typically discover shade drift only at the inspection table, long after hundreds or thousands of meters have run off-target. Here is the stage-by-stage approach that stabilizes continuous ranges into a predictable, monitored process.
Stage 1
Baseline Pad Pickup and Zone Temperatures
Record actual pickup percentage and stenter zone readings across a full production run to identify where the range drifts from setpoint over time.
Stage 2
Install Continuous Sensor Monitoring
Deploy pickup sensors at the mangle nip and temperature probes across every stenter zone, feeding live data instead of periodic manual spot checks.
Stage 3
Set Drift Alerts Tied to Fabric Length
Configure alerts that flag not just the deviation but the exact meterage affected, so quality teams can isolate and inspect only the run segment at risk.
Stage 4
Correlate Drift Data With Inspection Results
Match flagged deviations against downstream inspection rejects to fine-tune alert thresholds until the system reliably predicts which drift levels actually cause visible defects.
Frequently Asked Questions
What is the difference between pad-dry-cure and thermosol dyeing?
Pad-dry-cure is used primarily for reactive dyes on cotton and cotton-blend fabrics, where the fabric is padded with dye and fixing agent, dried, and then cured at moderate temperatures of 140-160C to fix the dye chemically to the cellulose fiber. Thermosol is the equivalent process for disperse dyes on polyester, using much higher curing temperatures of 190-220C that allow the disperse dye to sublime directly into the polyester fiber structure, achieving a similar penetration effect to high-temperature pressure dyeing but through dry heat instead of a pressurized water bath.
Book a demo to see monitoring across both process types.
Why does pad pickup percentage matter so much in continuous dyeing?
Every downstream calculation in a continuous dye recipe, including dye concentration, drying time, and curing exposure, is built assuming a specific pickup percentage that determines exactly how much liquor and dye mass the fabric is carrying forward. If pickup drifts even a few percentage points from target, the actual dye-to-fabric ratio no longer matches the recipe, producing shade variation that only becomes visible once the fabric is dried and inspected, by which point a significant length may already be affected. Pickup is influenced by roller pressure, fabric tension, liquor temperature, and roller surface condition, all of which need to be monitored rather than set once and assumed stable.
At what order volume does continuous dyeing become more cost-effective than batch dyeing?
Continuous dyeing generally becomes more economical than batch exhaust dyeing at order volumes above roughly 5,000 meters per shade, since the setup and shade-change time for a continuous range is fixed regardless of run length, so longer runs dilute that fixed cost across more meters. Below approximately 2,000 meters per shade, batch dyeing is usually more economical because exhaust dyeing baths can be sized to the exact order without wasting continuous range capacity or absorbing a 30-60 minute shade change penalty for a short run.
Contact our support team to model the right threshold for your product mix.
What causes side-to-center shade variation on continuously dyed fabric?
Side-to-center variation is most commonly caused by uneven temperature distribution across the width of the stenter frame, where edge zones run cooler than the center due to heat loss near the frame rails, or by uneven pad pickup across the mangle width from roller wear or misalignment. Both issues cause the edges of the fabric to receive a different effective dye concentration or fixation temperature than the center, producing a visible gradient that is very difficult to correct after the fact and must be caught through zone-by-zone and cross-width monitoring during the run itself.
Is cold pad batch dyeing suitable for high-volume production?
Cold pad batch works well for volume production but operates on a different time model than pad-dry-cure or thermosol, since the padded fabric is rolled and left to fix for 4 to 24 hours at room temperature rather than being cured immediately with heat. This makes CPB attractive where energy costs are a major concern or where the fabric is heat-sensitive, but it requires more roll storage space and longer total cycle time from padding to finished fixation, which mills need to plan into their production scheduling rather than expecting the same immediate throughput as heat-cured continuous methods.
Keep Every Meter of Your Continuous Range Within Tolerance
iFactory connects pad pickup sensors, stenter zone temperatures, and curing data into one live dashboard, so drift gets caught by meterage, not discovered at the inspection table.