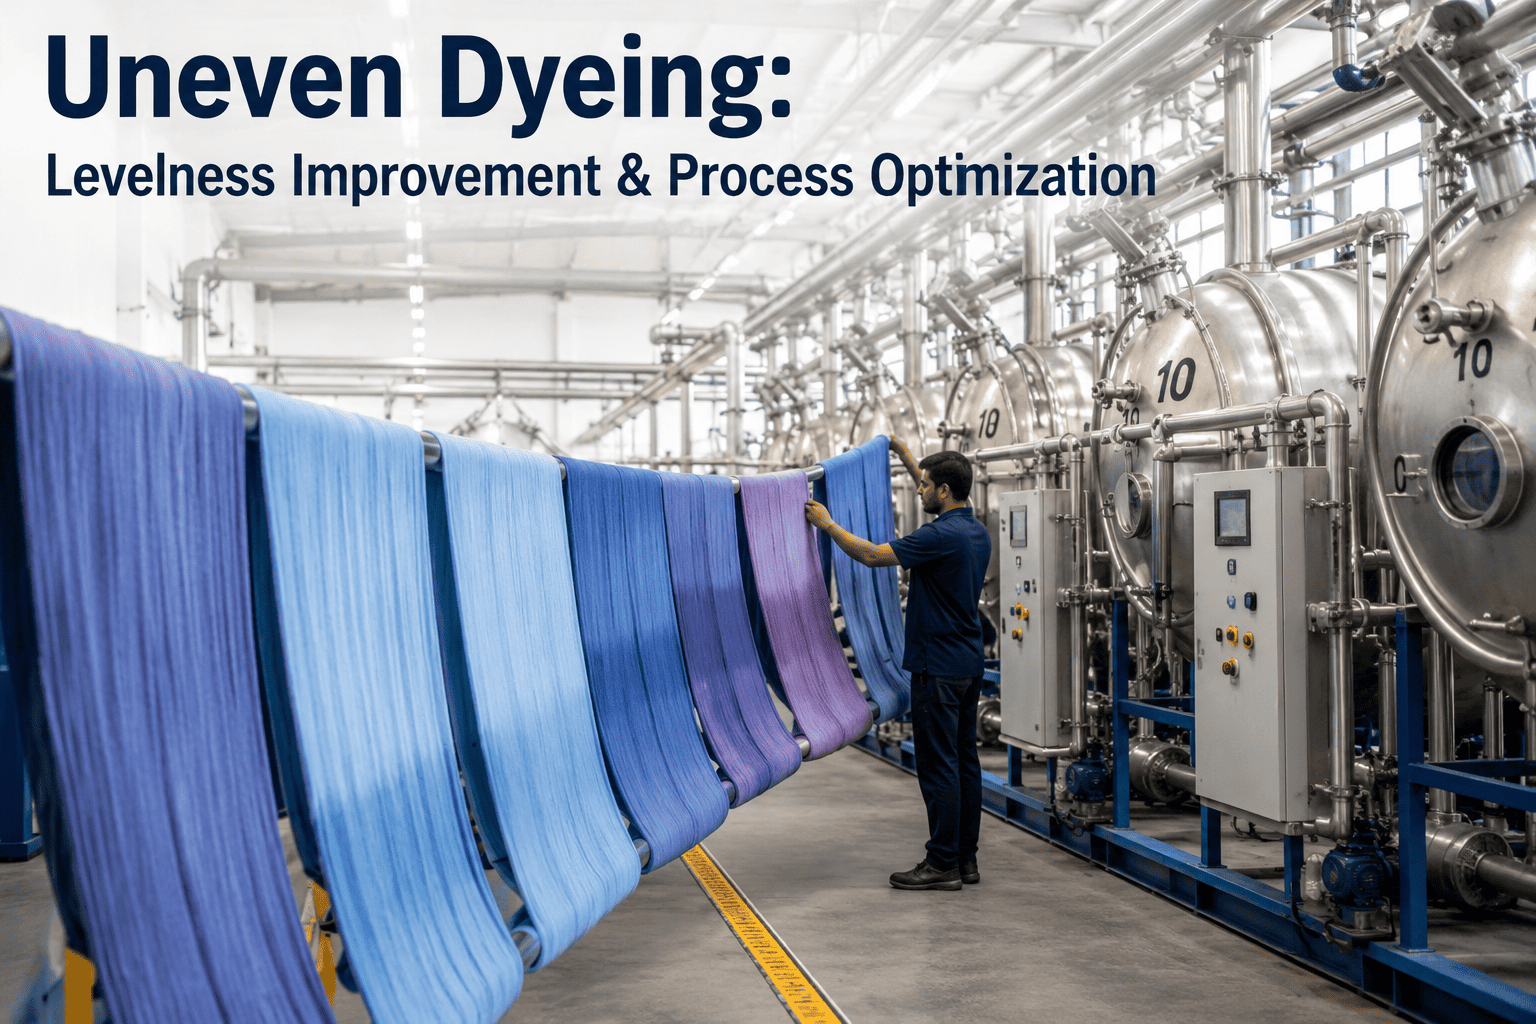
A batch comes out of the dye machine and, under normal light, looks fine — until it's inspected under full tension and the center of the fabric reads visibly deeper than the selvedge. Uneven dyeing rarely announces itself as dramatically as a streak; it's a subtler, more diffuse inconsistency that spreads across the whole piece rather than concentrating in one visible line, which makes it both easier to miss during a quick inspection and harder to trace back to a single cause once it's caught. Fixing it consistently means treating heating rate, hold time, leveling agent choice, and fabric circulation as one connected system rather than four separate adjustments made in isolation.
Uneven Dyeing Isn't One Problem. It's Four Variables Fighting Each Other.
Dye levelness — how uniformly color distributes across a fabric or yarn — depends on the interaction between heating rate, hold time, leveling agent selection, and fabric circulation, and optimizing any one of these in isolation rarely fixes an unevenness problem on its own.
Why Levelness Problems Are Easy to Miss and Expensive Once Found
Unevenness rarely fails a batch outright the way a dramatic streak or an obvious shade mismatch does — it tends to sit in a gray zone where the average shade across the piece measures correctly, but the distribution around that average varies more than a strict buyer's tolerance allows. This makes it a defect that's genuinely easy for an internal quality check to pass, especially under time pressure or less rigorous lighting conditions, only for the same batch to fail a buyer's more careful inspection later. The cost of catching unevenness late is substantial — by the time a buyer flags it, the fabric has already been through finishing, packed, and shipped, turning what could have been a same-day in-process correction into a full re-dye plus freight and schedule disruption.
This is part of why levelness deserves a dedicated inspection step distinct from general shade approval, one that specifically checks for consistency across the width and length of the fabric under full tension and standardized lighting, rather than relying on the same spot-check that catches shade-versus-standard deviation. A batch can pass a center-point shade comparison against the standard swatch with flying colors while still carrying a center-to-selvedge gradient that a width-wise scan would catch immediately. Building this distinction into the quality process — treating "correct shade" and "even shade" as two separate checks rather than one — closes a gap that costs many mills more in returns and re-dyes than the extra inspection time would ever cost them.
The Heating Curve: Where Most Unevenness Actually Starts
Dye molecules exhaust onto fiber fastest at higher temperatures, which means the rate at which a bath heats up controls how much time the dye has to migrate and distribute evenly before it fixes onto the fabric. A heating rate that's too fast causes dye to strike the fiber surface before it has had time to penetrate and level across the fabric, producing a batch that's technically at the correct final shade on average but visibly patchy when inspected closely — darker at points of first fabric contact, lighter where liquor circulation was comparatively weaker. A heating rate that's too slow, on the other hand, wastes cycle time and energy without necessarily improving levelness beyond a certain point, since dye migration has practical limits regardless of how gradually the bath approaches temperature.
Room Temp
1-2°C/min
Peak Temp
Gradual Drop
Salt and Alkali Addition Rate: A Reactive Dye-Specific Factor
For reactive dyeing on cotton specifically, the rate at which salt and alkali are added to the bath introduces a levelness variable distinct from heating rate, and one that's easy to overlook because it happens during a phase of the cycle that doesn't involve any temperature change at all. Salt promotes dye exhaustion onto the fiber, and adding it too quickly causes a sudden spike in exhaustion rate that mirrors the same problem a too-fast heating rate creates — dye strikes the fiber before it has had time to distribute evenly, leaving the batch with an underlying unevenness that alkali addition, which fixes the dye in place, then locks in permanently.
A staged, gradual salt addition — often specified in a recipe as multiple smaller additions over a defined period rather than a single dose — gives the dye more opportunity to migrate evenly before exhaustion accelerates, and adjusting this staging is frequently a lower-cost lever for improving levelness on reactive dyeing than reformulating with additional leveling agent. Mills troubleshooting reactive dye unevenness often overlook this step specifically because it doesn't appear on a standard temperature-focused process chart, even though its effect on final levelness can be just as significant as the heating curve itself.
Hold Time: The Step Most Recipes Underestimate
Once the bath reaches its target temperature, the hold time that follows is what allows dye that struck unevenly during heating to migrate and redistribute across the fabric, and this redistribution takes measurably longer than most standard recipes budget for, particularly with fabrics that have any variation in fiber density or pre-treatment across their width. A hold time cut short to save cycle time — a common pressure in high-throughput operations — locks in whatever unevenness developed during the heating phase, since there simply wasn't enough time at peak temperature for migration to finish correcting it.
The relationship between heating rate and hold time is genuinely interdependent rather than two separate settings to optimize independently: a faster heating rate that strikes dye unevenly can sometimes be compensated for with a longer hold time that allows more migration afterward, while a slower, more controlled heating rate that strikes dye more evenly to begin with can often get away with a shorter hold time. Recipes that treat these as fixed, unrelated numbers miss the opportunity to balance them against each other for a given fabric and dye combination, often settling for a compromise that's neither the fastest nor the most level option available.
See the Actual Heating and Hold Profile Behind Every Batch
iFactory logs the real heating curve and hold duration for each batch against the recipe target, making it possible to see exactly where a levelness problem originated.
Leveling Agent Selection by Dye Class
Leveling agents work by temporarily slowing dye exhaustion or by improving dye migration on the fiber, and different agent chemistries suit different dye classes in ways that a one-size-fits-all approach to agent selection routinely gets wrong. Reactive dyes, common on cotton, typically benefit from agents that manage the exhaustion rate during the salt addition and alkali stages specifically, while disperse dyes on polyester respond better to agents that improve migration during the high-temperature dyeing phase itself. Using an agent formulated for one dye class on a different class can produce a marginal or even counterproductive effect, since the mechanism the agent relies on may not match how that dye class actually behaves in the bath.
| Dye Class | Common Fabric | Leveling Agent Function |
|---|---|---|
| Reactive | Cotton, viscose | Controls exhaustion rate during salt/alkali addition |
| Disperse | Polyester | Improves migration during high-temperature phase |
| Acid | Nylon, wool | Slows initial strike rate, promotes even uptake |
| Vat | Cotton (high fastness) | Regulates reduction and re-oxidation uniformity |
Fabric Circulation: The Mechanical Half of the Equation
Even a perfectly tuned heating curve and correctly selected leveling agent can't fully compensate for poor fabric circulation, since level dyeing fundamentally requires every part of the fabric to have roughly equal contact with fresh, well-mixed liquor throughout the cycle. Overloading a machine beyond its rated fabric capacity is the most common circulation-limiting mistake, since it reduces the space liquor has to move freely around and through the fabric mass, creating zones — typically toward the center of a tightly packed load — that receive measurably less liquor exchange than fabric near the machine's circulation inlet.
Liquor ratio, the proportion of liquor volume to fabric weight, interacts directly with circulation quality — a liquor ratio that's technically within the recipe's specified range can still produce uneven circulation if the machine's pump or jet system wasn't sized appropriately for that ratio at full fabric loading. This is why a recipe validated on a smaller test batch doesn't always scale cleanly to full production volume without revisiting circulation adequacy at the larger load, a step that gets skipped more often than it should when a mill is under pressure to move a new recipe into full production quickly.
Circulation quality also degrades gradually over a machine's operating life in ways that are easy to miss because no single day's change is dramatic enough to notice. A pump losing a small percentage of its rated flow capacity every few months due to normal wear, or a jet nozzle developing minor internal buildup, each shift the effective circulation available at a given loading level downward incrementally, until a loading percentage that produced level results reliably for years starts producing marginal unevenness with no obvious external cause. Periodic verification of actual circulation performance against the machine's original rated specification — not just visual inspection, but an actual flow or pressure measurement — catches this slow drift before it becomes a chronic, hard-to-diagnose levelness problem.
A Composite Case: Solving Center-to-Selvedge Unevenness
A mill dyeing polyester fabric on a jet machine had been experiencing a persistent pattern where the center of each fabric roll consistently dyed slightly deeper than the edges, a defect subtle enough to pass casual inspection but clear under a buyer's stricter quality light box. The team's first response was adjusting the leveling agent dosage upward, based on a general assumption that more leveling agent generally helps evenness — this produced a marginal improvement but didn't eliminate the pattern, and it added meaningful cost across every subsequent batch.
A more systematic review, checking heating rate, hold time, and machine loading together rather than adjusting one variable at a time, found that the machine was consistently loaded at close to its maximum rated fabric capacity to maximize batch efficiency, which reduced circulation clearance specifically in the fabric rope's center relative to its edges. Reducing the load to roughly 85% of rated capacity, without changing the leveling agent dosage back down, resolved the center-to-selvedge pattern within the first three trial batches. The mill accepted a modest reduction in batch throughput as the trade-off, judging it worthwhile against the cost of the excess leveling agent and the ongoing risk of buyer rejection the previous approach hadn't actually solved.
A Practical Levelness Improvement Checklist
Treat heating rate and hold time as one connected setting, not two
Adjusting either in isolation without considering the other often trades one inefficiency for another rather than genuinely improving levelness.
Match leveling agent chemistry to the specific dye class in use
An agent that works well for reactive dyes on cotton may do little for disperse dyes on polyester, since the mechanisms involved are different.
Revisit circulation adequacy whenever a recipe scales to a new load size
A recipe proven level at a smaller test batch can develop circulation-driven unevenness at full production loading if this step is skipped.
Inspect for evenness under full tension and consistent lighting
Subtle unevenness that passes a quick visual check often becomes visible only under the stricter conditions a buyer's own inspection will use.
Frequently Asked Questions
What's a typical recommended heating rate range for level dyeing?
This varies significantly by fabric type, fiber content, and dye class, but a commonly referenced starting range for many reactive and disperse dyeing applications falls between 1 and 2 degrees Celsius per minute during the critical dye-strike phase, with adjustments made based on trial results for the specific fabric and machine combination in use. Fabrics with denser construction or higher pre-treatment variability often benefit from the slower end of this range to allow more time for even penetration. Visit support to see how heating profiles are typically validated for a specific fabric type.
Can increasing leveling agent dosage fix an unevenness problem caused by machine loading?
Generally not effectively — as the composite case above illustrates, leveling agents address dye migration chemistry, while machine overloading creates a genuinely mechanical circulation deficiency that chemistry alone can't fully compensate for. Increasing dosage in this situation typically produces only marginal improvement while adding unnecessary cost, whereas addressing the actual circulation constraint resolves the pattern more completely.
How long should hold time typically run at peak dyeing temperature?
Hold time requirements vary by fabric weight, fiber type, and dye class, but many standard recipes underestimate the time needed for full migration, particularly for heavier or denser fabric constructions. A useful practical test is comparing levelness results across a few trial batches with incrementally longer hold times to identify the point of diminishing returns for a specific fabric and recipe combination, rather than relying solely on a generic recipe default.
Does fabric weight or construction affect how much circulation a level dyeing process needs?
Yes, heavier and more densely constructed fabrics generally require more liquor circulation to achieve even penetration compared to lighter, more open constructions, since liquor has to work harder to move through a denser fabric structure. This is part of why a machine loading percentage that produces level results on a lightweight fabric can produce center-to-edge unevenness on a heavier fabric run through the same machine at the same loading level.
What's the most cost-effective first step for a mill troubleshooting chronic unevenness?
Reviewing machine loading against rated circulation capacity is often the highest-value first check, since it costs nothing beyond a review of existing batch records and frequently reveals a straightforward, no-cost or low-cost fix before more expensive interventions like leveling agent changes are considered. Book a demo to see how batch loading and circulation data connect to levelness outcomes.
Fix the System, Not Just One Variable
iFactory connects heating rate, hold time, agent dosage, and machine loading to every batch's levelness outcome, so a fix targets the actual driver instead of the easiest adjustment to make.