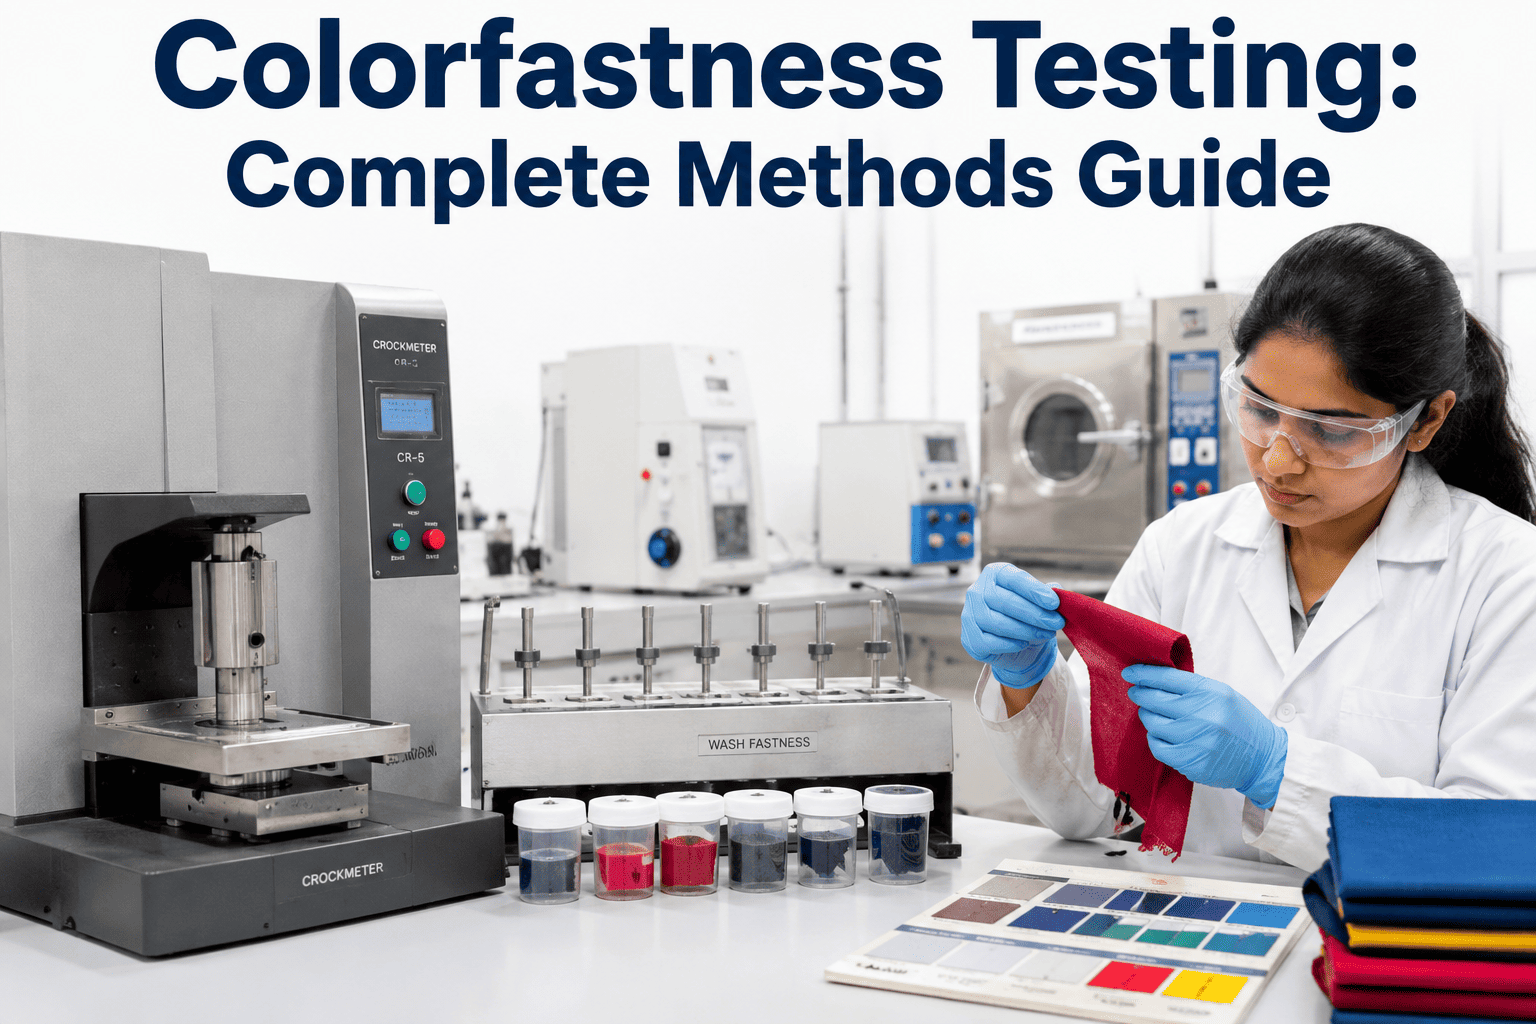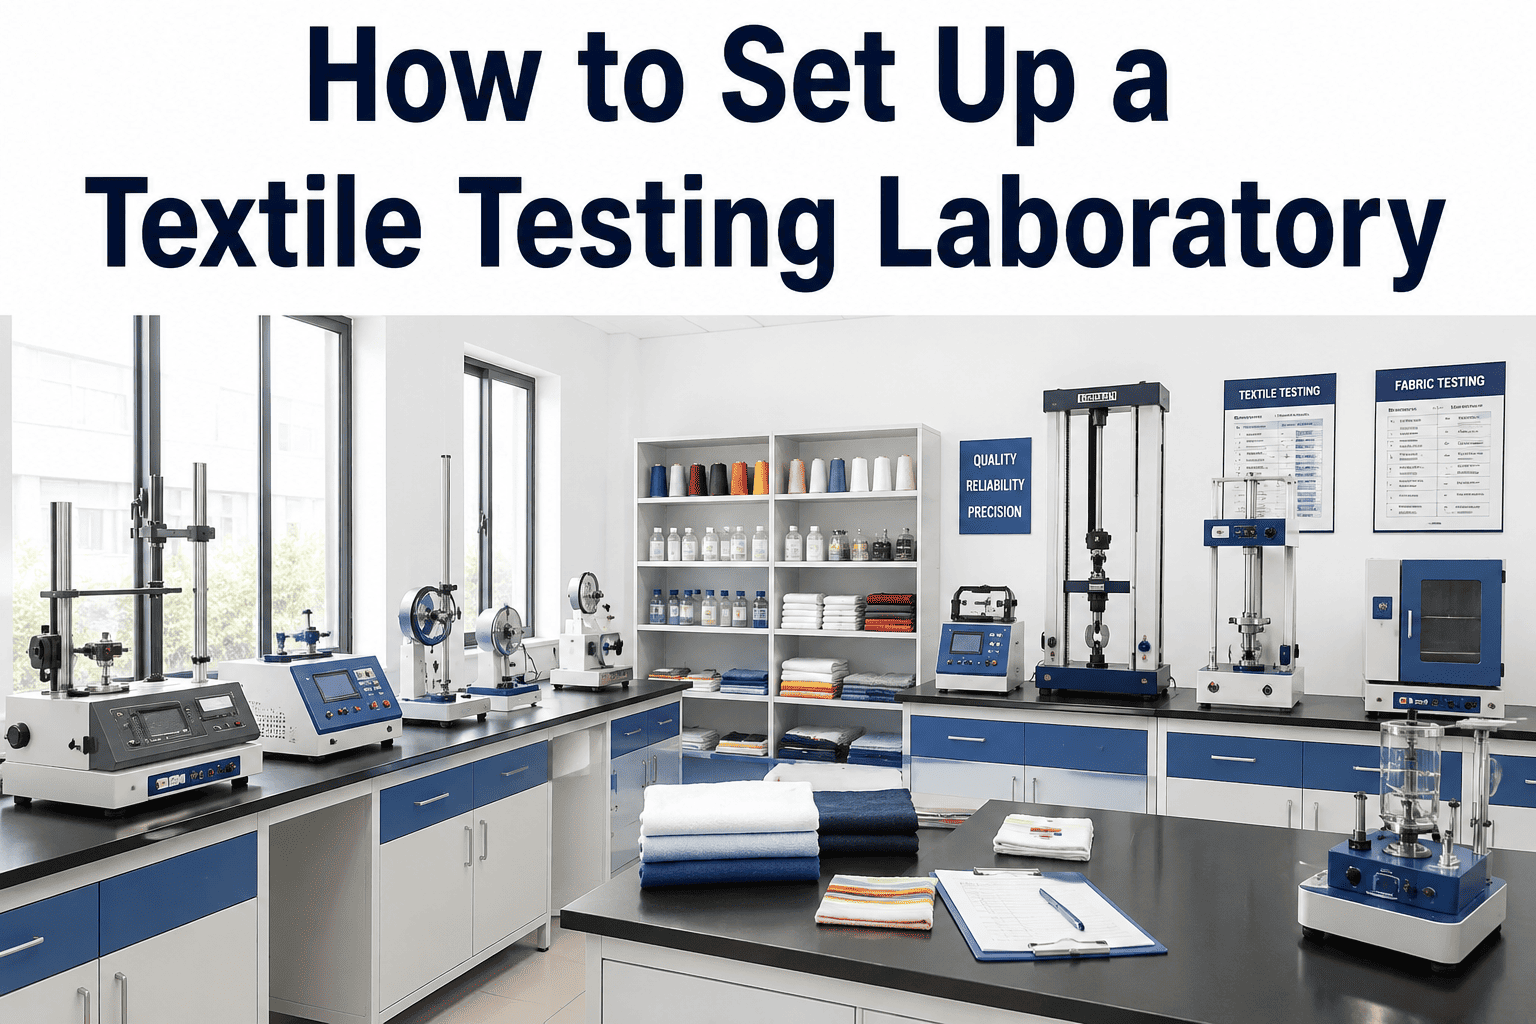
Most mills that get burned by a quality escape didn't fail because they lacked testing equipment entirely, they failed because their lab was built the way most labs get built, one machine purchased at a time whenever a specific customer complaint forced the issue. A tensile tester bought after a strength dispute, a crockmeter added after a colorfastness rejection, a pilling tester purchased two years later after a knitwear buyer pushed back. The result is a lab with gaps nobody planned around, and gaps in a testing lab don't show up until the exact defect they were supposed to catch ships out the door instead. Our quality systems team works with mills building or expanding a physical testing lab from a real production standpoint rather than a reactive one.
Build the Lab Around What You Actually Ship, Not What You Wish You Tested Last Time
A textile testing lab is a fixed cost that either pays for itself in caught defects and won buyer trust, or sits half-equipped while rejections keep happening downstream. The difference is almost always in how deliberately it was planned.
Start With What Your Fabric Actually Fails On
The instinct to buy the most comprehensive equipment list available is understandable but expensive and often wrong. A mill producing woven cotton shirting has a different failure profile than a mill producing knitted athletic wear, and a lab built for one without regard for the other ends up with expensive machines that rarely run and cheap gaps that get exploited by every buyer audit. The right starting point is a review of the last two years of customer complaints, returns, and internal rejections, sorted by defect type, not a generic list copied from a supplier's catalog.
This exercise is uncomfortable for a lot of quality managers because it forces an honest look at exactly where the mill has been quietly losing money, whether that's repeated colorfastness complaints from a specific buyer, chronic pilling issues on a knit line, or strength failures that only show up after the fabric has already been cut and sewn into finished garments. But that discomfort is exactly why it's valuable, since it replaces a generic equipment wish list with a prioritized, defensible investment plan that a plant manager or finance team can actually approve with confidence, because it's tied directly to documented cost of poor quality rather than an abstract notion of being more thorough.
The Five Instruments Every Mill Needs First
Regardless of product category, five instruments cover the large majority of physical and colorfastness testing that buyers routinely request, and are the right foundation for almost any lab regardless of what comes next. Each one maps to a specific, well-established test method rather than a proprietary or vague quality check, which matters because buyer audits reference the named standard, not a description of what the machine does.
It's worth noting that owning the instrument is only half the requirement, since every one of these tests is governed by a specific standard method that dictates sample size, conditioning time, test speed, and how results are calculated and reported, and a lab that owns the machine but doesn't follow the referenced method precisely can still produce results a buyer's own lab won't be able to reproduce. Training technicians against the actual standard text, not just the instrument's default settings out of the box, is what makes the difference between a test result that holds up under scrutiny and one that gets quietly disputed.
The Instruments That Get Skipped Until a Buyer Demands Them
Beyond the core five, a second tier of instruments tends to get added reactively, after a specific buyer audit or a specific product line expansion forces the issue. Planning for these in advance, even if they aren't purchased immediately, avoids the scramble of sourcing, installing, and validating a new instrument under deadline pressure while a buyer's compliance deadline is already running.
| Instrument | What It Verifies | Typical Trigger for Adding It |
|---|---|---|
| Bursting Strength Tester | Resistance to rupture under pressure, common on knits | Knitwear or technical fabric line expansion |
| Elmendorf Tear Tester | Tearing strength via pendulum method | Buyer specification citing tear strength directly |
| GSM Balance and Cutter | Fabric weight per unit area, a core spec on every order | Usually purchased early, frequently underrated |
| Air Permeability Tester | Breathability, critical for technical and outerwear fabrics | Entry into performance apparel or medical textile categories |
| Flammability Tester | Burn behavior per CPSC or ASTM flammability standards | Children's wear or U.S. market entry |
The GSM balance and cutter in particular is one of the most underrated instruments on this list. Fabric weight per square meter is referenced on nearly every purchase order and technical spec sheet a mill receives, yet the instrument itself is inexpensive relative to the tensile tester or spectrophotometer, which means it's frequently deprioritized in planning even though it gets used constantly once installed.
A useful discipline here is to treat this second tier list as a standing roadmap rather than a someday list, reviewed at least once a year against the mill's current buyer base and product direction. A mill that has never shipped into the United States children's wear market has no immediate need for a flammability tester, but the moment that market entry is even under discussion, the lead time to source, install, and validate that instrument should already be factored into the timeline rather than discovered as a blocker after the first order is already confirmed.
Why Conditioning Comes Before Any Test Result Means Anything
A lab full of the right instruments still produces unreliable results if the room itself isn't controlled, because fiber and fabric properties genuinely change with ambient temperature and humidity. Cotton, wool, and many synthetic fibers continuously absorb and release moisture from the surrounding air, and that moisture content directly affects weight, dimension, and tensile behavior. Testing the same fabric on a humid afternoon and a dry morning without conditioning can produce two different results for reasons that have nothing to do with the fabric itself.
- Results vary by time of day and season without explanation
- Retest disputes with buyers become common and hard to resolve
- Accreditation audits flag missing environmental documentation
- Fabric conditioned to moisture equilibrium before every test
- Results repeatable regardless of when the test was run
- Environmental logs available on demand for any accreditation review
The internationally referenced standard atmosphere for textile testing sits at roughly 21 degrees Celsius with 65 percent relative humidity, or a comparable standard specified by the exact test method in use, with fabric typically requiring a conditioning period of at least several hours, often 24 hours or more for accurate equilibrium, before testing begins. Skipping this step doesn't just risk a wrong result, it risks an accreditation finding, since environmental monitoring and control is a specifically named requirement under ISO 17025 for any lab seeking or maintaining formal accreditation.
The practical failure mode here is subtle and easy to miss without deliberate attention. A lab technician running the same tensile test procedure exactly correctly, on the exact same instrument, can still get a different result purely because the sample wasn't given adequate time to reach moisture equilibrium in the conditioning space, or because the conditioning room itself was allowed to drift outside its target range during a particularly humid week. Since this failure mode doesn't announce itself, the only real defense is continuous environmental monitoring with a logged, time-stamped record, so that any unexplained result variance can be checked against the conditioning room's actual environmental history rather than assumed to be a fabric or instrument problem.
Calibration Is the Difference Between a Lab and a Room Full of Machines
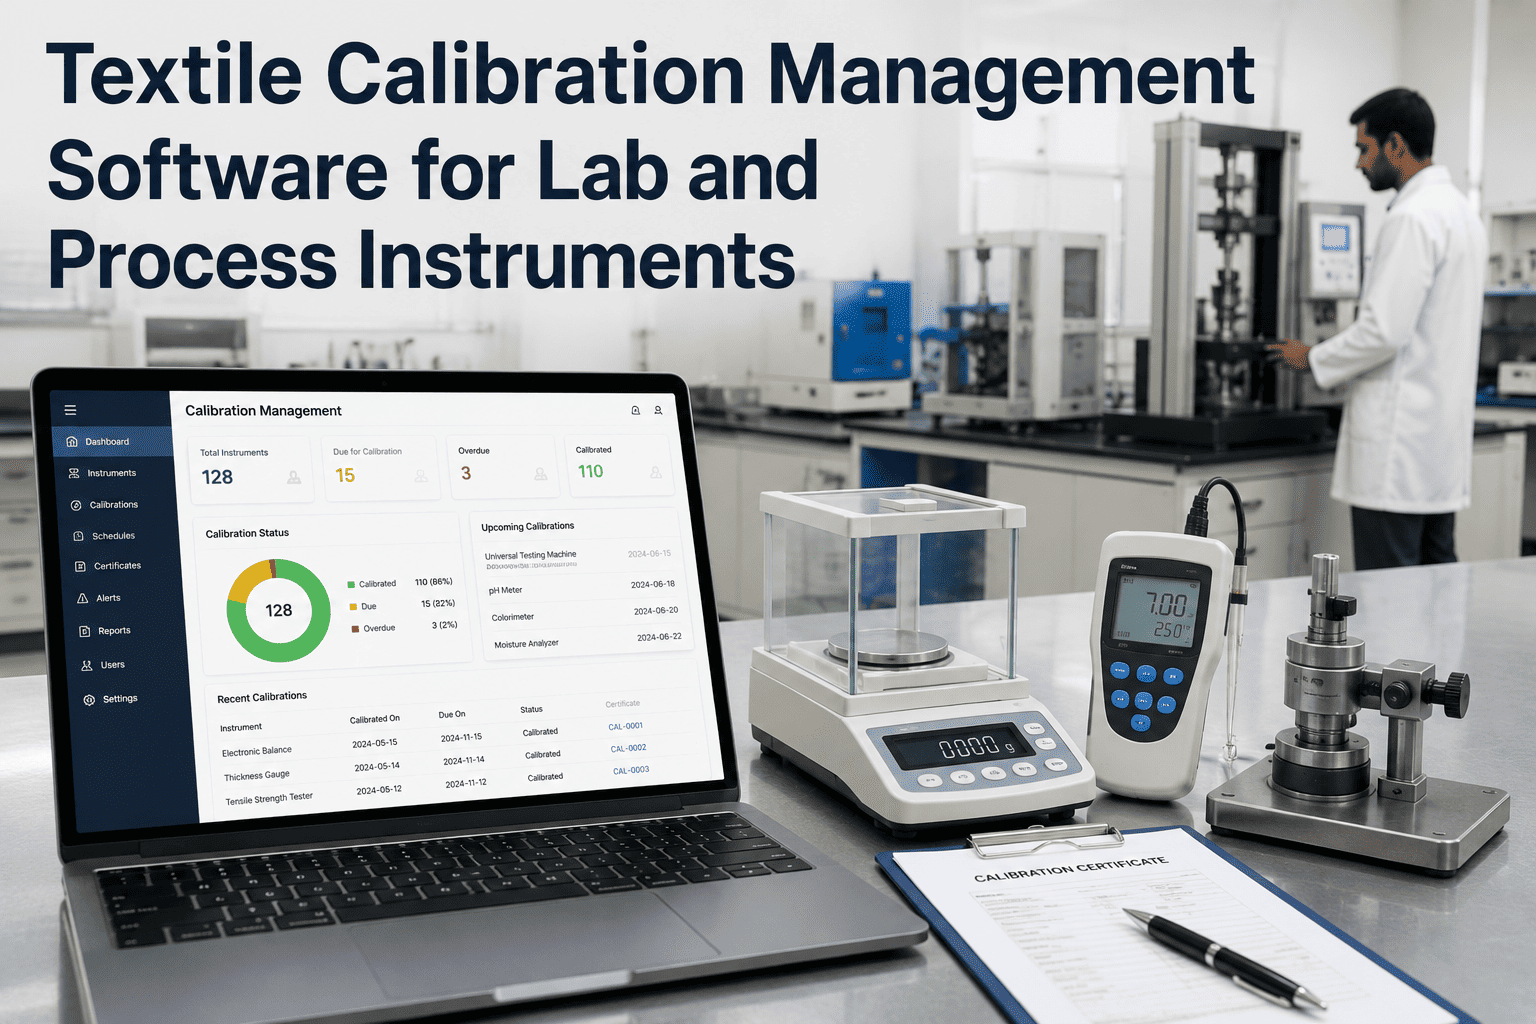
An uncalibrated tensile tester doesn't fail loudly, it fails quietly, by reporting a strength value that's consistently a few percent off from the true value in a direction nobody notices until an external lab retests the same fabric and gets a materially different number. Every instrument in a physical testing lab needs a documented calibration schedule, traceable to a recognized standard, and the calibration interval itself needs to be based on the manufacturer's recommendation and the instrument's actual usage intensity rather than an arbitrary annual default applied uniformly across the lab.
A calibration record that exists only as a sticker on the machine or a note in someone's notebook is a real liability, since it can't be produced quickly during an audit and it can't be cross-referenced against the specific test results it should be validating. Connecting calibration records directly to production test data, so every result carries a reference back to the calibration state of the instrument that produced it, is what separates a lab that merely owns the right equipment from one that can actually stand behind its results under scrutiny.
The cost of getting this wrong compounds quietly. A tensile tester drifting a few percent low will consistently understate fabric strength, leading a mill to reject or downgrade fabric that actually meets specification, an invisible cost that shows up as unnecessary scrap and rework rather than as an obvious calibration problem. A tester drifting a few percent high does the opposite and is far more dangerous, passing fabric that doesn't actually meet the strength requirement it was sold against, a gap that stays hidden until a field failure or an independent retest exposes it, usually at the worst possible time in a buyer relationship.
Sizing the Lab to Your Actual Production Volume
A lab sized for a mill's current production volume without headroom for growth becomes a bottleneck within a year or two of expansion, forcing either a rushed second-phase build or, worse, a gradual erosion of testing frequency as staff quietly start sampling less often to keep up with throughput. Sizing decisions should account for both instrument count and staffing, since a single tensile tester run by one technician can only process a limited number of samples per shift regardless of how capable the machine itself is.
This erosion pattern is worth naming explicitly because it rarely gets flagged as a problem until it's already well underway. Testing frequency reductions tend to happen gradually and informally, a technician skips every third batch during a particularly busy week, then decides that pace feels manageable and quietly keeps it up, and within a few months the lab's actual sampling rate has drifted well below what quality policy calls for without any single decision ever being made to lower the standard. Building review checkpoints into the quality system, where actual testing throughput is compared against the documented sampling plan on a regular schedule, catches this drift before it becomes the normal, unexamined way the lab operates.
| Mill Scale | Core Instrument Approach | Staffing Consideration |
|---|---|---|
| Small, single product line | Core five instruments, shared conditioning space | One trained technician can typically cover all instruments |
| Mid-size, multiple product lines | Core five plus category-specific second tier | Dedicated technician per major test category |
| Large, export-focused | Full instrument range plus redundancy on high-use machines | Shift coverage to match continuous production testing needs |
None of these sizing decisions need to be made all at once, and treating the lab build as a phased plan rather than a single upfront purchase is usually the more realistic path for most mills. What matters is that each phase is planned against the same defect and volume data used to justify the first, so the lab grows in the direction the mill's actual production and buyer requirements are heading rather than in whatever direction the most recent complaint happened to point.
Frequently Asked Questions
Plan Your Testing Lab Around Real Defect Data, Not a Generic Checklist
Share your current rejection history and product mix. We'll show you which instruments would close your actual gaps first, and how calibration and conditioning tie directly into results your buyers can trust.