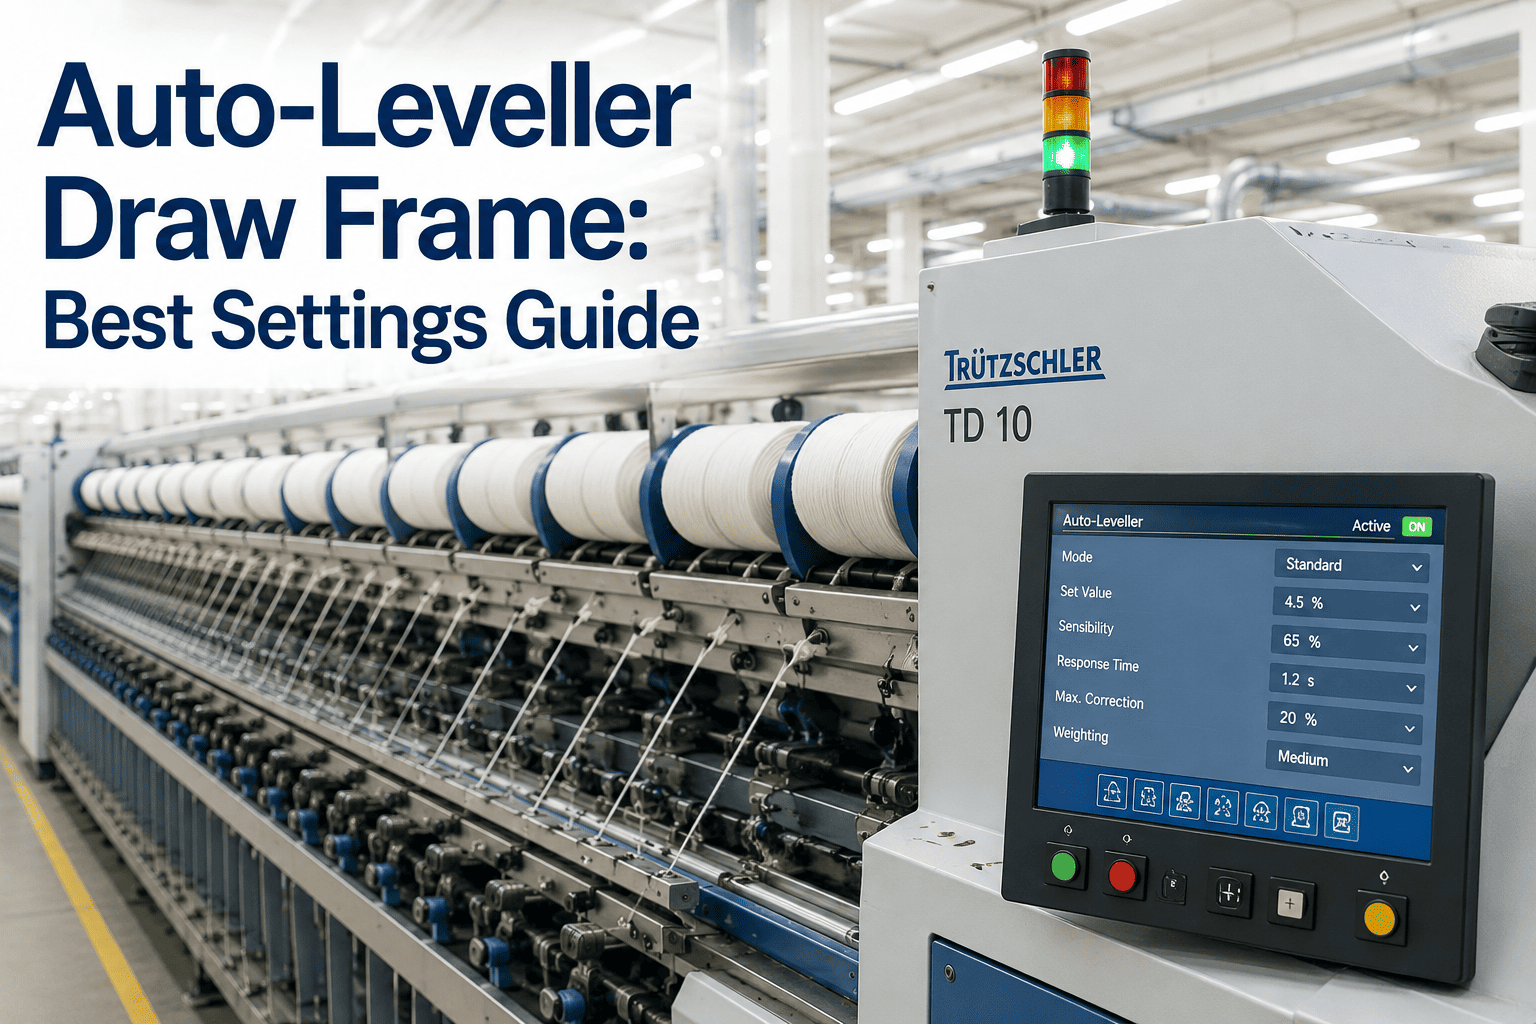
A draw frame's auto-leveller is supposed to be invisible — quietly correcting sliver weight variation before it ever reaches the ring frame. When it's set correctly, nobody thinks about it. When it's set even slightly wrong, the entire downstream count-to-count consistency of the mill starts to wobble, and most engineers go looking everywhere except the leveller itself. Sensor calibration drift, correction length mismatches, and intervention limits set too wide or too narrow are the three most common root causes, and all three are fixable in an afternoon once you know where to look. If sliver CV% has been inching upward on your line and you can't pin down why, book a session with our team and we'll go through your leveller settings together.
Textile Manufacturing · Spinning Process
Auto-Leveller Draw Frame Settings: The Configuration Guide for Consistent Sliver
Sliver uniformity determines everything downstream — yarn count consistency, evenness, and strength. This guide walks through sensor calibration, correction length, and intervention limits so your auto-leveller is actually correcting the variation it was built to catch.
What Auto-Levelling Is Actually Correcting
An auto-leveller does one job: it measures incoming sliver mass variation at the scanning point, calculates what draft adjustment will correct that variation, and applies it before the sliver reaches the drafting zone output. That sounds simple, but the correction has to happen with almost no lag, because sliver is moving continuously and the correction window is measured in fractions of a second at typical draw frame speeds.
01
Scanning
Rollers or optical sensors measure incoming sliver thickness continuously as it enters the drafting zone.
→
02
Calculation
The control system compares the measured value against target mass and calculates the required draft correction.
→
03
Correction
Servo motors adjust draft roller speed in real time, timed to reach the exact section of sliver that was measured.
→
04
Output Check
Output sliver mass is monitored continuously to confirm the correction landed within the intervention tolerance band.
Sensor Calibration: The Setting Everyone Assumes Is Fine
Sensor calibration drift is the single most under-checked cause of sliver unevenness, because the sensor doesn't fail outright — it drifts gradually, reporting mass values that are slightly off from actual, which means every correction the leveller makes is based on slightly wrong information. The leveller isn't broken, it's confidently correcting the wrong thing.
Zero-Point Drift
Mechanical scanning rollers wear unevenly over time, shifting the zero-reference point the leveller uses as its baseline. A drifted zero point means every correction is offset by a constant error, which shows up as a consistent count bias rather than random variation.
Sensitivity Degradation
Optical and capacitive sensors lose sensitivity to fine variation as they accumulate lint and fiber dust. The leveller starts missing small mass fluctuations while still catching large ones, which shows up as a narrower correction range than the sliver actually needs.
Temperature Sensitivity
Some sensor types shift response slightly with ambient temperature and humidity changes across a shift. Mills running in poorly climate-controlled sheds should recalibrate more frequently than the manufacturer's standard interval suggests.
Best practice: recalibrate scanning rollers or optical sensors on a fixed schedule tied to running hours, not a calendar date, and always after any roller cleaning or replacement that touches the scanning zone.
Correction Length: Matching the Fix to the Fault
Correction length determines how much sliver length the leveller adjusts in response to a single detected variation, and getting this wrong is the second most common source of poorly-controlled sliver. Too short a correction length and the system chases every small fluctuation, introducing its own noise. Too long and genuine short-wave variation passes through uncorrected because the system is smoothing over a wider window than the defect actually spans.
Variation Type
Wave Length
Correction Approach
Short-wave (fiber-level)
Under 1 metre
Fast, short correction length
Medium-wave (lap-related)
1-5 metres
Standard correction length
Long-wave (machine drift)
5+ metres
Slow, wide correction window
Intervention Limits: How Much Should the Leveller Actually Do
Intervention limits define the range within which the leveller is allowed to act, and mills consistently set these either too tight or too wide without realizing the cost of either mistake. This is the setting most operators inherit from a machine default and never revisit, even as fiber batches and count targets change around it.
Limits Set Too Tight
Leveller intervenes on normal fiber variation, over-correcting
Introduces artificial mass variation from excessive draft changes
Increases mechanical wear on servo components from constant adjustment
Limits Set Too Wide
Genuine mass variation passes through uncorrected
Sliver CV% creeps upward without any alarm triggering
Downstream ring frame inherits variation it wasn't designed to absorb
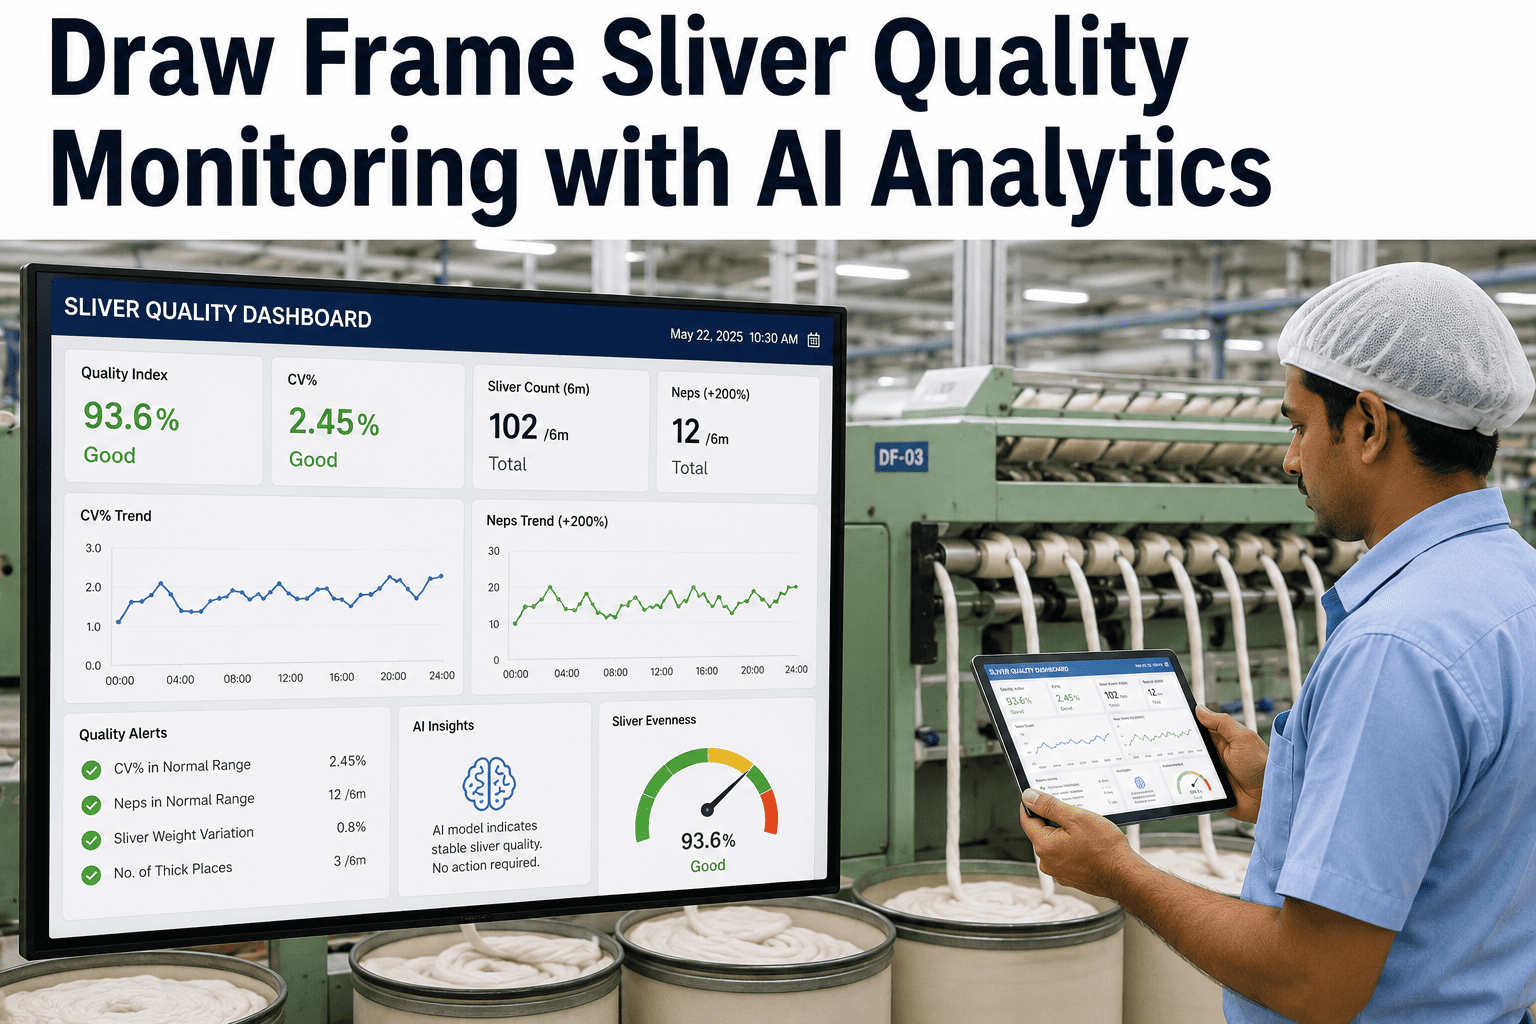
See Sliver CV% Trends Across Every Draw Frame in Real Time
iFactory tracks sliver CV%, leveller intervention frequency, and sensor calibration status across all your draw frames in one dashboard, so drift gets caught before it reaches the ring frame.
A Practical Setup Sequence for New or Recently Serviced Frames
Whether you're commissioning a new draw frame or bringing one back online after major service, the sequence in which you set up the leveller matters. Setting correction length before confirming sensor calibration, for example, means you're tuning a correction around a measurement that might itself be wrong.
Step 1
Verify sensor calibration against a known reference sliver sample before touching any other setting. This establishes a trustworthy baseline for everything that follows.
Step 2
Set correction length based on the dominant variation wavelength in your incoming lap or sliver, not the machine's factory default, which is tuned to a generic fiber assumption.
Step 3
Set intervention limits wide enough to avoid chasing normal fiber variation, then narrow gradually while watching CV% until you find the point where narrowing stops improving evenness.
Step 4
Run a full shift at these settings and review CV% trend data, not just an average, to confirm the leveller is holding steady rather than swinging within an acceptable average.
Why Sliver CV% Targets Should Vary by Count
Not every count needs the same sliver CV% target, and chasing the tightest possible number on every product is wasted effort and unnecessary machine wear. Finer counts amplify sliver-level unevenness into visible yarn defects far more than coarser counts do, so the tightest leveller settings should be reserved for the products that actually need them.
Under 1.0%
Target CV%, fine and premium counts
1.0-1.3%
Target CV%, standard medium counts
1.3-1.6%
Target CV%, coarse and basic counts
Frequently Asked Questions
How often should draw frame auto-leveller sensors be recalibrated?
Most manufacturers recommend recalibration every 500 to 1,000 running hours, but mills running high-linting fiber or operating in poorly climate-controlled sheds often need to recalibrate more frequently. The safest practice is tying recalibration to running hours rather than a fixed calendar date, and always recalibrating immediately after any maintenance work that touches the scanning rollers or optical sensor housing, since even a careful cleaning can shift the reference position slightly.
What's a good sliver CV% target for a draw frame?
Sliver CV% targets should scale with the fineness of the yarn you're spinning — under 1.0% for premium fine counts, 1.0% to 1.3% for standard medium counts, and 1.3% to 1.6% for coarser, basic-quality yarns. Pushing every product toward the tightest possible CV% wastes machine capacity and increases servo wear without a corresponding quality benefit on coarser counts, so matching the target to the actual downstream requirement is the more efficient approach.
Why does sliver unevenness get worse even though leveller settings haven't changed?
The leveller settings staying constant doesn't mean the leveller's actual performance is constant — sensor calibration drift, lint buildup on optical sensors, and gradual mechanical wear on scanning rollers all degrade performance silently over time. This is the most common cause of unexplained sliver CV% creep, and it's why running hours-based recalibration schedules catch problems that visual inspection alone will miss.
Book a demo if you want help tracking this across your draw frame fleet.
Should correction length be the same across all draw frames in a mill?
No — correction length should be tuned to the dominant variation wavelength coming from each specific feed source, which varies depending on the upstream carding and lap preparation equipment feeding that particular draw frame. A mill running multiple draw frame lines fed from different card groups will often need slightly different correction length settings on each line, even if the frames themselves are identical models, because the incoming variation pattern differs.
How does iFactory help with draw frame leveller performance monitoring?
iFactory aggregates sliver CV% data, intervention frequency, and sensor calibration status from every draw frame into a single view, so process engineers can spot a specific frame's leveller drifting out of tolerance before it affects downstream ring frame quality. Mills use this to standardize correction length and intervention limit settings across similar frames and catch calibration drift on a running-hours basis rather than relying on a fixed maintenance calendar that may not match actual usage.
Get Your Auto-Levellers Actually Levelling
Sensor drift, mismatched correction length, and loose intervention limits are the three most common reasons sliver CV% creeps upward without an obvious cause. iFactory shows you which draw frame, which setting, and when — before it becomes a ring frame problem.