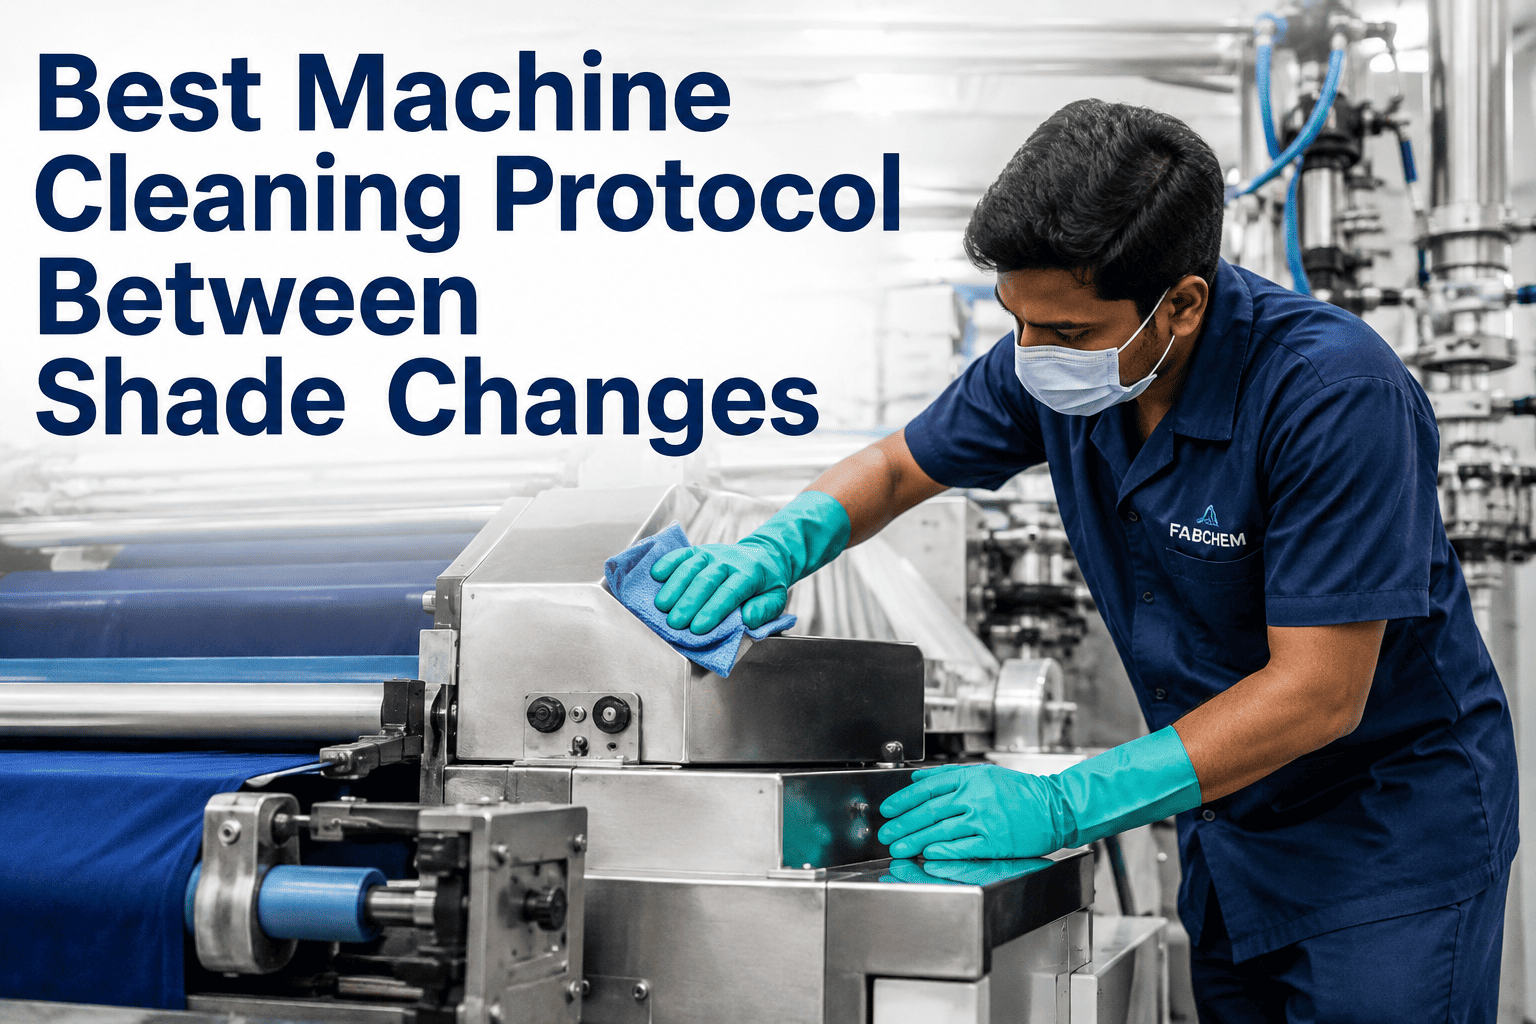
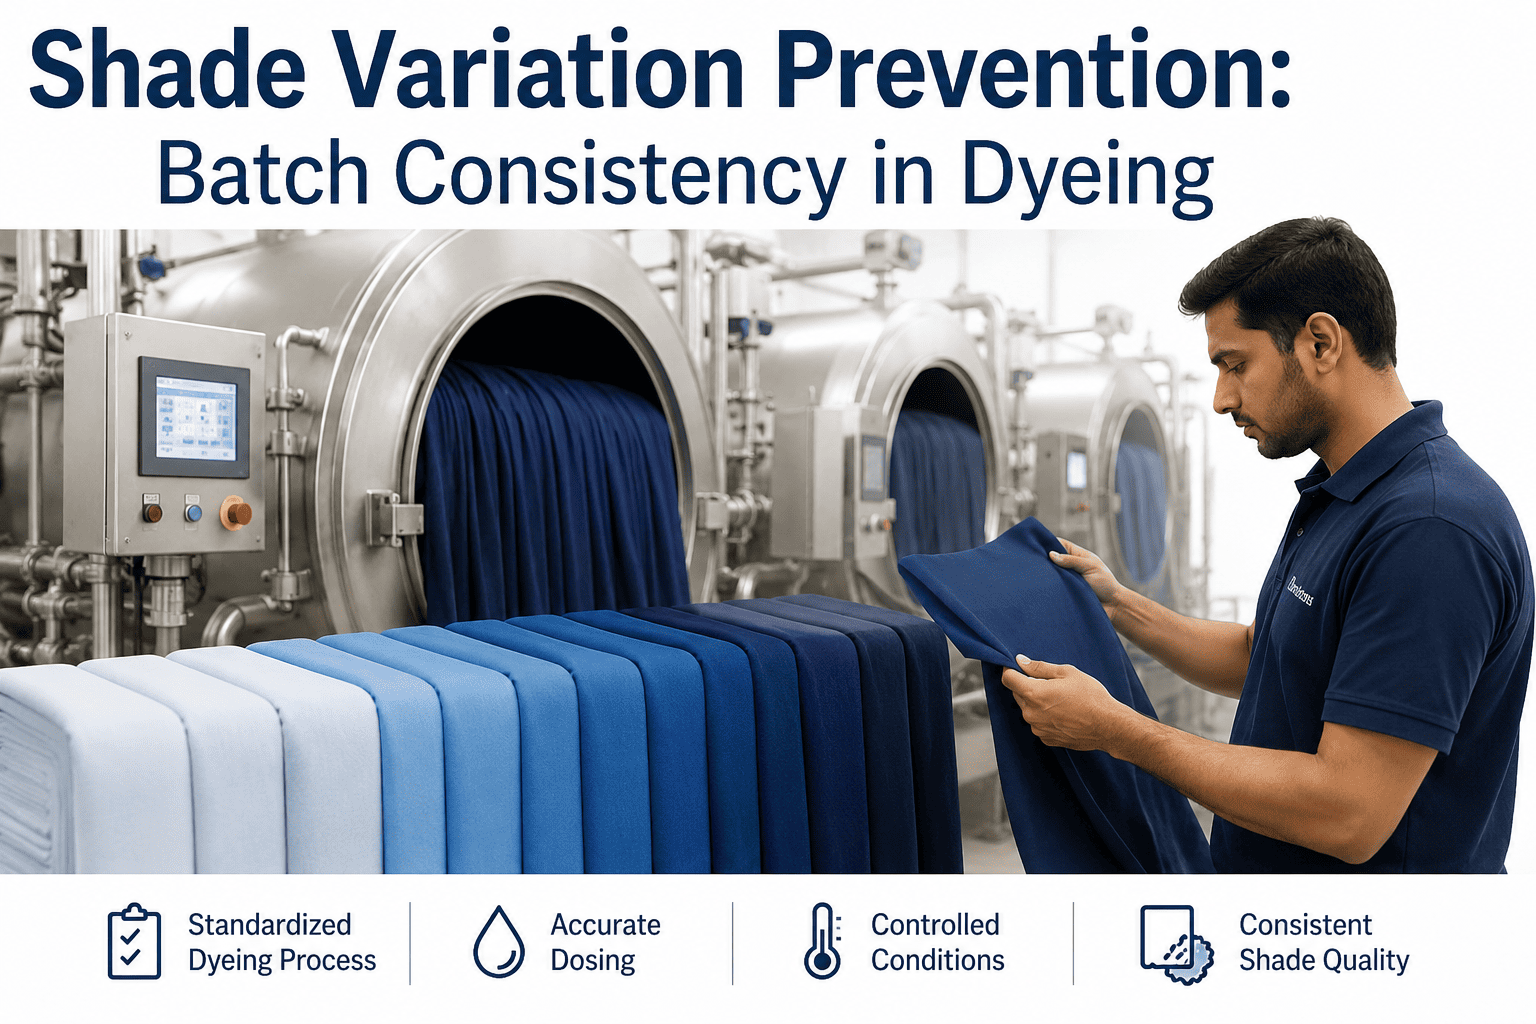
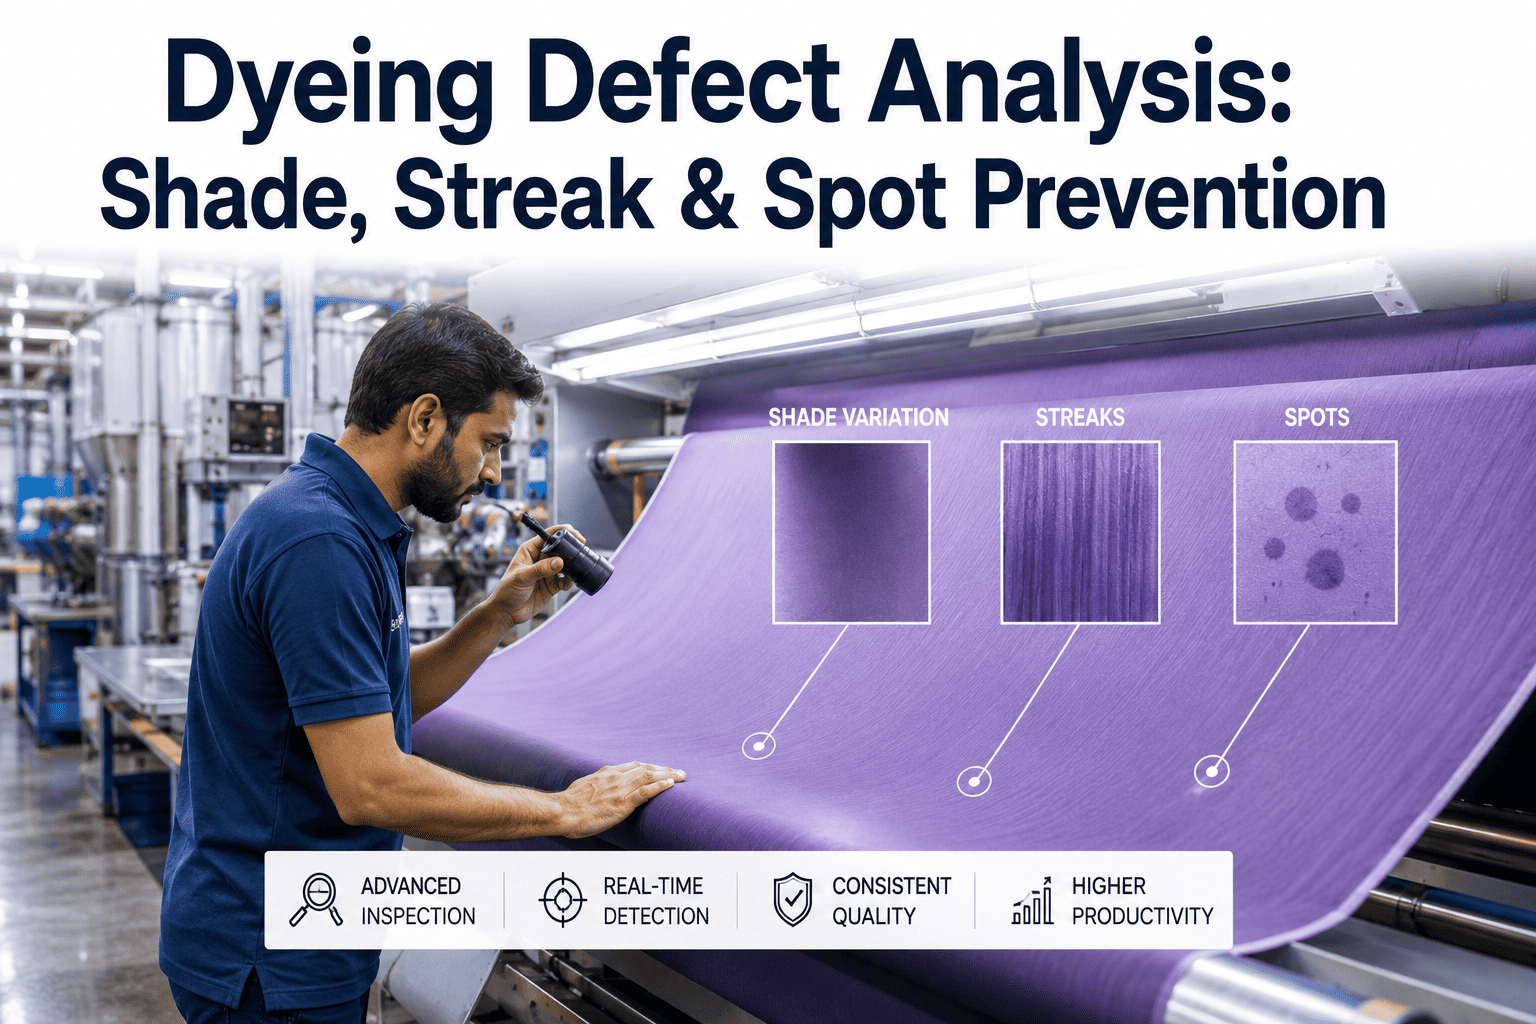
A light shade run right after a dark shade on the same machine is one of the most common ways contamination enters an otherwise well-controlled dyeing process. Residual dye trapped in pipework, pump housings, and the tank wall does not always rinse out with a standard water flush, and even a small carryover is enough to tint a pale shade with a visible cast that no recipe correction can fix after the fact. Plants that treat cleaning between shade changes as a fixed time block rather than a verified step are the ones most likely to discover the contamination only after the batch is already dyed. Book a demo to see cleaning verification tracked shade change by shade change.
Common Failure Pattern
Contamination risk rises sharply whenever a machine moves from a dark or saturated shade to a light or pastel shade without a verified rinse step in between. A visual or conductivity check on the final rinse water is the simplest way to confirm the machine is actually clean rather than assuming a standard cleaning cycle was sufficient.
Why Standard Time-Based Cleaning Cycles Fall Short
A fixed cleaning duration works for the average case but does not account for the specific dye class, shade depth, or machine condition of the batch that just finished.
Deep shades leave more residual dye
A heavily saturated dark shade deposits more dye in pipework and fittings than a medium shade, so the same fixed rinse duration that clears a medium shade may not fully clear a deep one.
Some dye classes bind more stubbornly
Certain reactive and disperse dyes adhere more persistently to stainless surfaces and rubber seals than others, meaning the required rinse time genuinely varies by dye chemistry rather than being a single constant across all recipes.
Machine age and wear affect cleanability
Older machines with worn seals, pitted surfaces, or aging pipework hold onto residual dye more readily than newer equipment, so the same cleaning protocol can leave different levels of contamination risk depending on which specific machine is used.
A fixed cycle has no verification step
Running the cleaning cycle for its allotted time confirms the cycle ran, not that the machine is actually clean, which is exactly the gap that a rinse water check or visual inspection is designed to close.
Verify Every Shade Change, Not Just Time the Cycle
iFactory tracks cleaning cycle completion alongside rinse verification data for every shade change, flagging machines that moved to a new shade without confirmed contamination clearance.
A Practical Shade-Change Cleaning Sequence
The sequence below reflects a typical progression used across reactive and disperse dyeing floors, adjusted for the severity of the shade transition.
Step 1
Drain and hot water flushThe bath is fully drained and flushed with hot water to remove the bulk of residual dye liquor before any chemical cleaning agent is introduced, since chemical cleaners work more effectively on a machine already free of the majority of loose residue.
Step 2
Chemical cleaning agent circulationA reducing or oxidizing cleaning agent appropriate to the dye class just processed is circulated through the system to break down residual dye bound to surfaces, pipework, and pump housings that a plain water rinse cannot fully remove on its own.
Step 3
Final rinse and clarity checkA final clean water rinse follows, and the rinse water itself is checked for visible tint or measured for conductivity, since either a colored tint or an elevated conductivity reading indicates residual contamination that the cycle has not yet cleared.
Step 4
Physical inspection of high-risk pointsPump housings, filter screens, and any dead-leg sections of pipework where flow does not fully circulate deserve a direct visual check, since these are the points most likely to retain contamination even after a passing rinse water check elsewhere.
Step 5
Sign-off before the next shade loadsA documented sign-off confirming the rinse check and physical inspection both passed creates accountability and a record that can be reviewed if a contamination issue does surface later in the finished batch.
Cleaning Intensity by Shade Transition
| Transition Type | Contamination Risk | Recommended Verification |
|---|
| Light to Light | Low | Standard rinse water clarity check |
| Light to Dark | Low | Standard rinse water clarity check |
| Dark to Medium | Moderate | Rinse check plus pump housing inspection |
| Dark to Light or Pastel | High | Full sequence with conductivity verification |
What Consistent Verification Delivers
5
Steps in a Verified Cleaning Sequence
4
Transition Risk Levels Classified
Documented
Sign-Off Before Next Shade Loads
We had a fixed forty-minute cleaning cycle for every shade change regardless of what had just been dyed. After a pastel batch came out with a faint grey cast twice in one month, we realized our dark-to-light transitions needed a longer cycle and an actual rinse water check, not just the same timer as every other change. That one adjustment stopped the recurring complaint entirely.
Dyehouse Supervisor
Knit Fabric Processing Unit — Ludhiana
Frequently Asked Questions
QHow long should cleaning take between a dark and a light shade?
There is no single correct duration since it depends on the dye class, the depth of the shade just processed, and the machine's own condition, but a dark-to-light transition should always include a rinse water clarity or conductivity check rather than relying on a fixed timer alone. If the rinse water still shows tint or an elevated reading after the standard cycle, the cleaning sequence needs to continue rather than stopping on schedule.
QWhich parts of the machine are most likely to retain contamination even after a passing rinse check?
Pump housings, filter screens, and any dead-leg sections of pipework where circulation is weaker than the main flow path are the most common places residual dye hides even when the bulk rinse water tests clean. These areas benefit from a direct physical inspection in addition to the rinse water check, particularly after a high-risk dark-to-light transition.
QCan conductivity monitoring replace a visual rinse check entirely?
Conductivity monitoring is a useful objective measure and catches dissolved contamination that may not be visible to the eye, but it does not replace a physical inspection of pump housings and dead-leg pipework, since those areas can retain solid dye deposits that a conductivity reading on the bulk rinse water would not necessarily detect. The two checks work best together rather than as substitutes.
Talk to an expert about combining both checks on your machines.QDoes scheduling shade runs from light to dark eliminate the need for verification?
Sequencing production from light to dark shades where possible does reduce contamination risk since a small amount of residual dye is far less visible on a subsequent dark shade, but it does not eliminate the need for a basic rinse check, since production schedules are not always flexible enough to guarantee that sequence and machines still need periodic thorough cleaning regardless of shade order.
QHow do we build accountability into the cleaning sign-off step?
A documented sign-off that records who performed the rinse check, what the measured or observed result was, and when the next shade was loaded creates a traceable record that can be reviewed if a contamination complaint does surface later, and it also reinforces to operators that the verification step is a required part of the process rather than optional.
Book a demo to see how sign-off tracking works in practice.
Confirm the Machine Is Clean, Not Just That the Timer Ran Out
iFactory tracks rinse verification and cleaning sign-off for every shade change, catching contamination risk before the next batch loads.