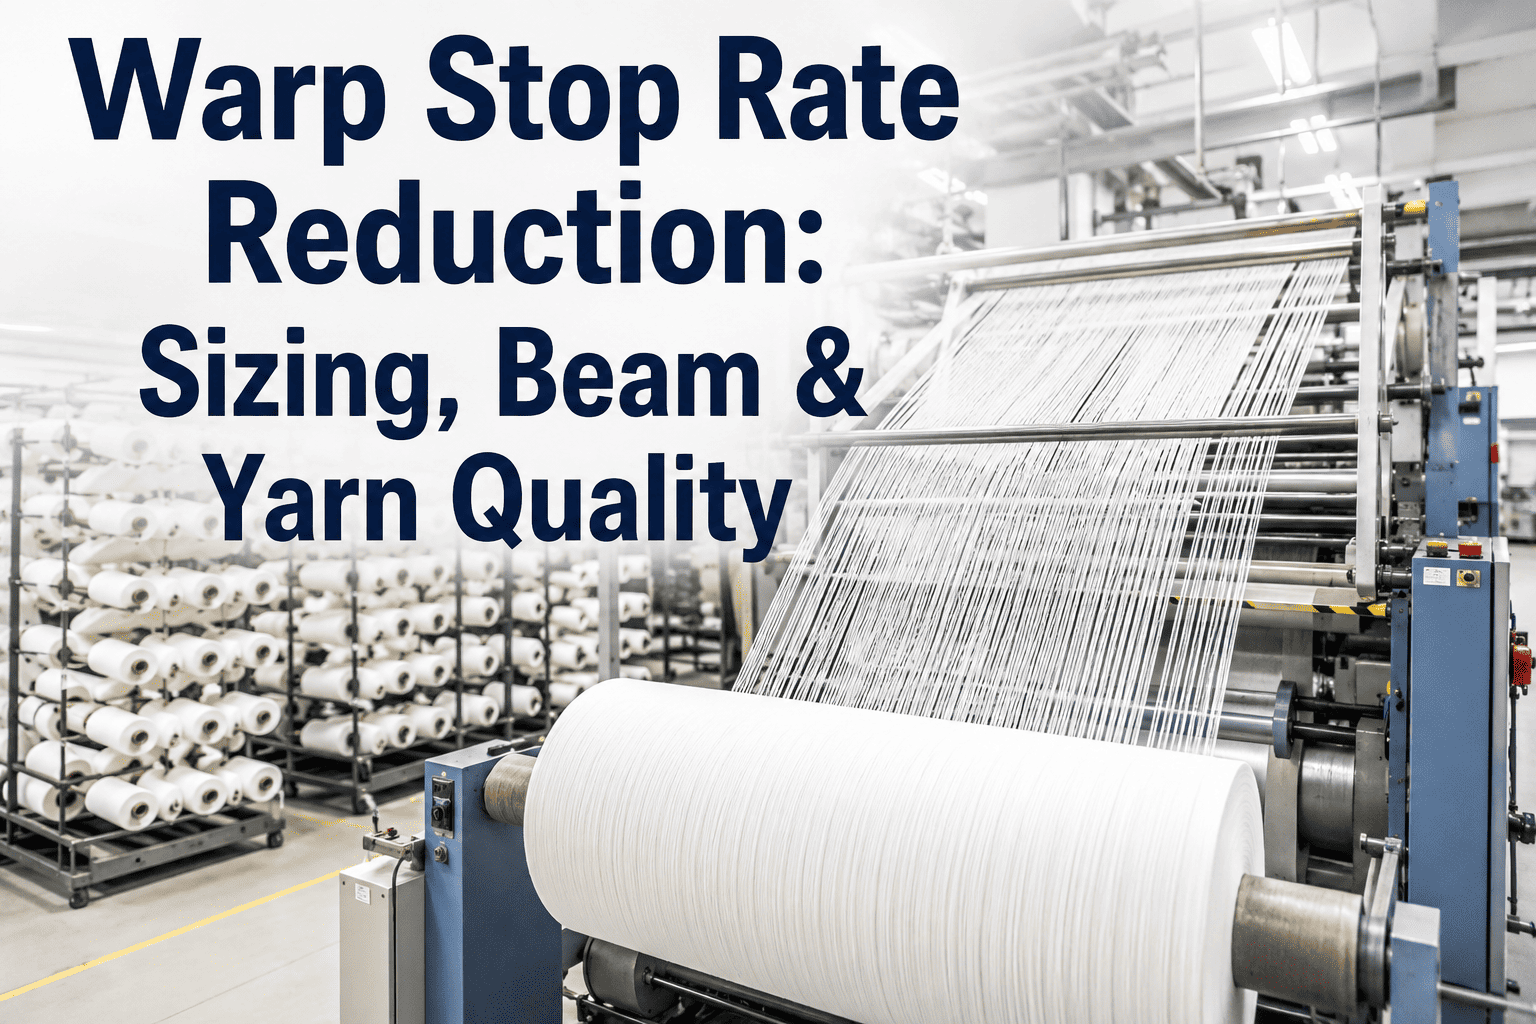
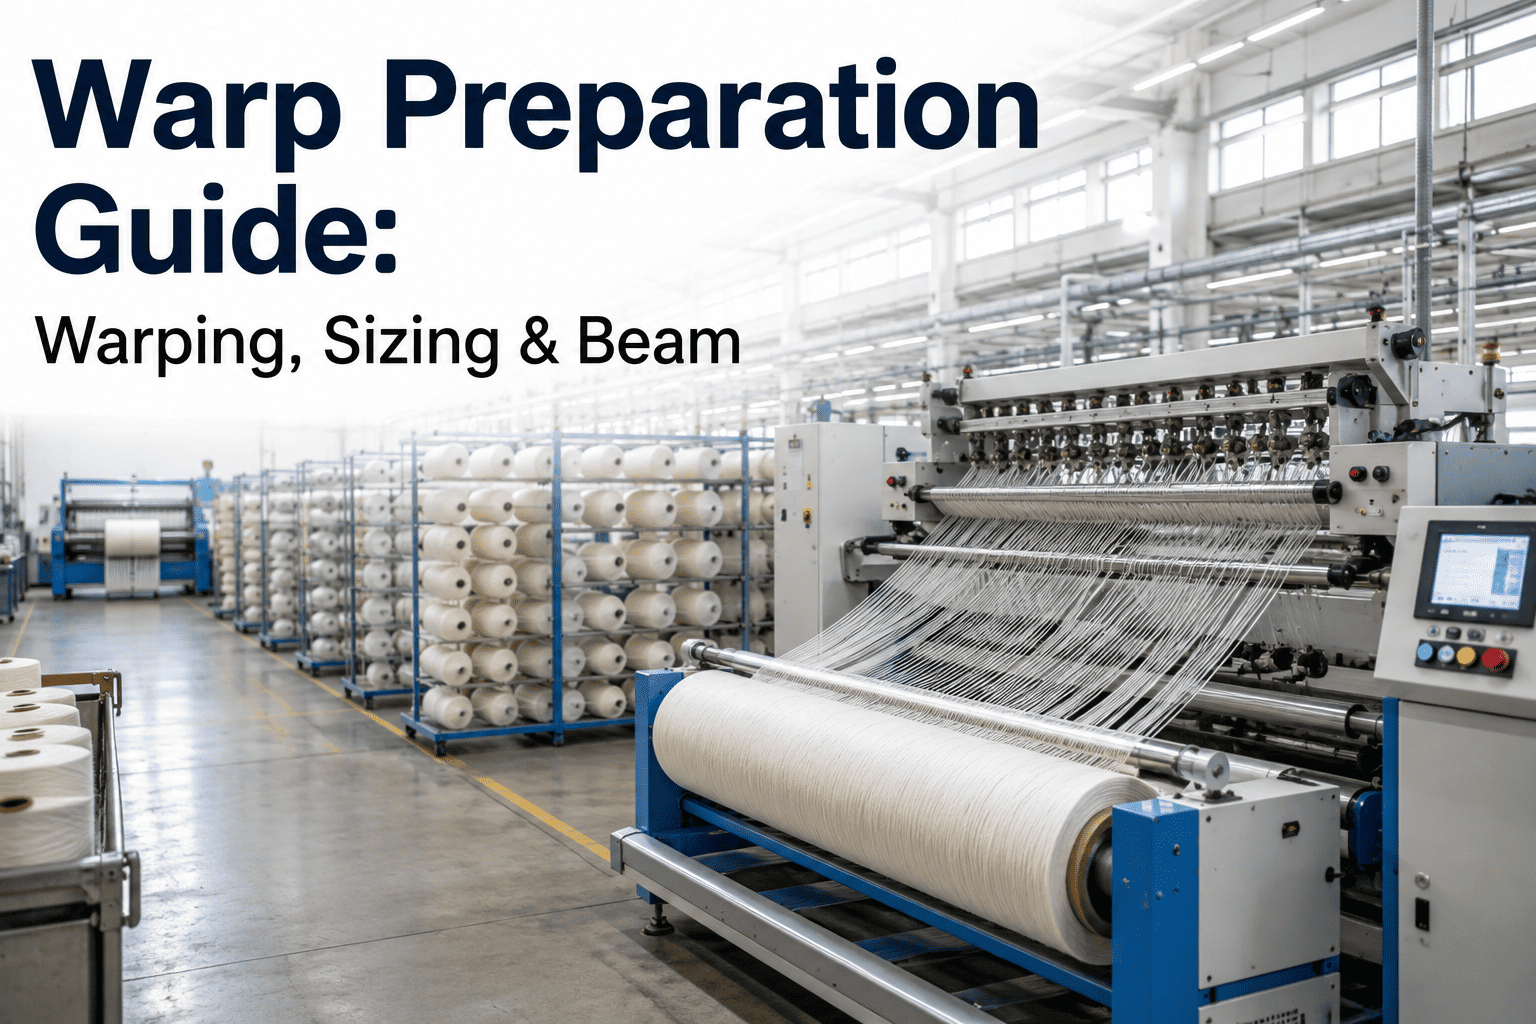
By the time a warp break stops a loom, the yarn has usually already been failed by a decision made days earlier, back at the sizing machine or the warping creel, not by anything that happened in the last second before it snapped. Warp yarn arrives at the loom having already lost a significant share of its strength to abrasion and size removal during weaving itself, which means the strength and adhesion it starts with — set during warp preparation — determines how much margin it has left before it breaks. A loom running the same yarn count on the same construction can show a dramatically different breakage rate depending purely on whether the warp behind it was prepared to a consistent standard. Mills that want to see how warp prep quality correlates with downstream breakage on their own looms can book a demo and walk through the connection using their own data.
WARP PREPARATION · WEAVING QUALITY
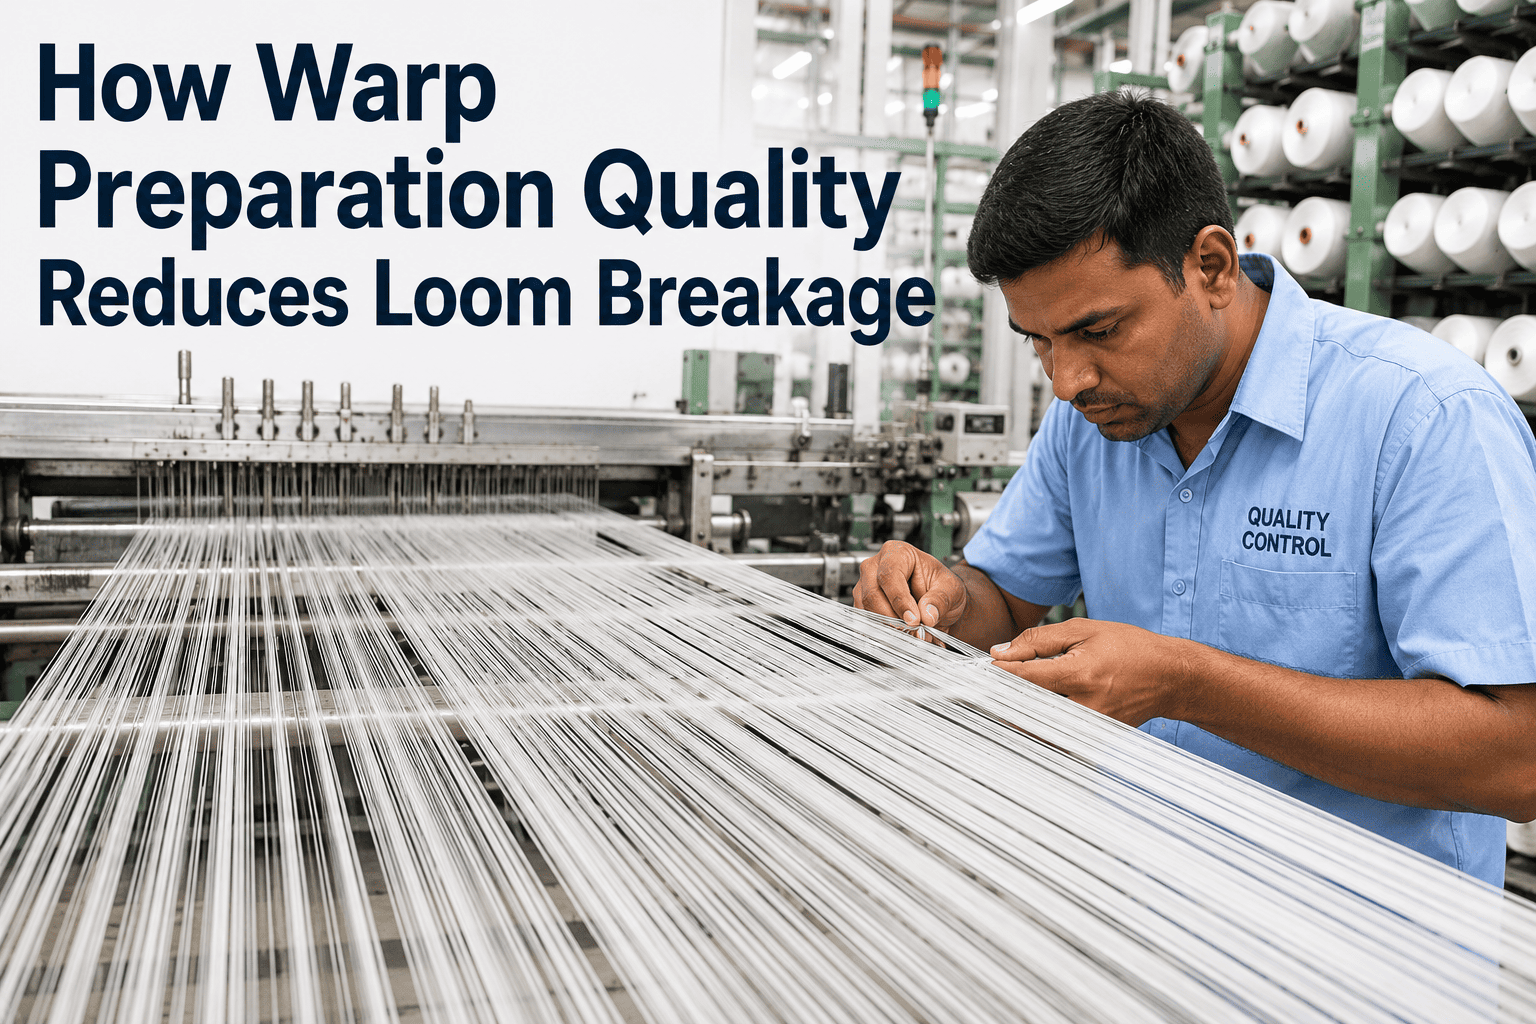
How Warp Preparation Quality Reduces Loom Breakage
Sizing recipe optimization, tension uniformity, and beam quality verification for trouble-free weaving.
30–50%yarn strength lost to abrasion and size removal during weaving itself
3 Factorsdocumented to drive sized-yarn tensile properties: tension, roller pressure, machine speed
12–14%efficiency loss attributed to warp breakage alone in a documented loom study
Min. Stretchtarget at sizing for the best elongation-at-break outcome on the loom
The Warp Preparation Process, Stage by Stage
Warp preparation is not one step but a sequence, and a quality gap introduced early — an uneven winding tension, for instance — tends to compound rather than get corrected by the stages that follow. Understanding where breakage risk actually gets built in helps a mill decide where to invest quality checks first.
01WindingYarn transferred from spinning packages to cones, first point where tension consistency is set.
02WarpingHundreds of ends combined onto a warp beam under controlled, uniform tension across the full width.
03SizingAdhesive film applied to bind fibers and protect against abrasion — the single highest-leverage stage for breakage.
04Drawing-InEach end threaded through healds and reed dents in the exact pattern the weave design requires.
05Beam LoadingFinished warp beam mounted on the loom, ready for weaving to begin.
Sizing Recipe Optimization: The Parameters That Matter
Documented research on sizing machine parameters has isolated three factors that most directly drive the tensile properties of the finished sized yarn: wet zone yarn tension, squeezing roller pressure, and sizing machine speed. Getting these three within the right range matters more than the specific size formulation in many cases, because even a good adhesive applied under the wrong tension or pressure conditions produces inconsistent film coverage.
| Sizing Parameter | What It Controls | Effect if Out of Range |
|---|
| Wet Zone Yarn Tension | How much the yarn stretches while the size is still wet | Excess stretch reduces elongation-at-break on the loom |
| Squeezing Roller Pressure | How much excess size is removed before drying | Too little pressure leaves uneven, excess size film |
| Sizing Machine Speed | Dwell time in the size box and drying section | Too fast risks incomplete size penetration into the yarn |
The practical goal at sizing is to minimize yarn stretch, particularly in the wet zone, while still achieving adequate strength gain — a balance that generally requires trial-based optimization for each yarn count and blend rather than a single universal recipe applied across the whole mill's product range.
CONNECT SIZING PARAMETERS TO LOOM BREAKAGE DATA
See Which Sizing Recipes Actually Produce Fewer Warp Breaks
Track breakage rate by beam and sizing batch to find out which parameter changes genuinely move the number.
Tension Uniformity Across the Warp Width
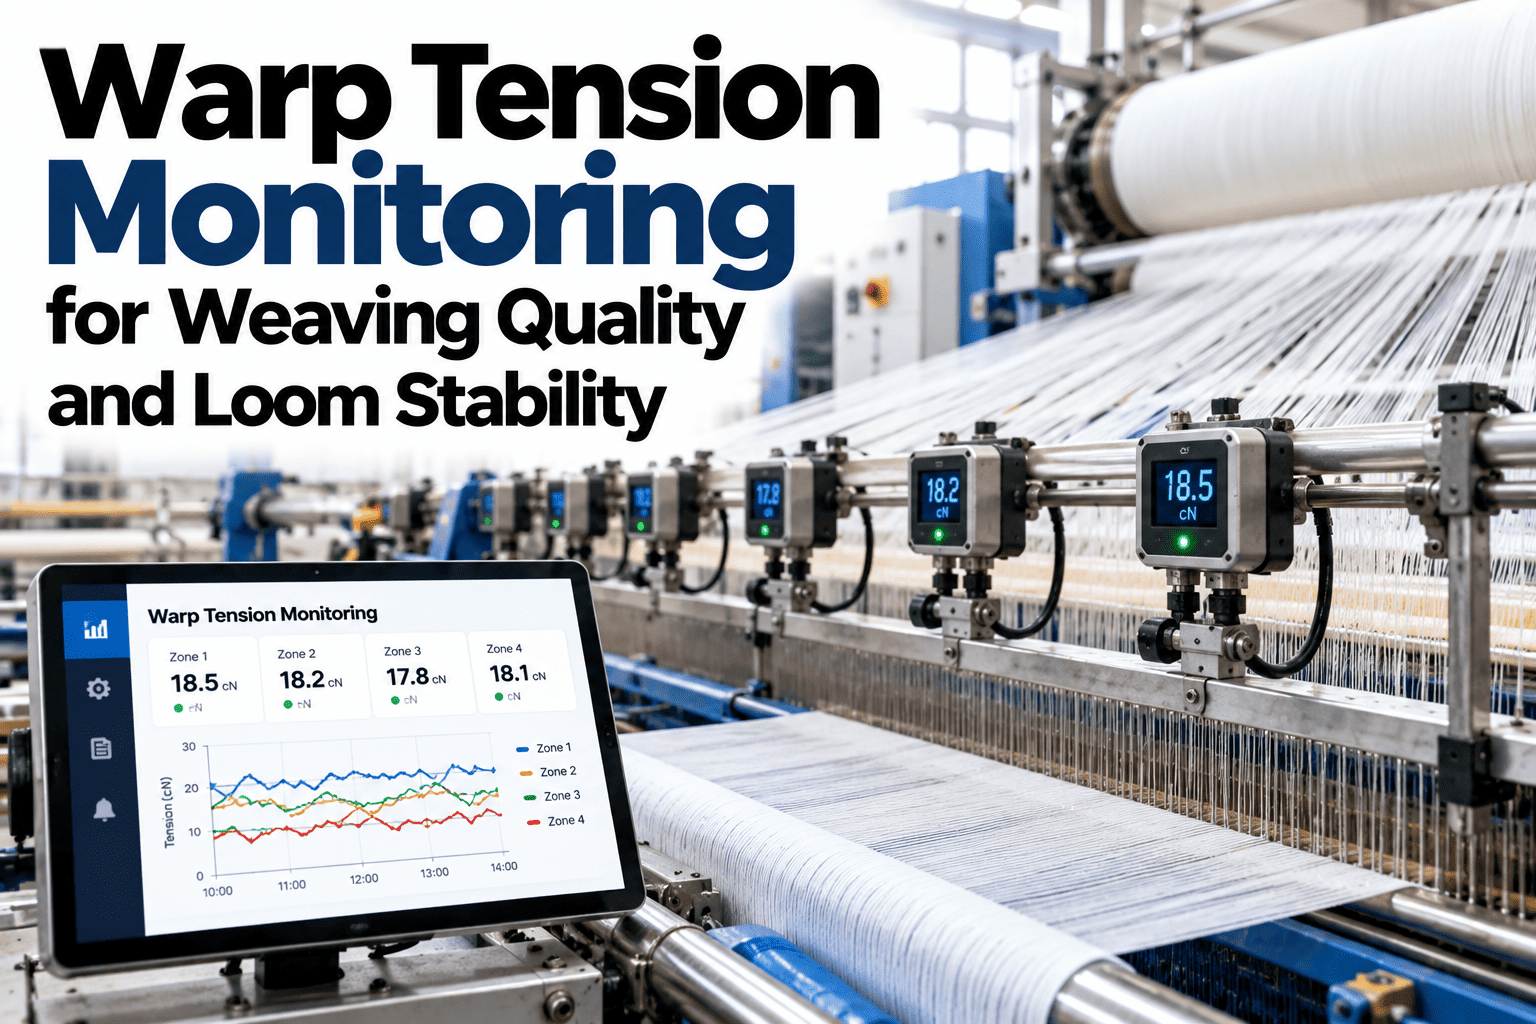
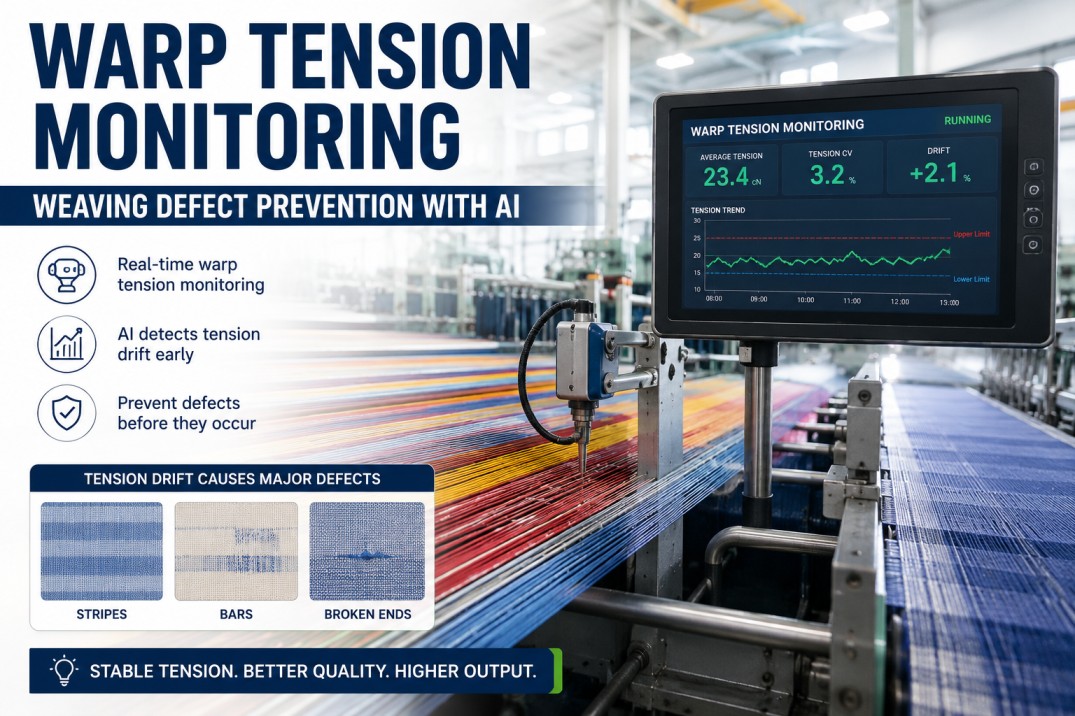
A warp beam can pass an average tension check and still cause breakage problems if that average hides significant variation across the width — ends near the selvedge running tighter than ends near the center, for example. Uneven tension across the width means some ends are working closer to their breaking point than others, which shows up as breaks clustering at specific positions on the beam rather than distributing randomly.
Illustrative Tension Reading Across Warp Width
Beam Quality Verification Before It Reaches the Loom
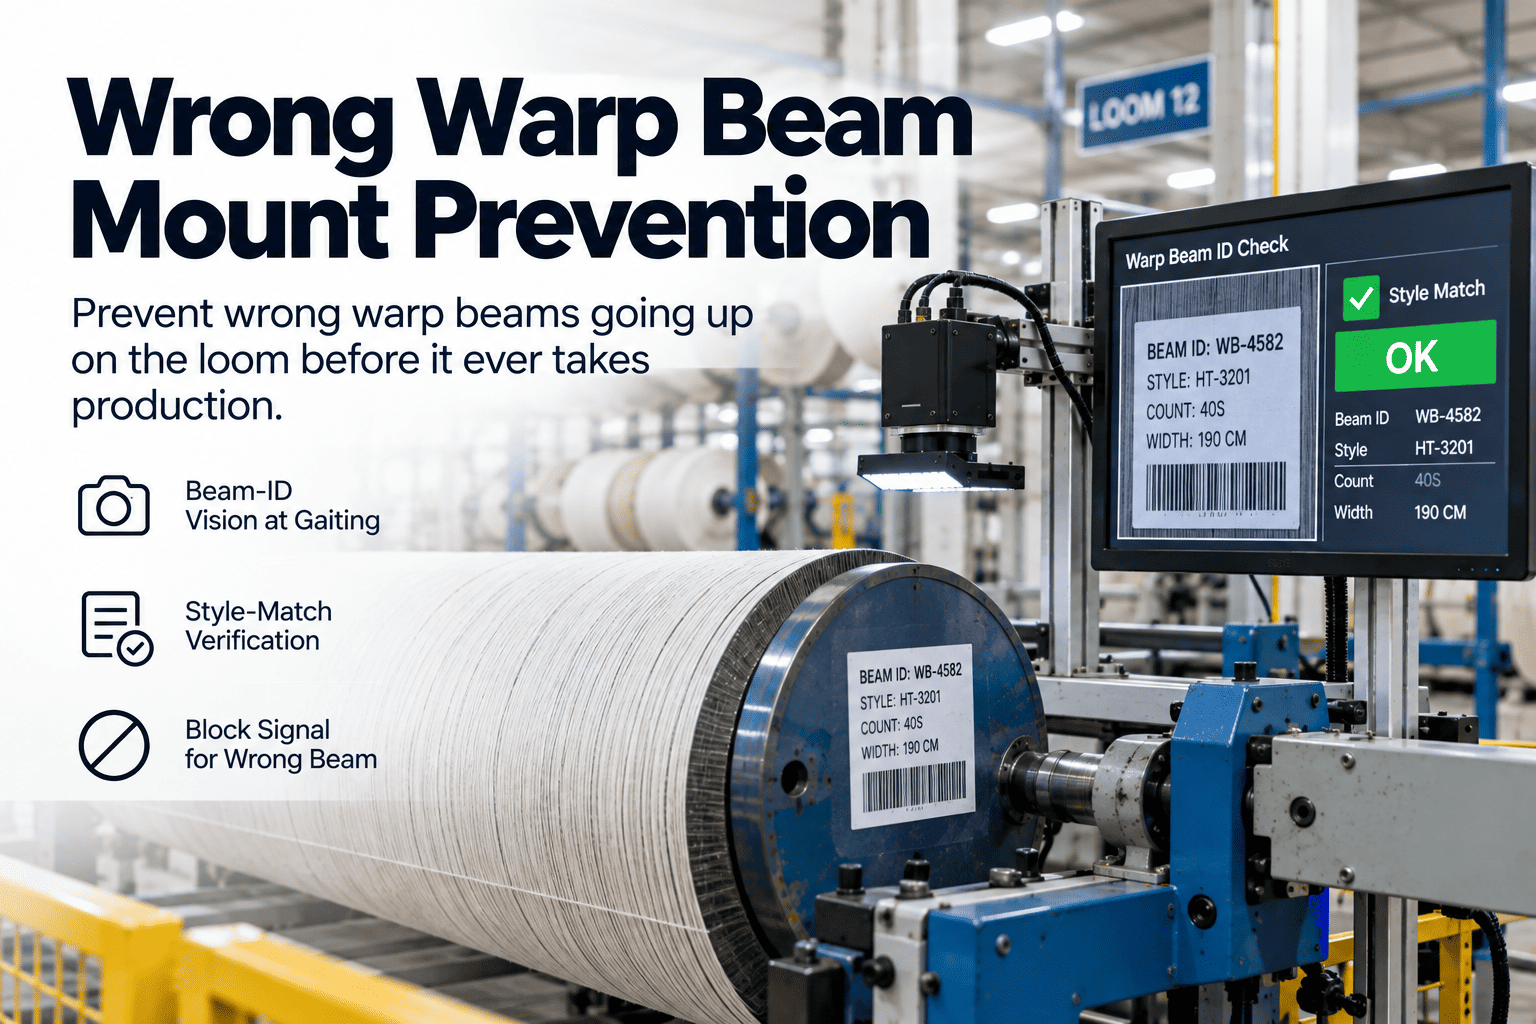
A short verification checklist applied to every finished warp beam, before it is mounted on a loom, catches the preparation defects most likely to cause breakage problems — and catching them at the beam stage is far cheaper than discovering them one broken end at a time during weaving.
Size Add-On ConsistencyVerify size pickup percentage is within target range and consistent across the beam length.
Moisture ContentConfirm the sized yarn has dried to the correct moisture regain before winding onto the beam.
Tension Uniformity LogReview the width-wise tension record for any position running outside the tolerance band.
Visual Surface CheckInspect for sticking ends, size flaking, or uneven film coverage before drawing-in begins.
What Changes on the Loom When Warp Prep Quality Improves
The payoff for tightening warp preparation quality shows up specifically on the loom, in metrics that weaving supervisors already track daily — it is worth connecting the two explicitly rather than treating sizing and weaving as separate departments with separate scorecards.
| Loom-Side Metric | Typical Effect of Better Warp Prep |
|---|
| Warp Breaks per 100 Loom-Hours | Measurable reduction, most visible on beams with prior sizing issues |
| Loom Efficiency % | Improves as break-related stoppage time falls |
| Fabric Defect Rate | Fewer thin places and streaks tied to tension inconsistency |
| Repair Time per Break | Unchanged by prep quality — this is a separate weaving-side factor |
Frequently Asked
Warp Preparation Quality — Common Questions
How much of loom breakage is actually attributable to warp preparation versus the loom itself?
There is no universal percentage, since it depends heavily on the specific mill's equipment condition and construction mix, but warp-side causes — sizing quality, tension uniformity, beam preparation — consistently show up as the majority contributor in studies that break down loom stoppages by cause, often outweighing weft-related and mechanical causes combined. The practical way to find the split for a specific mill is to categorize a representative sample of stoppages by root cause over a few weeks, which usually reveals fairly quickly whether the bigger opportunity sits upstream in preparation or downstream on the loom itself.
What is the relationship between yarn stretch at sizing and warp breaks on the loom?
Documented research on sizing machine optimization has found that minimizing yarn stretch percent during sizing, particularly in the wet zone before the size has set, correlates directly with better elongation-at-break performance once the yarn is under load on the loom. Yarn that has already been stretched significantly during sizing has used up some of its available elongation capacity before weaving even starts, leaving less margin to absorb the tension cycling that happens as the shed opens and closes thousands of times per shift. This is why sizing machine tension settings are one of the highest-leverage parameters to get right, rather than treating sizing purely as an adhesive application step.
How often should tension uniformity across the warp width actually be checked?
A spot check on every beam before it reaches the loom is the minimum reasonable standard, since a beam with a hidden tension imbalance can produce a cluster of breaks at a specific position that would otherwise look like a random, hard-to-diagnose problem on the weaving floor. Mills running a wide range of yarn counts and constructions benefit from checking more frequently during the changeover period for a new construction, since tension settings that worked well for one yarn type do not automatically transfer cleanly to a different count or blend without some recalibration.
Does improving warp preparation quality require new equipment, or can it be done with process changes alone?
Meaningful improvement is often achievable through process changes alone — adjusting sizing machine tension, roller pressure, and speed settings within the existing equipment's range, and tightening the beam verification checklist before beams reach the loom — without any capital investment. Equipment limitations do matter for some mills, particularly older sizing machines with limited tension control precision or inconsistent squeezing roller pressure, and in those cases the achievable improvement from process changes alone will be smaller until the underlying equipment constraint is addressed, but process discipline is almost always worth pursuing first since it is the lower-cost lever.
How do we prove that a sizing recipe change actually reduced breakage, rather than just coincided with a good week?
The most reliable approach is to track breakage rate by specific beam or sizing batch, comparing beams produced under the new recipe against a rolling baseline from beams produced under the previous recipe, rather than comparing overall shed averages which mix beams of varying ages and quality together. Running the comparison across enough beams to smooth out normal batch-to-batch variation — generally at least several beams on each side of the change — gives a more trustworthy read than a single before-and-after data point. Mills setting up this kind of beam-level tracking can walk through the setup with
support to connect sizing batch records to loom-side breakage data.
FEWER WARP BREAKS START BEFORE THE BEAM REACHES THE LOOM
Connect Sizing Quality to Loom Performance
Track tension, sizing parameters, and beam quality against downstream breakage — see it against your own preparation data.