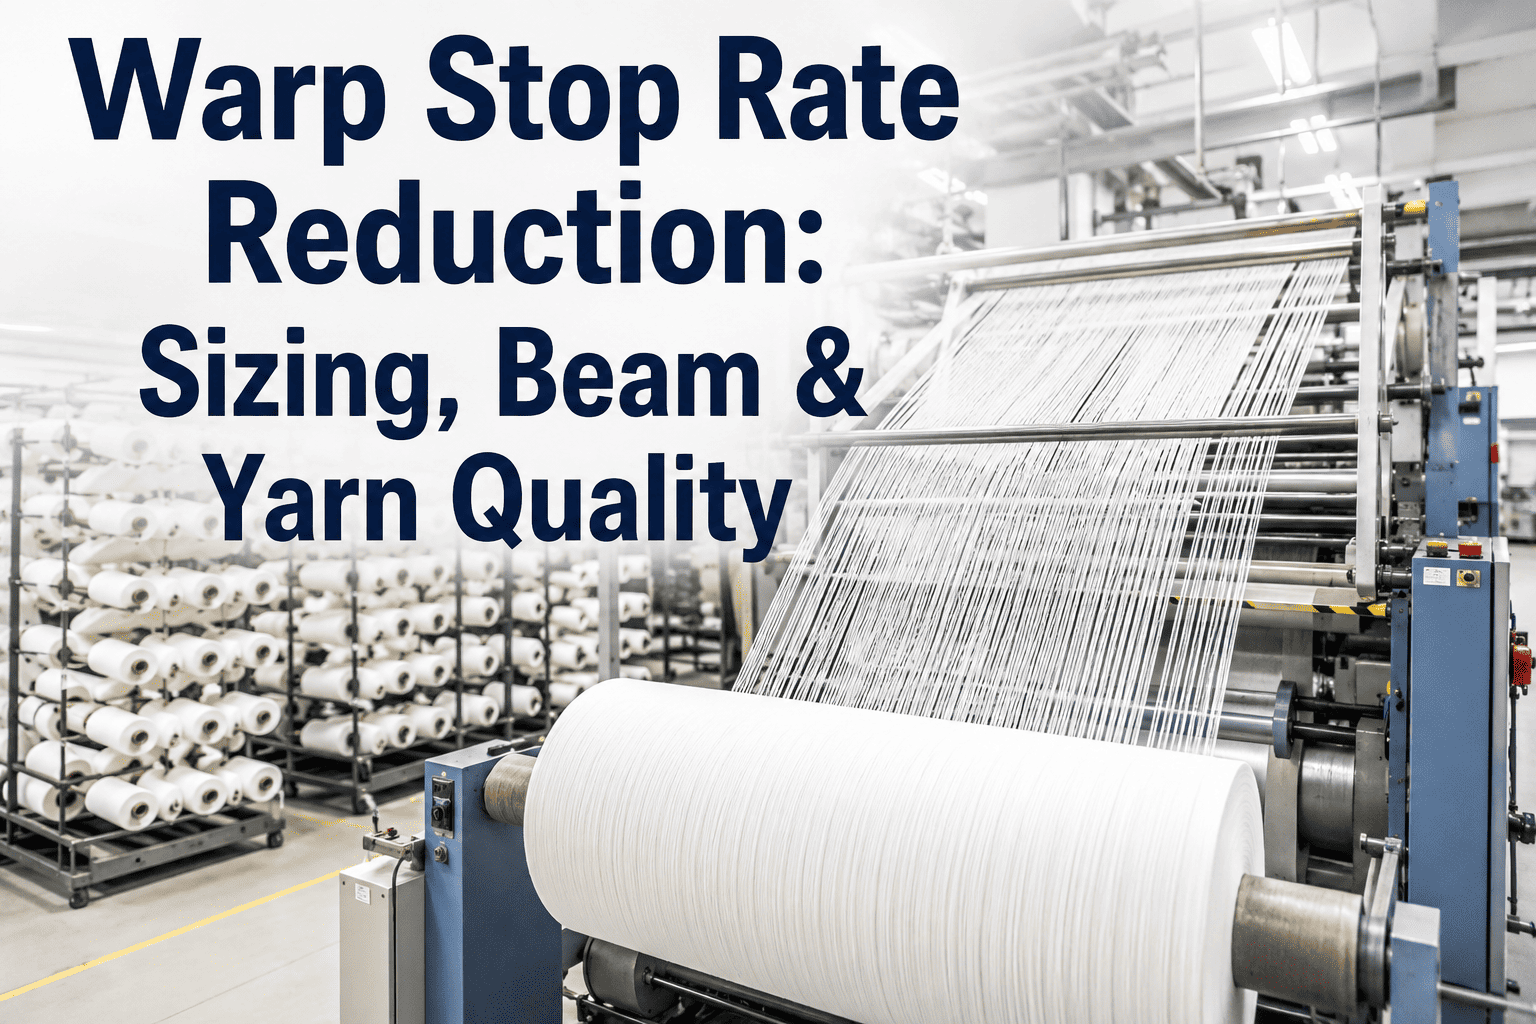
Warp stops are consistently the single largest cause of lost loom efficiency on most weaving floors, and the frustrating part is that the loom is rarely where the actual problem started. A weak or unevenly sized warp yarn breaks at the loom because of decisions made two or three processes earlier — warping tension, sizing recipe formulation, and beam quality verification — none of which get a second look once the beam clears final inspection. Fixing warp preparation is almost always cheaper and faster than chasing the resulting stops at the loom one at a time. If warp-related stops are eating into your weaving efficiency, book a demo with our team and we'll trace the pattern back to its source.
Textile Manufacturing · Weaving Production
Warp Preparation: The Complete Guide to Zero-Defect Beams
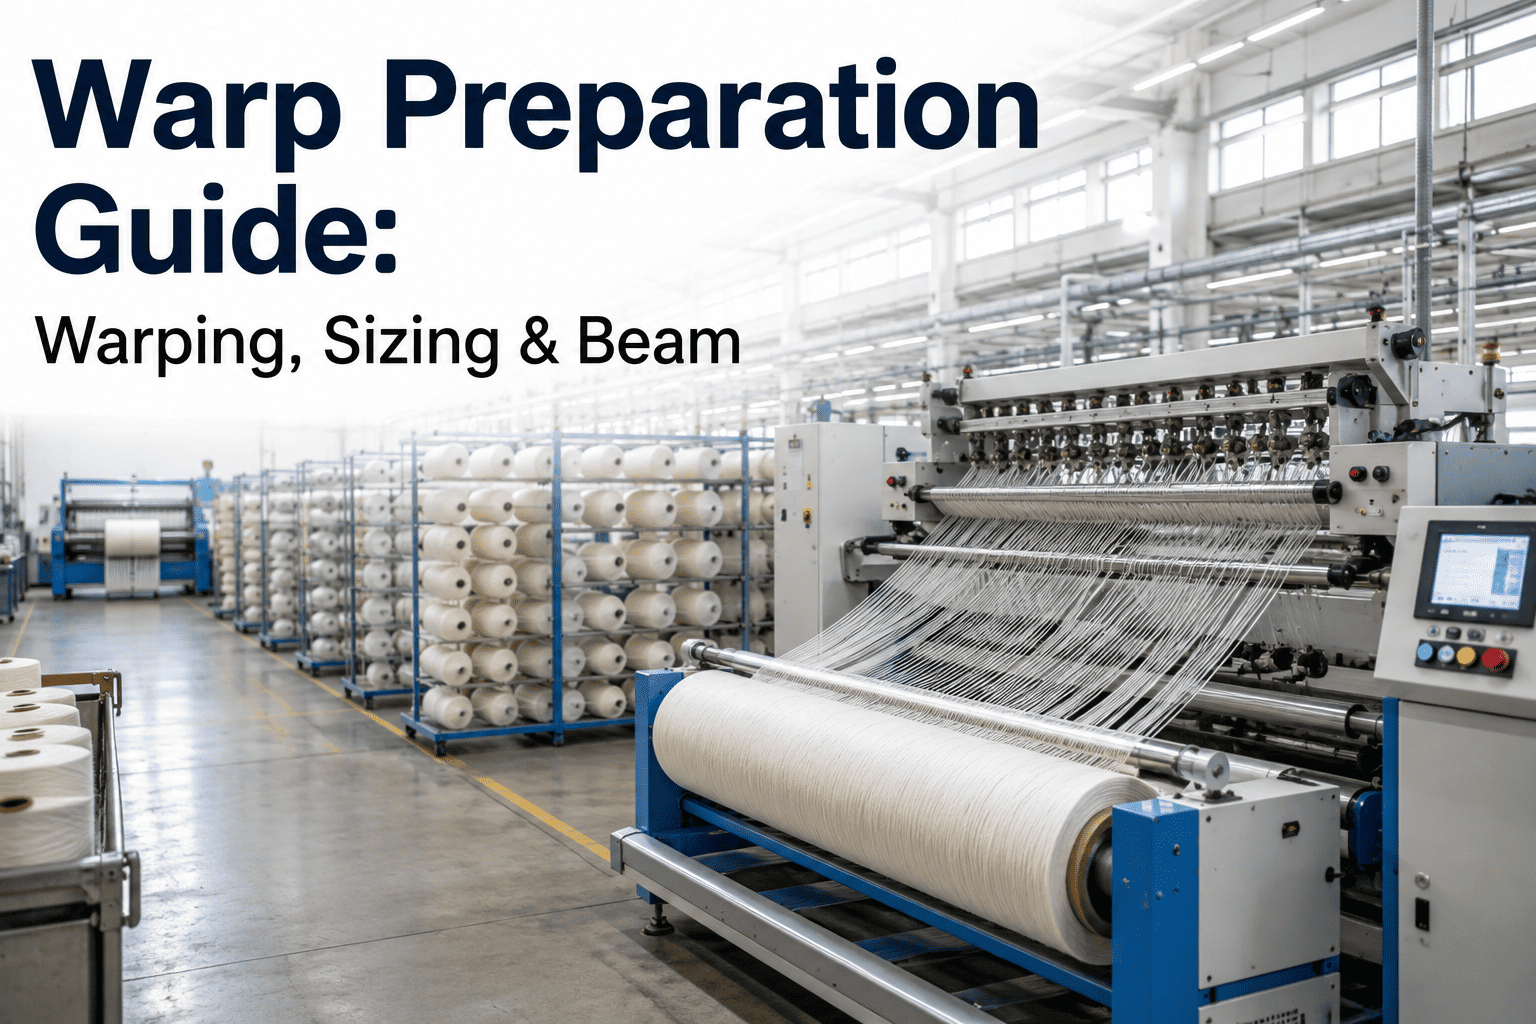
Warp stops start long before the loom. This guide covers warping tension control, sizing recipe formulation, and beam quality verification — the three stages that determine whether your weaving floor runs smoothly or fights warp breaks all shift.
The Three Stages That Determine Beam Quality
Warp preparation is a sequence, not a single machine, and quality problems that show up at the loom can originate at any of three distinct stages, each with its own failure modes and its own fix. Treating warp stops as a single undifferentiated problem is why so many mills struggle to actually reduce them.
01
Warping
Individual ends are wound from creel packages onto a warp beam under controlled, matched tension across every end.
→
02
Sizing
The warp sheet is coated with a size recipe that binds surface fibers, adds strength, and reduces friction during weaving.
→
03
Beam Verification
The finished sized beam is checked for tension uniformity, size add-on consistency, and physical defects before release to weaving.
Warping Tension: Where Beam-to-Beam Inconsistency Starts
Tension control during warping is the foundation everything else builds on — a beam wound with inconsistent tension across its ends will carry that inconsistency through sizing and into weaving no matter how well the later stages are executed, because sizing can't correct for tension variation that's already built into the beam structure.
Tension Issue
Common Cause
Downstream Effect
End-to-end tension variation
Uneven creel package tension
Uneven fabric appearance, localized stops
Tension too high overall
Over-tightened tensioner settings
Excessive elongation, brittleness after sizing
Tension too low overall
Under-tightened tensioner settings
Loose beam build, poor unwinding at loom
Sizing Recipe Formulation: More Than Just Starch Percentage
A size recipe is a balance between add-on percentage, penetration, and film formation on the yarn surface, and the right formula depends on yarn count, fiber type, and the specific weaving conditions the beam will run under. A recipe copied from a different count or fiber without adjustment is one of the most common and avoidable causes of weaving-stage warp breaks.
Add-On %
Determines how much size material coats the yarn. Too low leaves fibers unprotected against abrasion at the loom; too high creates a stiff, brittle yarn prone to breaking at the heddles.
Penetration
Controls how deeply the size solution enters the yarn structure versus coating only the surface. Fine counts generally need better penetration to bind loose surface fibers effectively.
Film Formation
The size must form a flexible, continuous film rather than a brittle coating that cracks and sheds during weaving, generating lint and abrasive dust in the shed.
Trace Warp Stops Back to the Specific Beam and Setting
iFactory connects warping tension data, size recipe records, and loom stop data so you can see exactly which beam, which sizing batch, and which setting is generating downstream warp breaks.
Beam Quality Verification: The Last Checkpoint Before Weaving
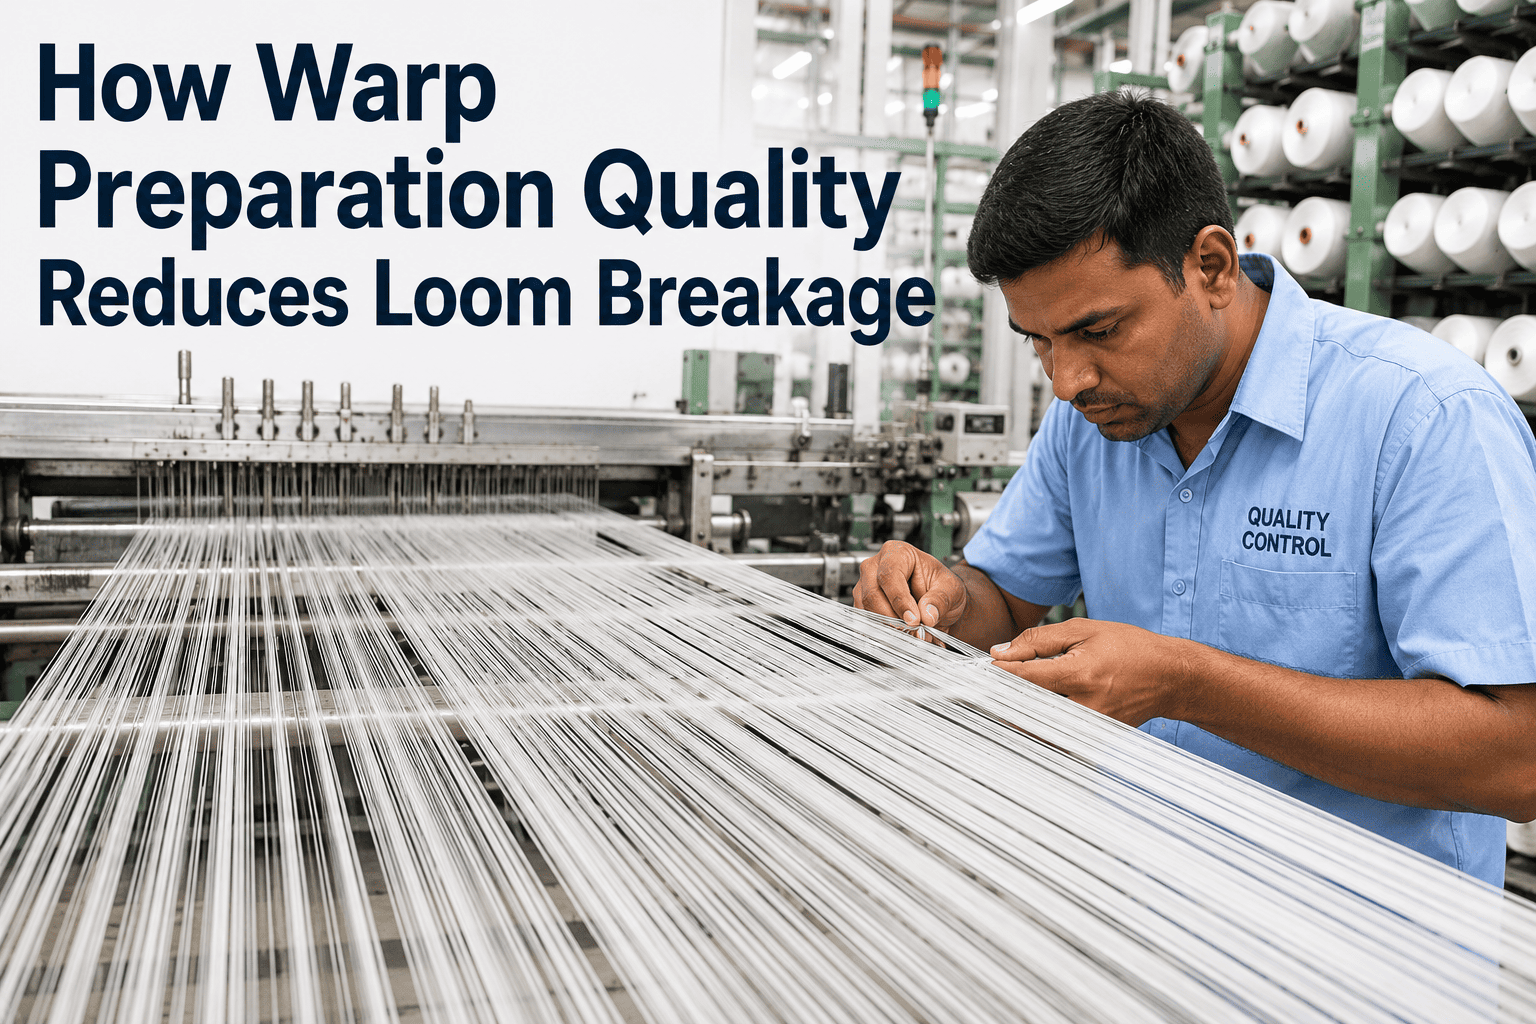
Beam verification is the final opportunity to catch a defect before it becomes hundreds of individual loom stops spread across a weaving shed, which makes it disproportionately valuable relative to the time it takes, yet it's frequently the step mills rush to keep production moving.
Check 1
Measure size add-on percentage against the target recipe on a sample cut from the beam, not just the mixing tank concentration, since actual pickup can differ from intended dosing.
Check 2
Check beam tension uniformity across the full width using a tension testing device rather than relying on visual assessment of beam build appearance alone.
Check 3
Inspect for size film flexibility with a bend test on sample yarn — brittle film that cracks under light bending will shed during weaving regardless of how it looked when applied.
Check 4
Verify beam diameter and yardage against the work order before release, since an under-length beam causes a disruptive mid-style beam change at the loom.
Common Warp Defects Traced to Their Actual Origin
Recognizing which stage a specific defect pattern traces back to saves significant troubleshooting time compared to inspecting every stage equally for every problem that appears at the loom.
Localized Repeated Breaks
Same position across the width breaking repeatedly usually points to a specific creel package or tensioner position at the warping stage, not a general sizing issue.
Widespread Random Breaks
Breaks scattered across the whole width with no positional pattern more often trace back to sizing recipe formulation — insufficient add-on or poor film quality across the entire beam.
Excessive Shedding / Lint
High lint generation in the weaving shed points to size film brittleness or cracking, generally traced to penetration or film formation settings at sizing rather than warping tension.
Poor Unwinding at the Loom
Beams that unwind unevenly or with tension spikes at the loom typically trace back to inconsistent beam build tension during the original warping stage.
Frequently Asked Questions
What causes warp breaks at the loom if the beam passed quality inspection?
Standard beam inspection often checks tension uniformity and basic size add-on but doesn't always test size film flexibility under repeated flexing, which is closer to what the yarn actually experiences during weaving shed motion. A beam can pass a static inspection and still generate breaks once it experiences the dynamic flexing and abrasion of actual weaving, which is why a bend test on sample yarn is worth adding to standard verification even though it takes slightly longer than a visual check.
How do I know if a warp break pattern is from warping tension or sizing?
Position is the key diagnostic — breaks concentrated at the same position across multiple beams usually point to a specific creel package or tensioner issue at the warping stage, while breaks scattered randomly across the full width more often trace back to sizing recipe formulation affecting the whole beam relatively evenly. Tracking break position data over several beams, rather than treating each break as an isolated event, is the fastest way to tell these two root causes apart.
Book a session with our team if you want help setting this tracking up.
Can the same size recipe be used across different yarn counts?
Generally no — finer counts typically need better size penetration to bind loose surface fibers effectively, since they have proportionally more surface area relative to yarn mass, while coarser counts can often run with a simpler surface-coating recipe. Using an identical recipe across a wide range of counts is one of the most common avoidable causes of sizing-related warp breaks, and it's usually worth the time to formulate count-specific recipes rather than defaulting to a single mill-wide standard.
How often should warping tension be checked during production?
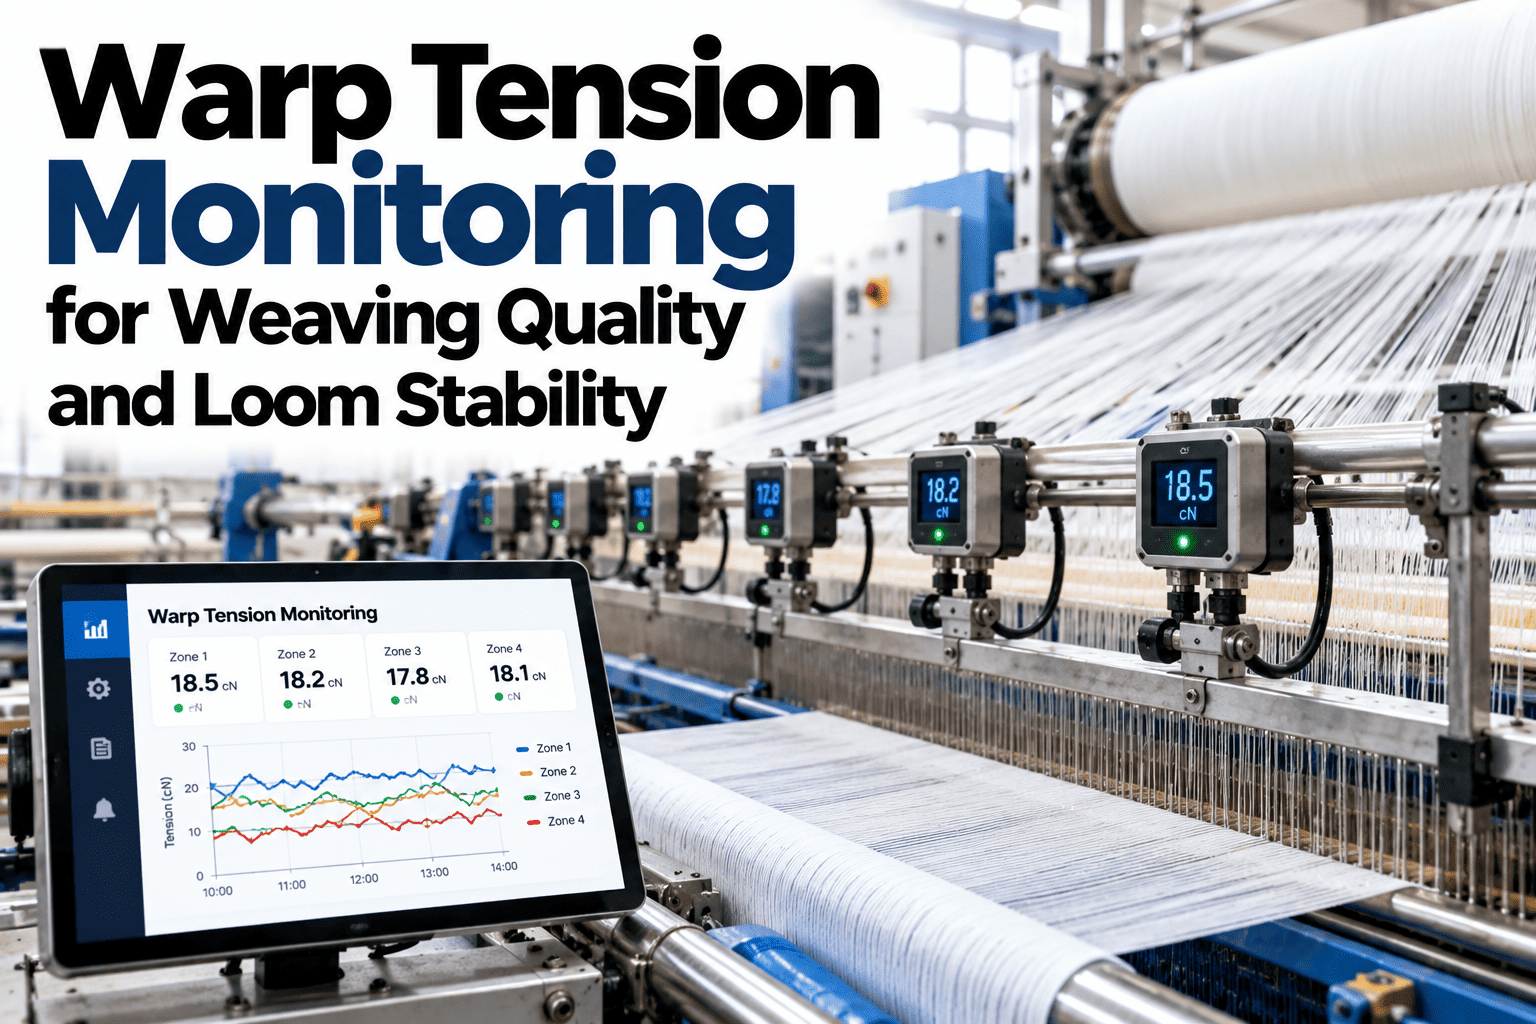
Tension should be verified at the start of every new beam and spot-checked periodically during long warping runs, since creel package tension can drift as packages deplete and as ambient conditions in the warping shed change across a shift. Mills running high-volume warping operations benefit from continuous tension monitoring rather than periodic spot checks, since it catches drift in real time rather than after a beam with inconsistent tension has already been built.
How does iFactory help reduce warp-related loom stops?
iFactory connects warping tension data, sizing batch records, and loom stop data with position and pattern information, making it possible to trace a specific warp break pattern back to the exact beam, sizing batch, or warping tensioner position that caused it. Mills use this to catch tension drift or recipe formulation issues before a beam reaches weaving, cutting warp-related stops significantly compared to troubleshooting each break individually after it occurs at the loom.
Stop Chasing Warp Breaks One Stop at a Time
Most warp-related loom stops trace back to a specific beam, tensioner, or sizing batch. iFactory connects the data across warping, sizing, and weaving so you can fix the actual source instead of the symptom.